Whether you’re a new hiker or a well seasoned veteran, it’s never to late to brush up on important hiking tips for beginners. We love hiking because it can be enjoyed by people of all ages and fitness levels. But no matter where you are on your hiking journey, you can never be too prepared.
In this guide we share important things to consider when hitting the trails for the very first time. We’ll cover the basics including what to bring, how to dress and tips for choosing the best trails. Read more about us.
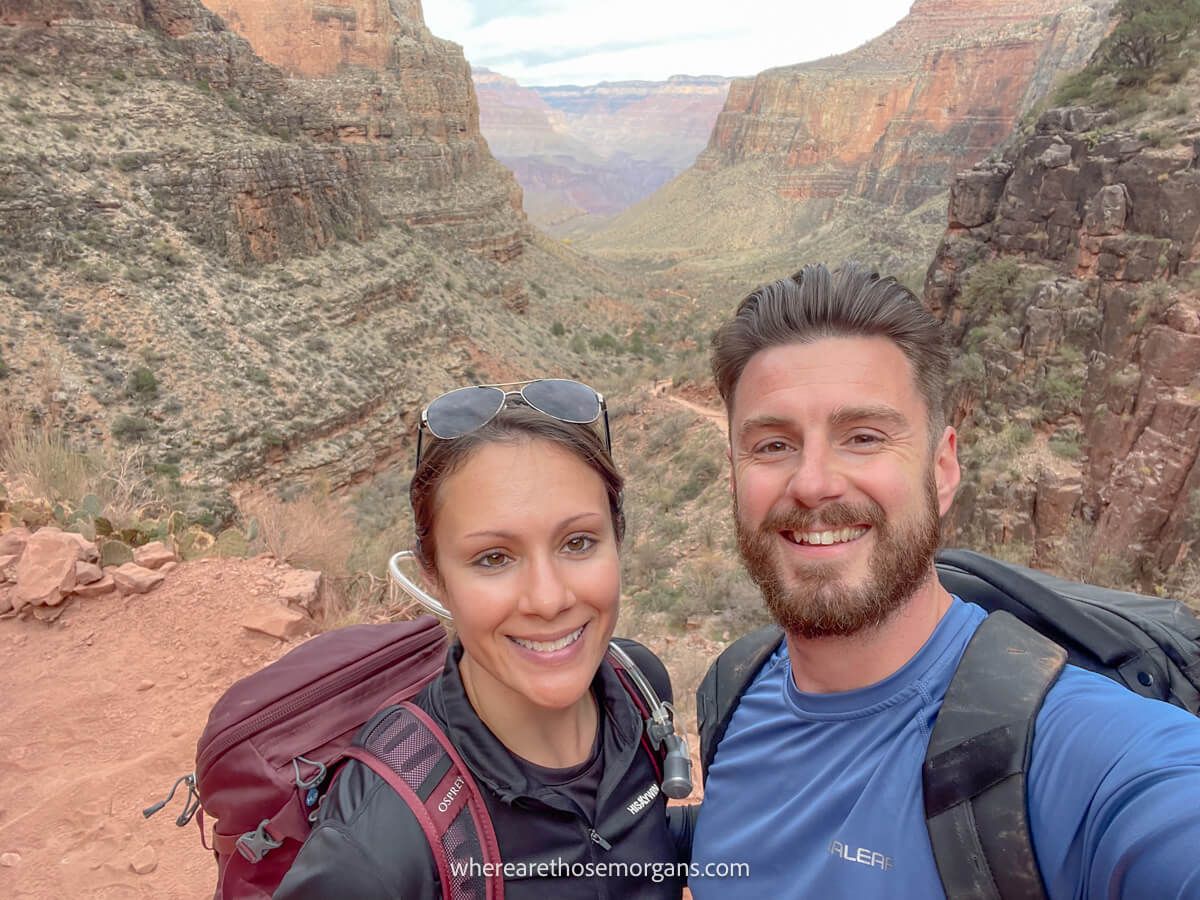
As a popular hiking blog, we love to share our first hand experience from hiking trails all around the world. We’ve completed some pretty epic trails including the W-Trek, Inca Trail to Machu Picchu, Tour du Mont Blanc and Rim to River in the Grand Canyon. But when we first started hiking, we had to learn a few things to help keep us safe in the wilderness.
The goal of our guide is to help you stay safe on your next hike, so we share the important essentials we’ve learned along the way. Hiking positively changed our lives and we hope it has the same effect on you. Okay, let’s begin!
Note: Our content is reader supported and contains affiliate links. If you make a purchase through one of these links, we may earn a small commission at no extra cost to you and it helps us keep this site running.
1. Pick The Right Trail
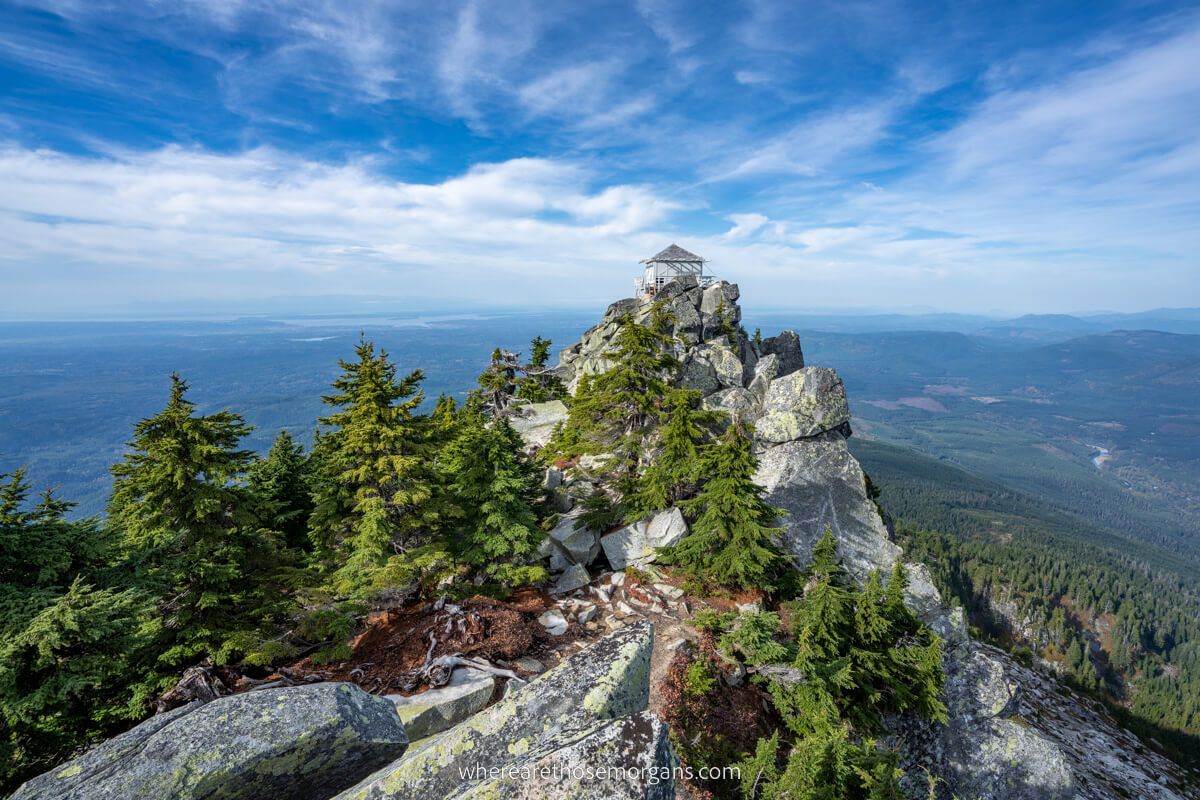
There are many different kinds of hiking, but we’ll quickly go over the main differences. The most common type is day hiking which includes trails that you can easily finish in one day. These types of trails are typically found within national parks, nature reserves and local parks. They can be done as loop or out and back trails.
We think day hikes are the best introduction for beginner hikers because you don’t have to worry about staying overnight or carrying any specialized gear. The difficulty for a day hike can range anywhere from beginner to strenuous and the duration ranges anywhere from 30 minutes to several hours.
Examples of day hikes include:
- The Wave in Arizona
- The Skyline Trail
- Mount Marcy Trail
- The Subway in Zion
- South Kaibab to Bright Angel
- The Enchantments in Washington
Backpacking (also known as trekking) includes at least one night of camping and these hikes can vary in distance from a few to several miles. The main difference between backpacking and day hiking is you’ll have to bring camping gear such as a tent, stove, sleeping bag, food, etc. This type of hiking requires additional survival skills such as building a campfire, pitching a tent, purifying water and cooking your meals outdoors.
We don’t recommend backpacking until you’ve successfully completed several longer day hikes. These trails combine hiking with wilderness camping which requires meticulous planning and self-sufficiency because you’ll be far from modern day conveniences.
Examples of backpacking hikes include:
- Inca Trail to Machu Picchu
- The W Trek in Chile
- Tour du Mont Blanc
Hiking Tip: Some of the shorter trails above can be hiked as day hikes if you can’t secure a permit for a campsite. While they’re not beginner level trails, they are a great goal to work towards.
Thru-hiking involves long distances such as hundreds or thousands of miles. This type of hiking is for experienced hikers only and requires a significant time commitment. These types of trails take weeks or months to complete and often require specialized lightweight yet durable gear. This is the ultimate endurance test for hikers. It’s a life changing journey constantly challenging you physically as you weave through varying climates.
Examples of long distance thru-hikes include:
- Appalachian Trail
- Pacific Crest Trail
- Camino de Santiago
- Via Francigena
Hiking Tip: Because many hikers don’t have months to spare, many of these long distance trails are tackled in smaller portions. Section hiking is a good choice for those who only have a short amount of time, can’t secure permits or don’t want to carry a large amount of gear.
The first step in planning for a hike as a beginner is choosing the right route. We recommend starting with shorter hiking trails about 3 miles or less with no elevation gain. This way you can give yourself a good test to see if hiking is for you. Start small and then building up the length overtime as you gain more experience.
It’s also important to understand changes in elevation because this can affect how much you climb or descend. Hiking trails are rated by 5 varying difficulty levels including easy, moderate, moderately strenuous, strenuous and very strenuous. Here’s a breakdown of each one:
- Easy – Mostly level trail with very little incline and generally less than a few miles
- Moderate – Moderate incline with a few steeper sections and longer in length from 3 to 5 miles (good for beginners who want a challenge)
- Moderately Strenuous – Trails featuring a steep and steady incline about 5 to 8 miles in distance
- Strenuous – Long and steep with a lot of elevation gain and about 7 to 10 miles in distance
- Very Strenuous – Steep trails with rock scrambling, stream crossings and difficult terrain generally over 8 miles in length
2. Carry The 10 Hiking Essentials
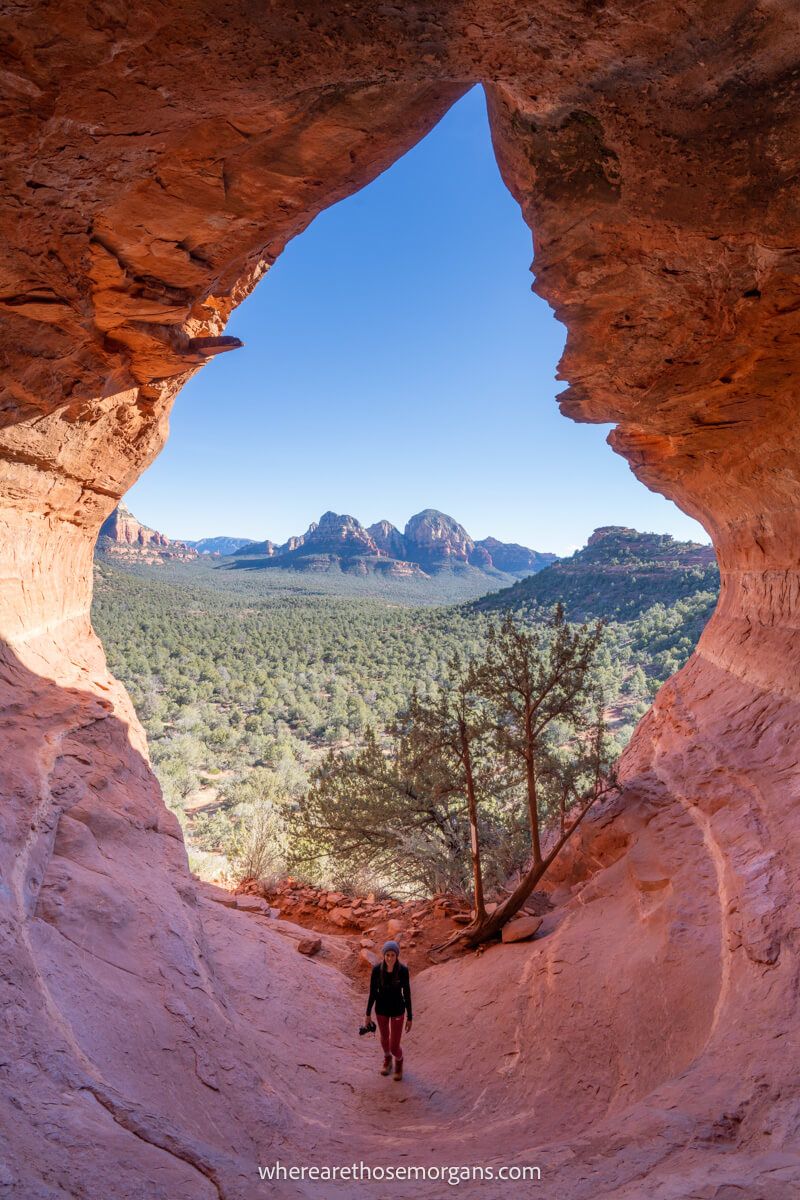
It can be extremely overwhelming when you first start hiking to figure out what you need to bring on a hike. We think there’s a delicate balance because you don’t want to carry too much weight, but you also have to carry enough in case you run into problems on the trail. The internet is filled with hiking lists, but in our opinion most of these go overboard.
So to keep things simple, beginner hikers should always aim to pack the 10 essentials:
- Navigation
- Emergency shelter
- Headlamp
- Firestarter
- First-aid kit
- Knife
- Sun protection
- Extra water
- Extra food
- Extra clothes
In our day hike packing checklist we go over the 10 essentials in detail including specific items you should always bring. So if you’re not familiar with this list, we highly recommend you read that guide next. The 10 hiking essentials were created to help people successfully prepare for emergency conditions in the outdoors.
For a short day hike, here are the items we always bring:
- Backpack
- Water (amount depends on length of hike)
- Snacks
- Hiking clothes
- Hiking boots or shoes
- Trekking poles (optional)
Hiking Tip: Food, water and clothing should always be the first thing you think about when preparing for any hike.
3. Choose The Right Gear
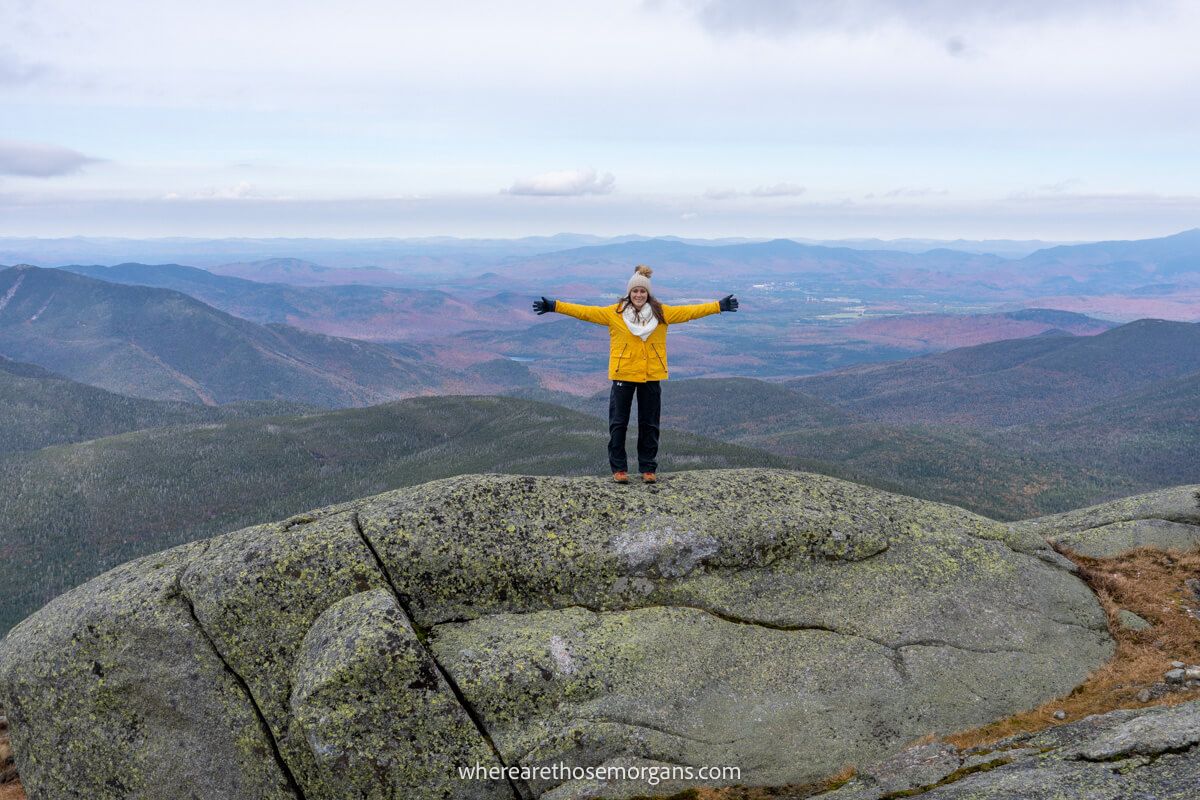
When you first start hiking, you don’t have to go out and buy hundreds of dollars worth of expensive gear. We started by using items we already had around the house such as yoga pants, works out shorts, etc. But as you add distance and elevation to each hike, we think it’s worth investing in quality clothing because it will be more comfortable and last longer.
Here’s a quick overview of what you should always wear:
- Shorts or pants (look for quick-drying fabrics such as wool, polyester or nylon)
- Short sleeve or long sleeve t-shirts (avoid tank tops)
- Hiking shoes (we’ll cover this more later)
- Merino wool socks (best to prevent blisters)
- Underwear garments (what you’d normally wear to the gym)
- Light jacket (make sure its wind breaking)
Depending on where you plan to hike, you may want to add a hat and sunglasses to help protect you from the sun. For this reason, we wouldn’t recommend hiking in a tank top because these types of shirts don’t offer enough protection. We don’t like tank tops because they can also cause chafing from your backpack which can become very painful.
If you plan to hike in area where bugs are prevalent, try to wear clothing that covers your exposed skin and use an EPA-registered insect repellent. Ticks are another consideration so wear light colored clothing to make them more visible and wear long pants tucked into your socks.
Hiking Tip: We always bring an extra set of clothing for longer hikes just incase we get wet.
4. Don’t Skimp On Hiking Shoes
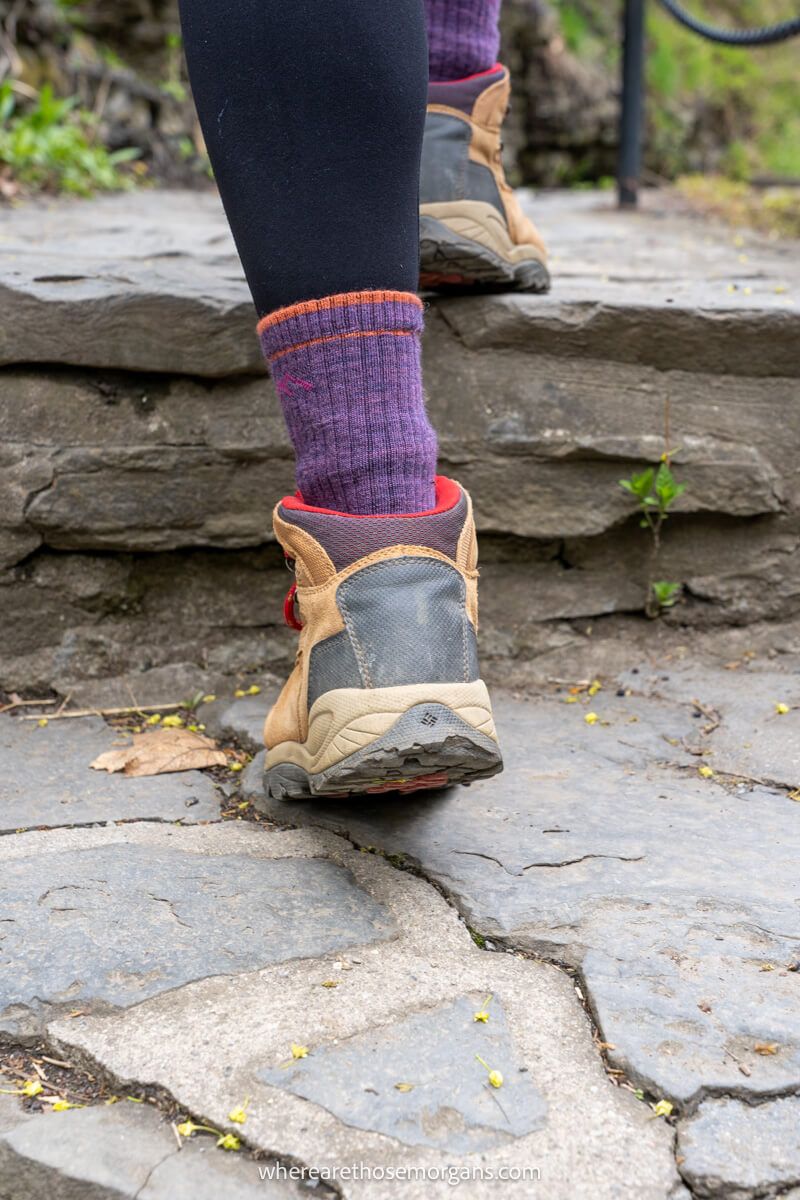
We think footwear is one of the most important things you need to consider when planning to hit the trails because the wrong type of shoe will make or break your experience. There are so many different kinds of hiking footwear on the market today, but a hiking shoe or boot will be best for beginners. It’s important to know where you plan to hike so you purchase the correct footwear. Here are the key differences:
Hiking boots are mid to high cut models often rising to just above the ankle. They are extremely rigid, durable and sometimes require a period of break in time. This type of shoe is good for day hikes or short backpacking trips. We like hiking boots because they are extremely protective and warm offering great support for the ankles. They will typically last thousands of miles and can be waterproof. For example, we used our hiking boots when visiting Yellowstone during a snow storm. However, these boots are heavier compared to hiking shoes and less breathable.
Hiking shoes are similar to everyday sneakers, but they are more rigid and durable. They are lower cut models with flexible midsoles offering layers of synthetic material for a breathable fit. We like to think about them as a cross between a running shoe and hiking boot. Hiking shoes are great in scenarios where you’ll be climbing on rocks or tackling longer distances because they are so lightweight. However, these shoes offer less protection and warmth compared to a hiking boot and they can break down quicker.
Here are popular options for beginners:
- Women’s hiking boots – KEEN Targhee, Merrell Moab 3 Mid or Columbia Newton Ridge
- Men’s hiking boots – Timberland Mt. Maddsen, Merrell Moab 3 Mid or KEEN Zionic
- Women’s hiking shoes – Merrell Moab 3, adidas Terrex Free Hiker or Danner Trail 2650
- Men’s hiking shoes – Merrell Moab 3, adidas Terrex Free Hiker or Danner Trail 2650
Hiking Tip: Your footwear should be snug on your feet and you should still be able to wiggle your toes.
5. Consider The Season
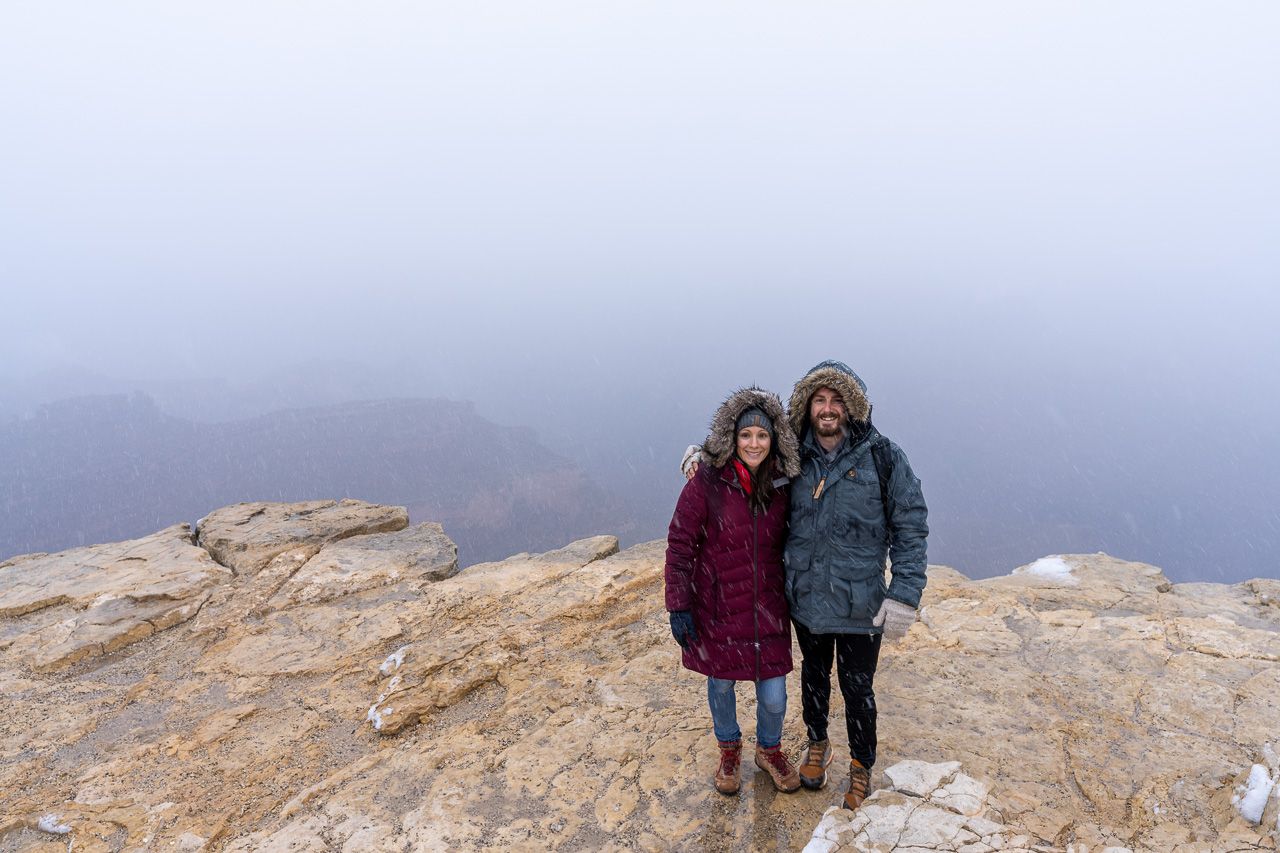
Weather and trail conditions are important to ensure a safe and enjoyable hike. Be sure to check the weather forecast and plan accordingly. Most beginners should aim to hit the trails on a sunny day compared to hiking in the rain or snow. You should have a few hikes under your belt before adding in challenges with the elements. Even experienced hikers have died in difficult weather conditions.
The optimal temperate for hiking is about 50-55°F because it’s the perfect mix of hot and cold. Anything above this temperate is considered hiking in hot weather so you’ll need to have sun protection and plenty of water. For high temperatures, you might want to reconsider hiking or begin very early in the day. Make sure you also take breaks in shady areas.
If hiking in cold weather, you should be prepared for frostbite and hypothermia. Layering with a three-part system is a great way to help you stay safe and comfortable during cooler hikes. Adequate footwear and traction will also be critical when snow and ice are found on the trails.
Darkening clouds and thunderstorms are another danger. Keep an eye on the skies to check for darkening or cumulonimbus clouds. If you’re hiking the Yosemite Mist Trail where you’ll be exposed on large rock faces, you’ll need to find some shelter fast before the storm approaches. In mountainous areas, thunderstorms typically develop early in the afternoon so plan your hike early in the day to avoid weather problems.
Hiking Tip: Weather can change very quickly, especially in the mountains so it’s best to prepared for all types of scenarios during longer hikes.
6. Stay Properly Hydrated
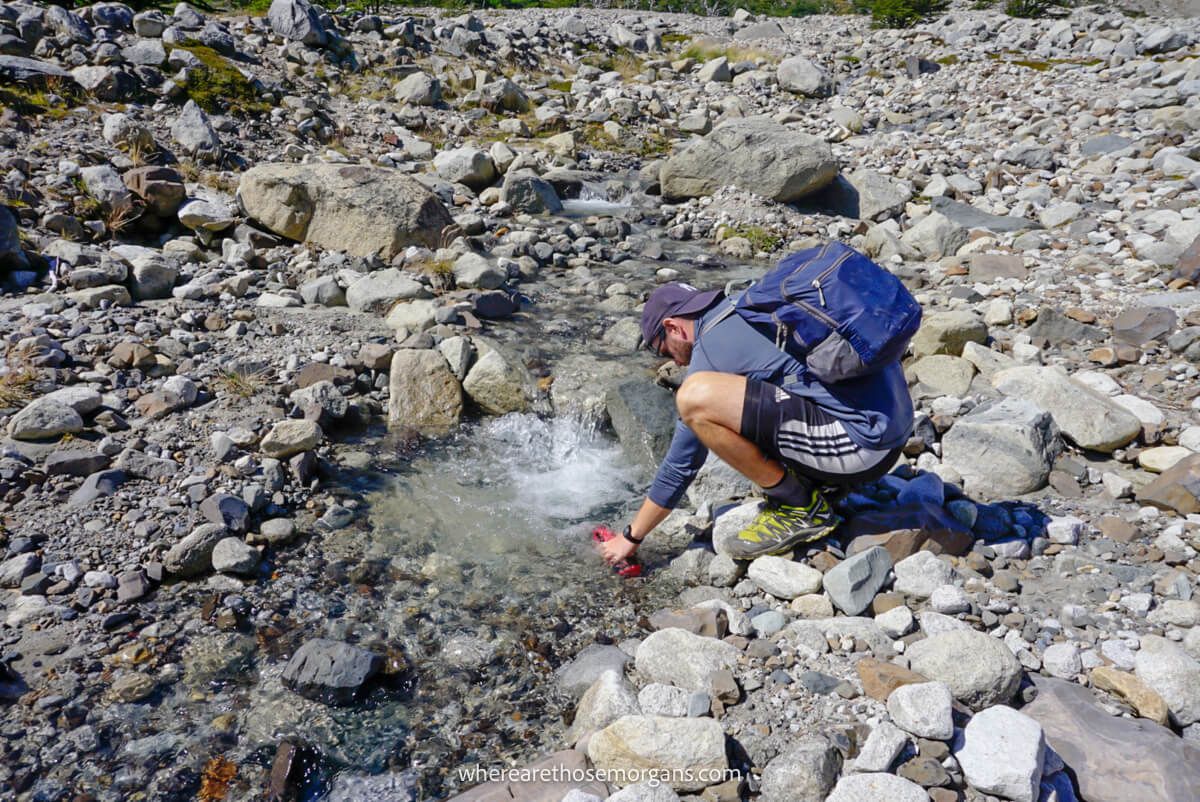
The adult human body is made up of about 60% water and as you hike, this water is depleted from your body. How much you need to drink will depend on many factors such as duration of hike, intensity level, sweat rate, age, body type and time of year. It’s best to take smaller sips compared to chugging infrequently so you continually hydrate.
According to REI, a good rule of thumb is to drink about half a liter of water for every hour of hiking. But water can weigh a lot so it’s best to plan your hiking route around water availability. For shorter hikes, you can easily carry enough water. We use a combination of Nalgene bottles and hydration reservoirs. But for longer hikes, you might need a water treatment option such as a LifeStraw when refilling from a lake or stream.
Hiking Tip: To avoid over hydration, maintain a healthy sodium level by eating snacks or consuming a sports drink.
7. Leave No Trace
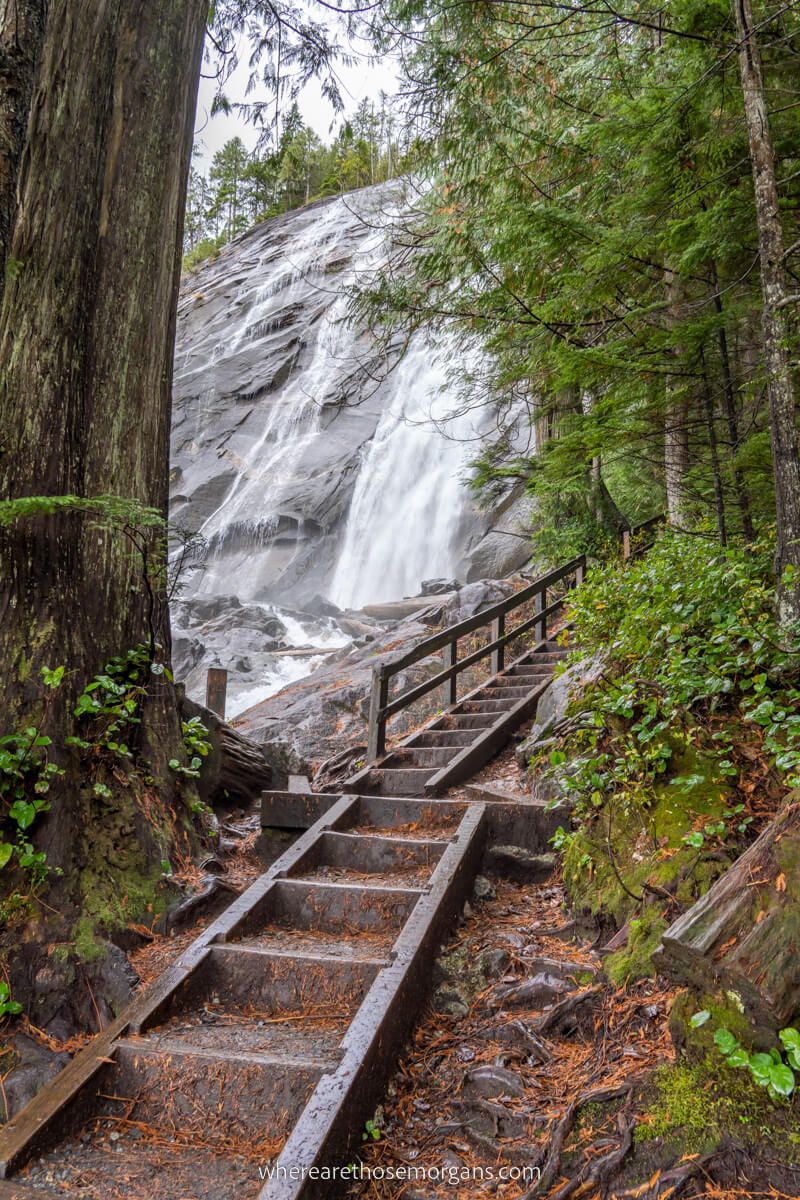
If there’s only one thing you take away from our beginner hiking guide, please let it be to leave no trace. All of us play a vital role in protecting the environment and as we spend time outdoors, it’s important to be conscious of our footprint. Here are the seven principles to always think about while hiking:
- Plan ahead and prepare – Understand the rules and regulations about the area you plan to visit
- Travel and camp on durable surfaces – Stay on maintained trails and designated campsites
- Dispose of waste properly – Whatever you bring in, you always bring back out
- Leave what you find – Don’t touch plants, rocks and other natural objects in nature
- Minimize campfire impacts – Use a lightweight stove and only cook where fires are permitted
- Respect wildlife – Always observe wildlife from a distance
- Be considerate of other visitors – Be courteous to other hikers on the trails
It’s a sad reality, but we often carry out trash we find littered on a hiking trails. Even leaving used toilet paper behind during a hike can have detrimental impacts to the surrounding environment and animals who live there. So it’s every hikers responsibility to leave no trace no matter their experience level.
8. Etiquette On The Trails
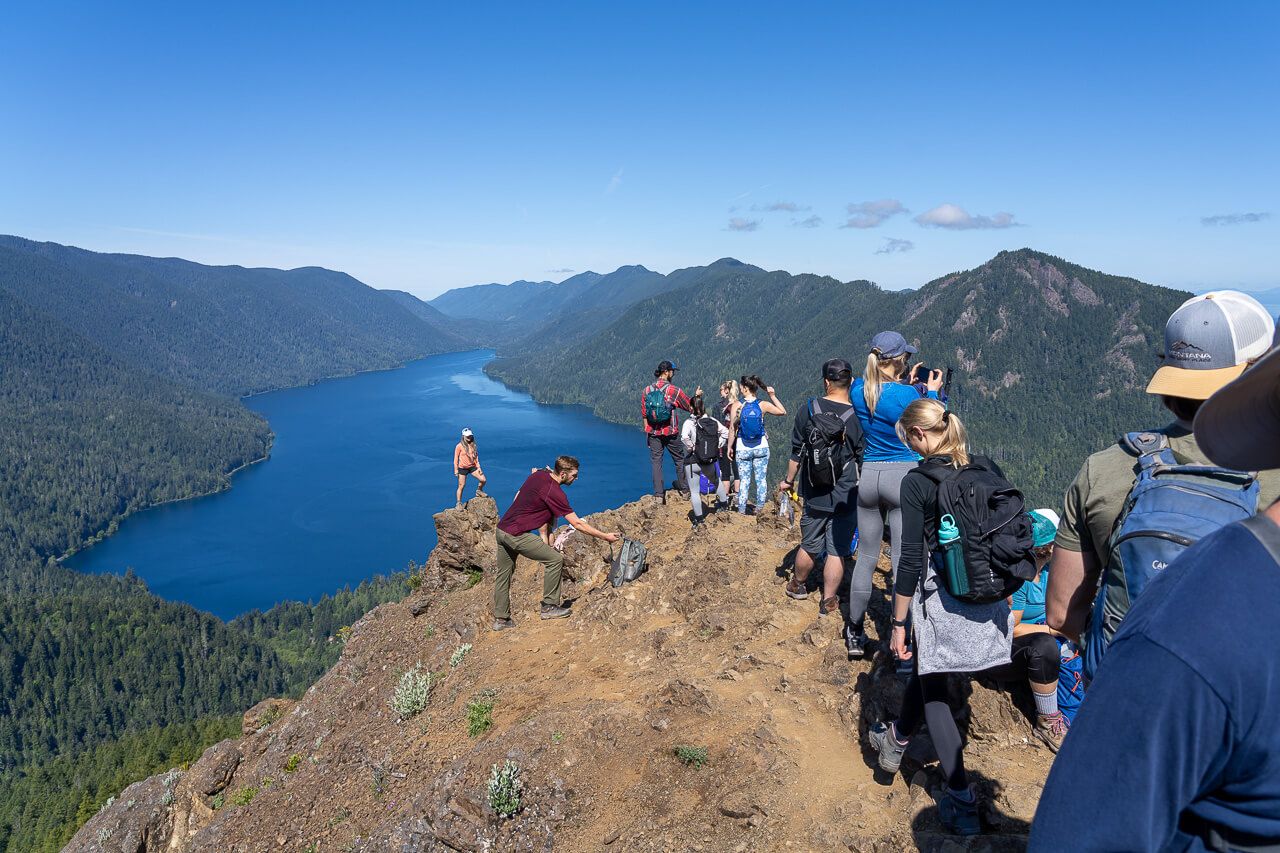
When going on a hike it’s best to remember the golden rule, treats others the way you would like to be treated. We think there are a few simple things you can do to make the experience more enjoyable for everyone including yourself.
It’s nice to greet other people as you pass by. Hikers walking uphill have the right of way (unless they’re stopping for a break) so move over and make room for them if you’re descending down a trail. We’ve made friends just by saying hello to other hikers on a trail so always be friendly. If you’re hiking in a foreign country, learn how to say hello in that language so you can great people in the same way.
Be respectful of others when hiking with your dog. Stick to dog friendly trails and use a leash when required. Remember not everyone is a dog lover so use caution when other hikers approach. It’s not cute when your dog is running around at the summit of a mountain chasing the wildlife.
People head into nature to enjoy it so don’t blast your music or take loud phone calls. Use head phones to minimize noise when others are around.
Hiking Tip: Hikers have the right of way over bikers, but all hikers must yield to equestrians. If you approach equestrians from behind, calmly announce your presence.
9. Minimize Wildlife Encounters
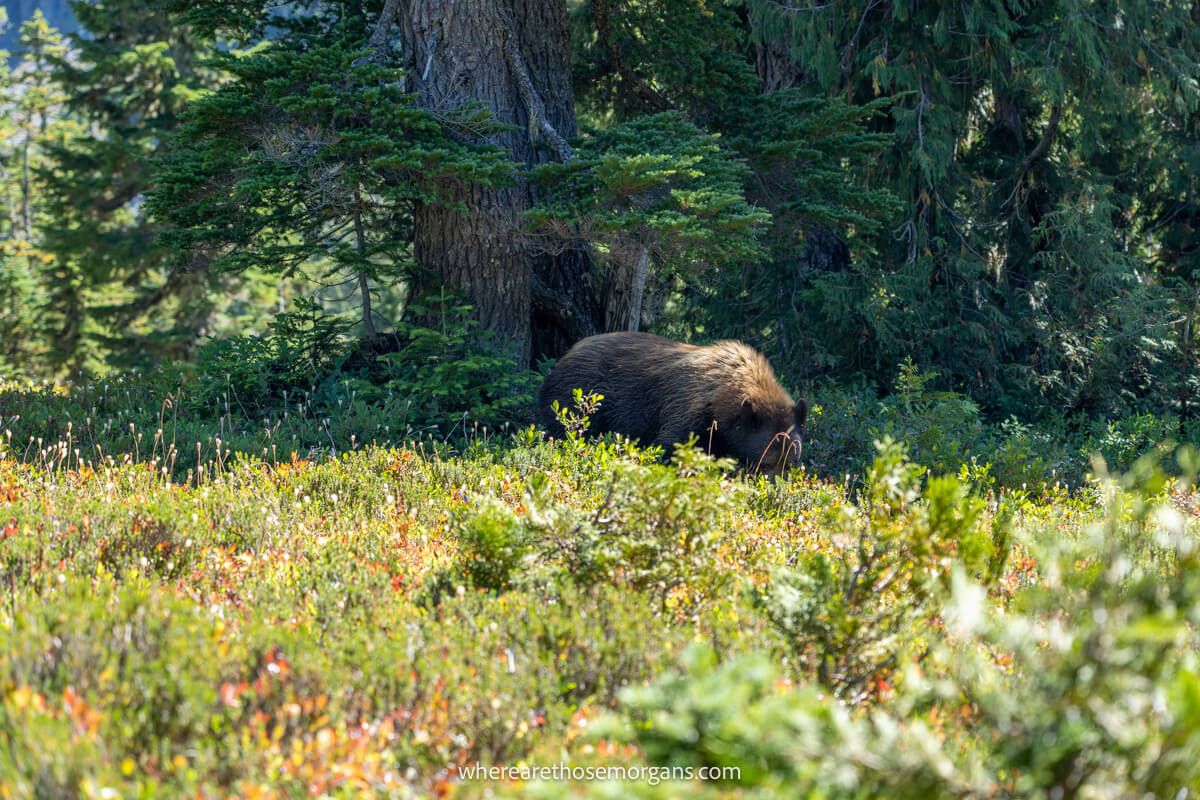
As a beginner hiker, there’s a chance you’ll come into contact with wildlife at some point along the trail. The good news is that wildlife is often more afraid of you than you are of them. But there are a few precautions you can take to minimize animals encounters while hiking.
You should always understand your surroundings before heading out for your hike. For example, if you’re hiking in the US National Parks, many of these locations are known for bear activity. So if you see a bear while hiking, always keep your distance and remain calm. You can use a bear bell and carry bear spray as long as you know how to properly use it, but keep in mind all parks do not allow bear spray.
The best way to observe wildlife is from a distance and always give them a wide birth. Animals feel threatened when you encroach on their territory. The photo above is a bear we encountered when hiking along Spray Park Trail at Mount Rainier. It was taken with our zoom lens so we were well over the recommended 100 yards away. Another pair of hikers warned us about the bear near the trail so luckily we knew it was there before we saw it.
10. Backcountry Hiking
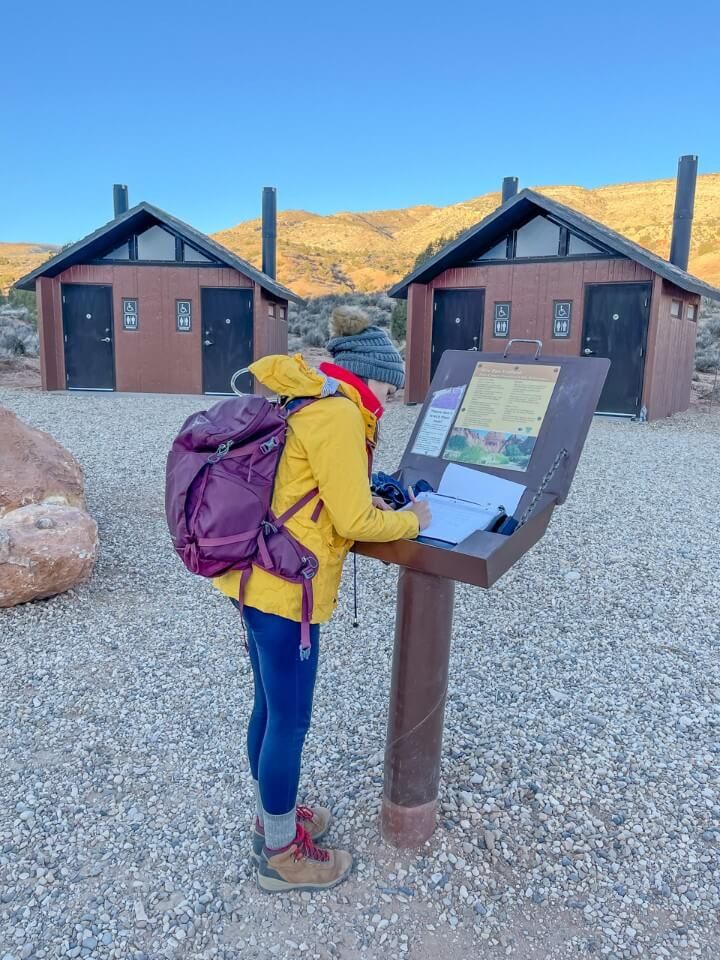
If you plan to hike through underdeveloped areas of wilderness, there are a few more things you’ll have to consider. More often than not, you’ll be required to secure a permit or sign a backcountry register. These tools serve as a safety measure for everyone on the trail so don’t be the idiot who doesn’t follow the rules.
Permits are in place to help protect natural resources and preserve the quality of wilderness for future generations. The land can only support a certain number of visitors so don’t hike if you can’t get a permit. A popular example is the Wave in the Arizona. This is one of the hardest permit to obtain and you can read about the lottery process here. That being said many people try to hike without a permit, but rangers are often on the trails checking permits and you don’t want to be caught without one.
For backcountry trails, there is often a register that hikers will need to sign before beginning their hike. Similar to permits, these aim to protect the environment, but also improve the trail experience. By looking at the register, you’ll often be able to see how many hikers are on the trail ahead of you and by looking at prospective dates of campers, you can gauge foot traffic or availability. And if for some reason you don’t finish the hike, there is a record of when you started the trail to help emergency personal locate your whereabouts.
11. Understand The Layering System
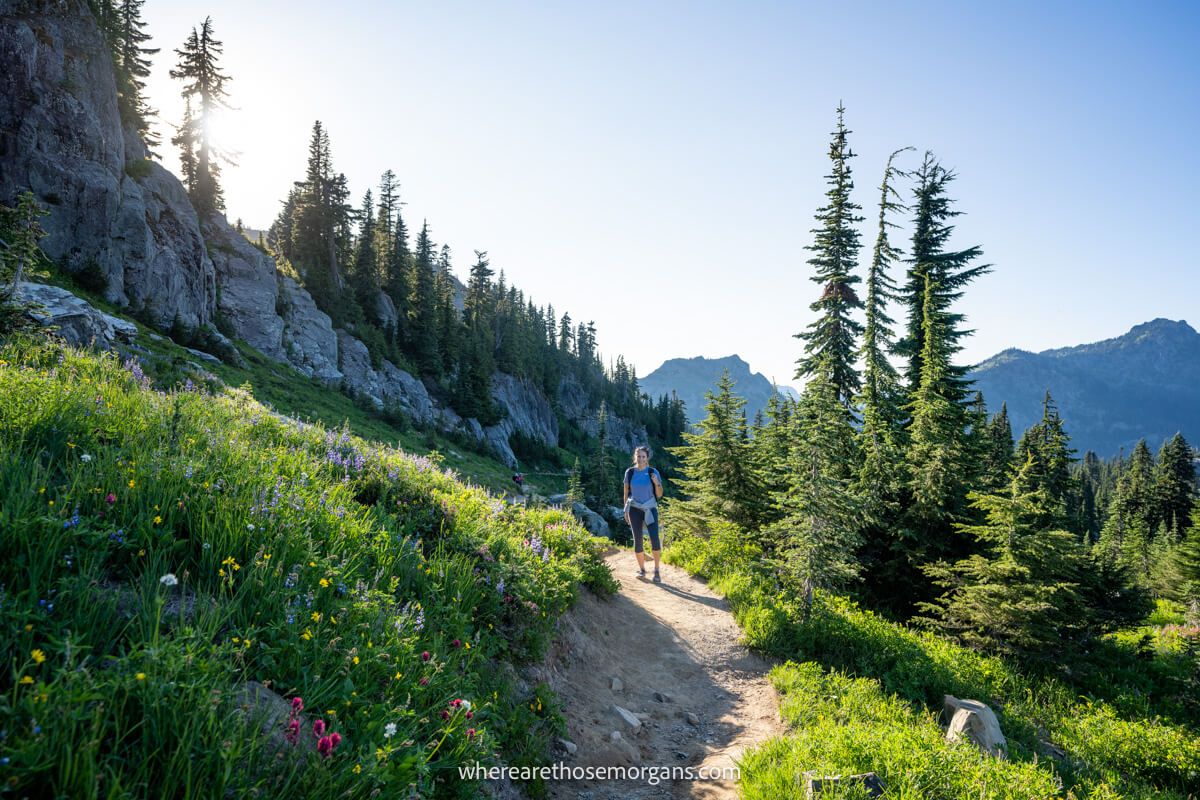
Hiking with layers is the key to staying comfortable and knowing how to appropriately dress for the trails is a basic skill you should aim to master quickly. Look for clothing made from quick-drying and moisture wicking fabrics such as merino wool, nylon and polyester. Cotton is a bad choice for hiking because it easily soaks up sweat which will leave you wet and cold on the trails, especially the higher you climb in altitude.
You should aim to have 3 layers when hiking:
- Base layer – Known as the underwear layer, this comes in direct contact with your skin and aims to wick sweat off your skin. It should be very lightweight.
- Middle layer – Known as the insulating layer, it’s breathable but warmer compared to the base layer to retain body heat. It should be made of a synthetic or fleece material.
- Outer layer – Known as the shell layer, this protects you from the elements and should be water resistant if not waterproof.
In the photo above, Kristen took off her middle layer and tied it around her waist because she become too hot while hiking. But as soon as the sun went down, she put her middle layer back on because it became very cold quickly. The best way to stay comfortable when hiking is to consistently put on or take off various layers.
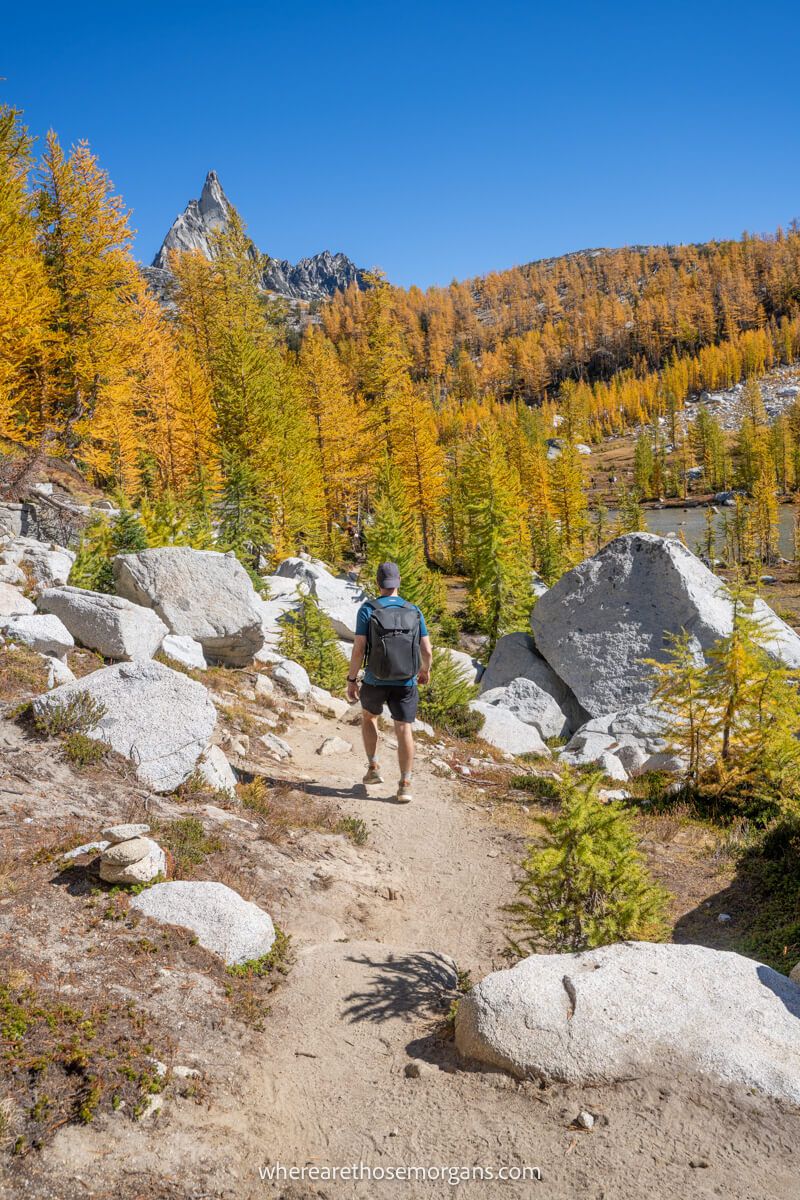
During your hike, you’ll need to navigate your way along the trail to make sure you’re following the correct route. And sometimes, trails can overlap so you’ll have to choose the right way. It’s smart to carry multiple forms of navigation such as a paper map, a downloaded map for offline use and a compass on every hike. Additional forms of navigation include a route description guidebook, a GPS device or an altimeter watch. If you’re a more experienced hiker, you can use a Garmin inReach Mini.
A physical map is the most reliable form of navigation. You can typically pick up a physical map at a visitors center, at the trailhead or by purchasing one ahead of time. But many hikers use a digital map as well because they can be downloaded to your phone for offline use. We highly recommend you use both because what happens if you’re phone runs out of battery? By carrying both a paper and digital map, you’ll be covering both bases.
There are several hiking apps you can use to help you navigate the trails. We love Gaia GPS and All Trails. For us, Gaia GPS has always been the best for trail navigation while the free version of AllTrails is great for hiking conditions. You should always take a photo of the trail map on your phone whenever you start a hike at the trailhead.
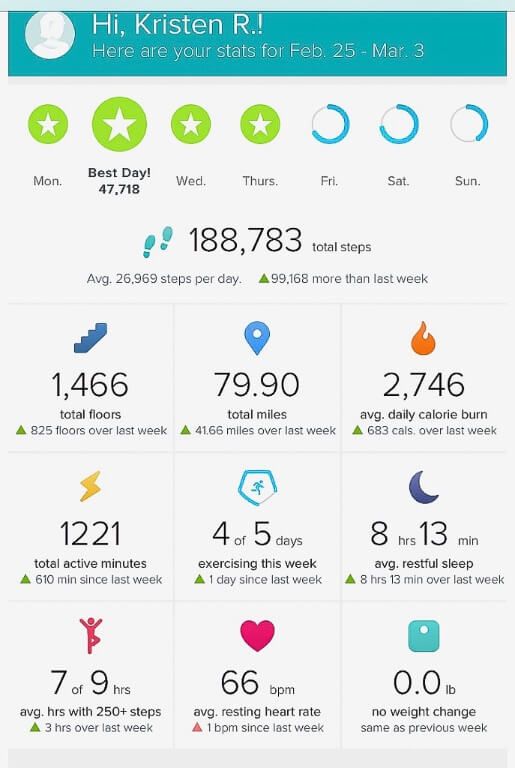
As a beginner hiker, we also recommend tracking your statistics as you hike. Many hiking apps will do this or you can use fitness watches such as the Fitbit or Garmin. Above you can see a snapshot of our stats from hiking the W-Trek in Patagonia, Chile.
Planning to camp as a hiking beginner? Use our exclusive 30 day free trial with The Dyrt. This is our favorite camping app because it helps you find the best campgrounds. You can use Dyrt Alerts to receive notifications when sold out campgrounds have recent cancellations.
13. Buy A Hiking Backpack
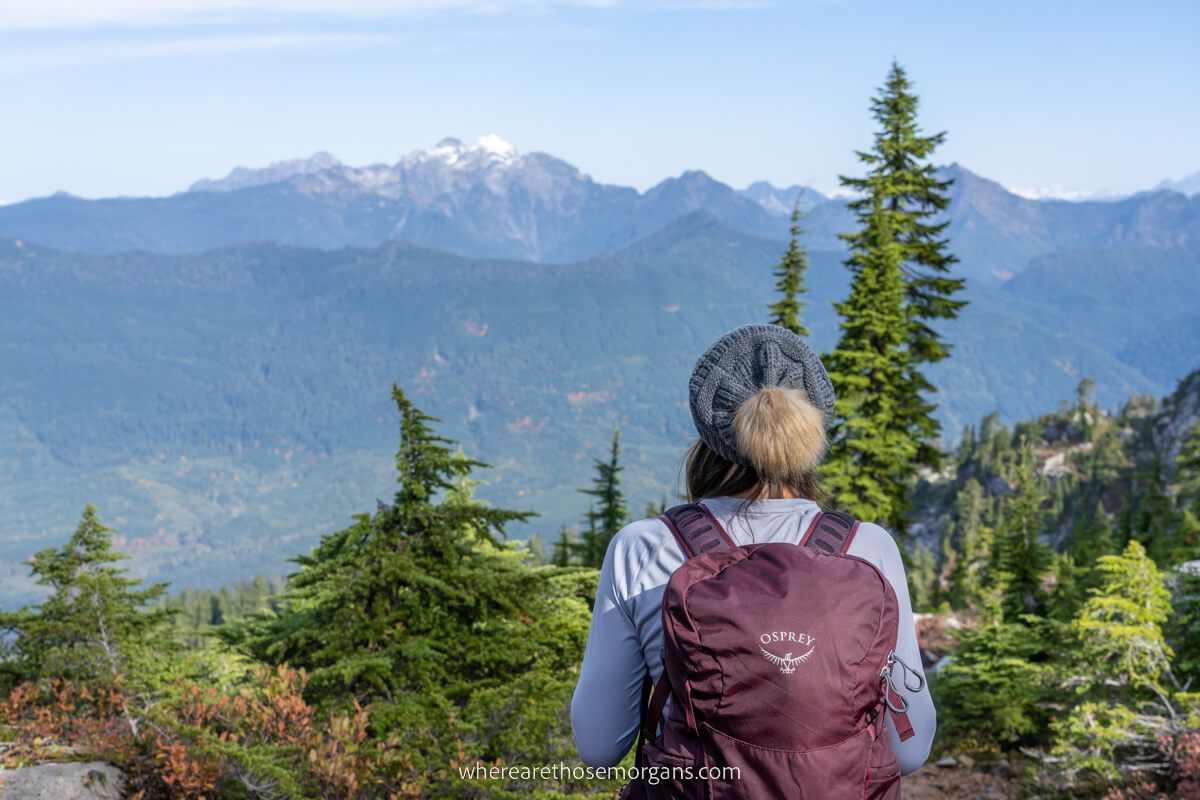
Beginner hikers should start with a small daypack. We used an old Jansport and Herschel bag we found laying around the house until we got comfortable with the trails. But if you come to enjoying hike like we did, we recommend you buy a supportive hiking backpack. These bags have a specific ergonomic design to help with weight distribution to help reduce the risk of back pain and injury.
You want look for a backpack made with strong quality materials and a hip belt to help transfer the weight off your shoulders. We like bags with a dedicated hydration reservoir so we can carry a lot of water during our hikes as well as small pockets on the outside to easily store a few essentials for quick access. We’ve used Osprey backpacks since starting this blog in 2018 and highly recommend their hiking backpacks.
14. Use An REI Membership

We mentioned at the beginning of this guide that you don’t have to go out an purchase expensive hiking gear. But we’ve learned that you get what you pay for so if hiking is something you want to continue doing, you should consider buying better quality gear to last longer on the trails.
The best way to do this is to purchase an REI membership because not only will you save 10% on every purchase, but you’ll have access to major annual sales and discounts on used gear through the REI outlet. We’ve used our membership to slowly build up our hiking gear one piece at a time. Remember, Rome wasn’t built in a day!
REI is a great option because they carry all of the popular brands such as Osprey, Patagonia, Black Diamond, Columbia, etc. At the end of the year, you’ll receive dividends like the one in our photo above so you can put it towards more gear in the future.
15. Enjoy Your Hiking Journey
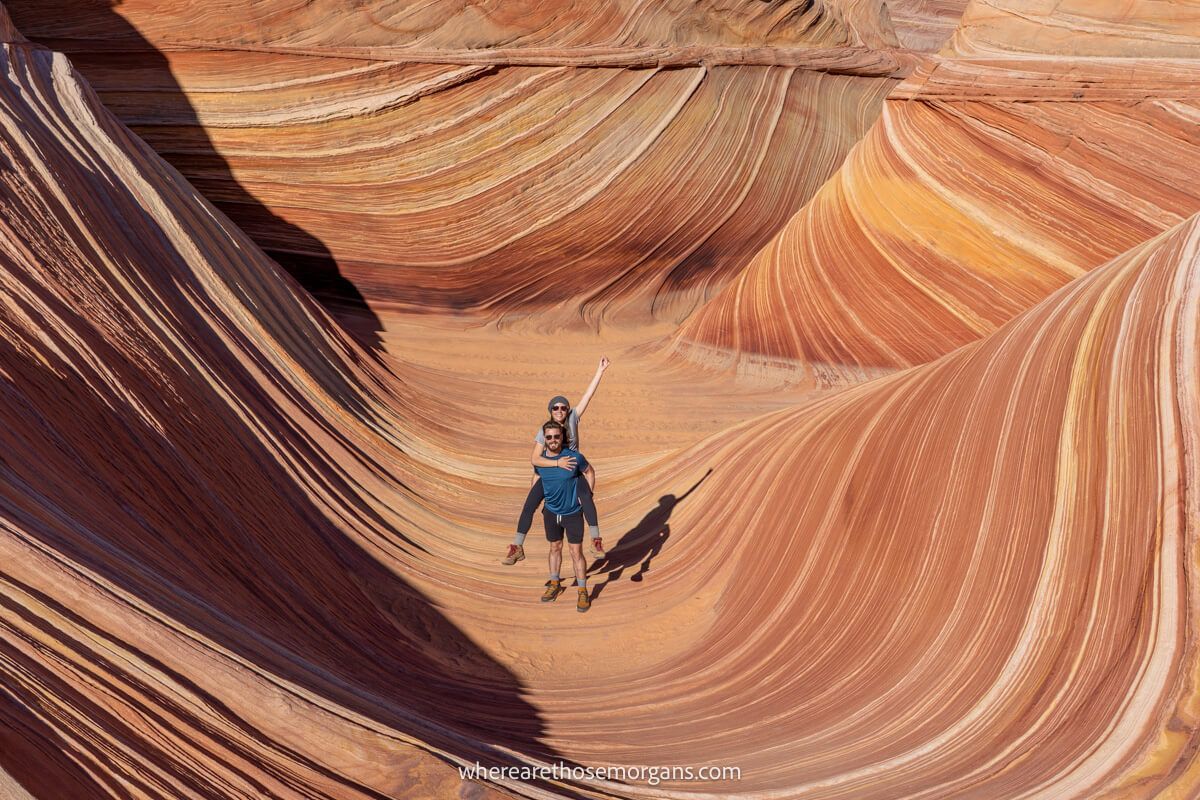
The last tip we can give you in this beginner hiking guide is to enjoy every second because it’s not about the miles, it’s the journey that counts. Every time we summit a new mountain or complete a difficult trail, we find it’s not always the views that matter, it’s the laughs and memories created along the way. Sometimes a misfortune can turn into a funny story so always try to stay positive.
It’s completely normal to have some concerns about safety when hiking, but the moral of the story is you’re much safer than you think. Hiking is sometimes a mental game, especially if you push yourself to tackle a longer more difficult hike. But as long as you wear the correct gear, carry the right essentials and map out your hiking route, you’ve already given yourself the best possible chance of a successful hike.
However, accidents can happen to both novice and experienced hikers even if you follow all of these precautions. So you should always tell someone where you plan to hike and what time you’ll be back. Leave a map with someone you trust which shows the trails you plan to hike. If something happens and you don’t check in, this way they’ll know exactly where to send help. You can also have discuss a contingency plan in case you do not return within that timeframe.
More Hiking Resources
- Top rated hiking trails in the US
- Best hiking and outdoor apps
- Our tried and tested gift guide for hikers
- Everything you need to pack for a day hike
- 20 amazing hiking trails in Utah
Want more hiking content? Head to our Hiking Guides for more tips and explore the world’s best hikes.
We hope our hiking tips for beginners guide helps with planning your next outdoor adventure!
Please let us know if you have any questions in the comments below.
Happy Hiking,
Mark and Kristen
Enjoy this guide? Pin it for later!
All Rights Reserved © Where Are Those Morgans, LLC. Republishing this article and/or any of its contents (text, photography, maps, graphics, etc.) in whole or in part is strictly prohibited.

I’ve probably fallen foul of most of those tips and no doubt will do again, some people never learn, but I have no excuses now.
Most of us have Graham! But you’re right, you have no excuses now you can refer to this guide!