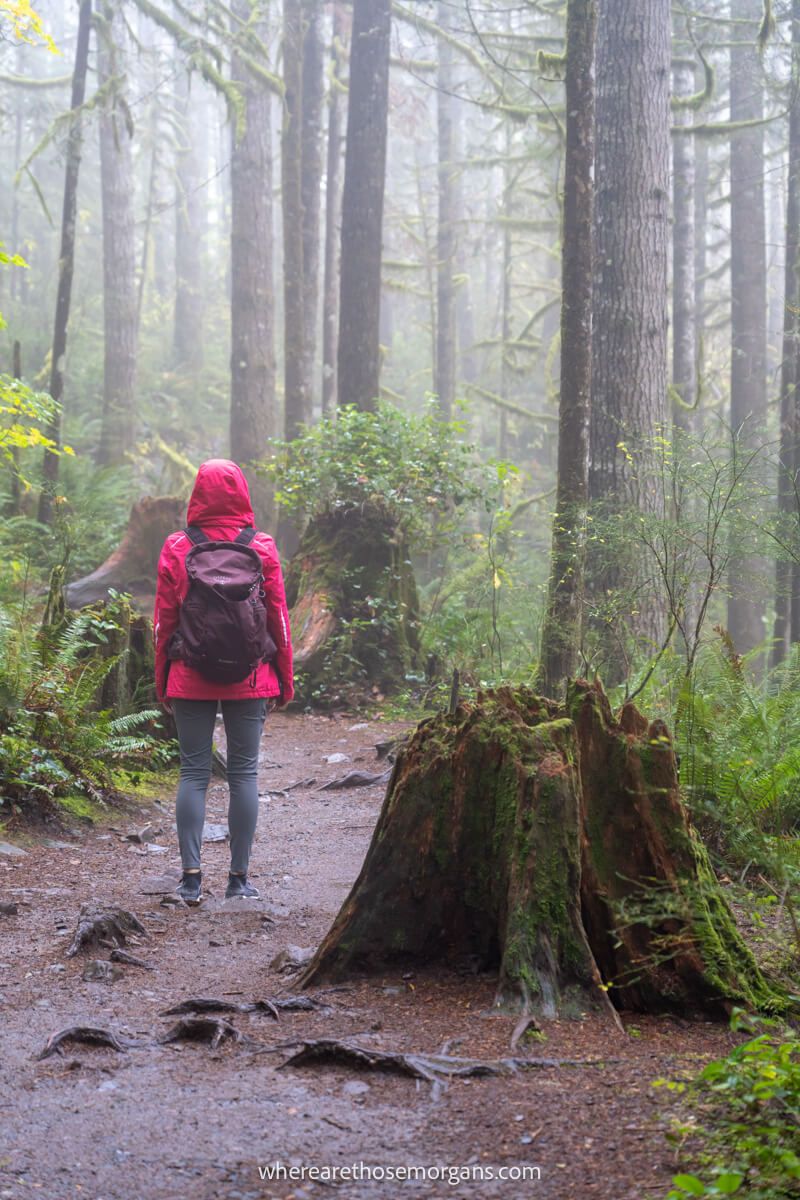
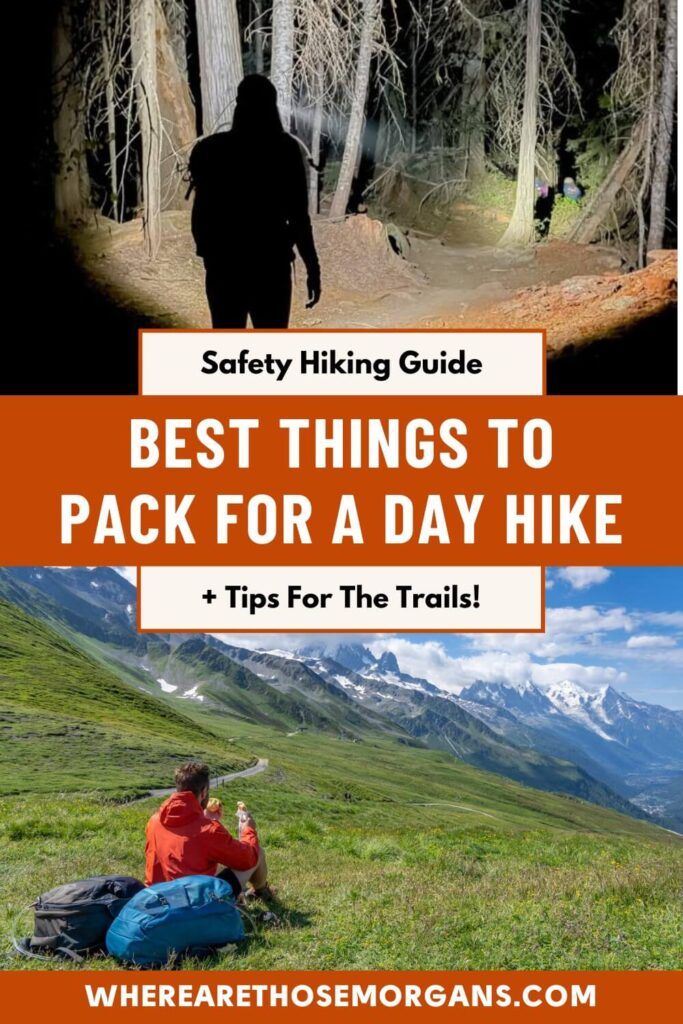
Packing for a hike can be overwhelming, but it becomes second nature the more you do it. When we first started hiking, we had to learn about the 10 essentials so we could stay safe on the trails and we want to extend this knowledge onto you.
In this guide we’ll share the things we always pack for a day hike including the 10 hiking essentials that can help you survive an emergency scenario. We’re firm believers that when it comes to safety, you can never be too prepared. Read more about us.
Since starting this blog in 2018, we’ve hiked some pretty epic trails including Tour du Mont Blanc, the W-Trek in Chile and the Inca Trail to Machu Picchu. We’ve also driven around the US twice in our SUV so we’ve spent a lot of time exploring the best hiking trails in the United States.
But if there’s one thing we’ve learned it’s that you have to expect the unexpected when it comes to the wilderness. Over the years, we’ve seen and helped with our fair share of emergencies along the trails because even experienced hikers aren’t immune to problems. Our goal is to help you prepare for anything that might come your way during your next hike. Okay, let’s begin!
Note: Our content is reader supported and contains affiliate links. If you make a purchase through one of these links, we may earn a small commission at no extra cost to you and it helps us keep this site running.
Packing Basics
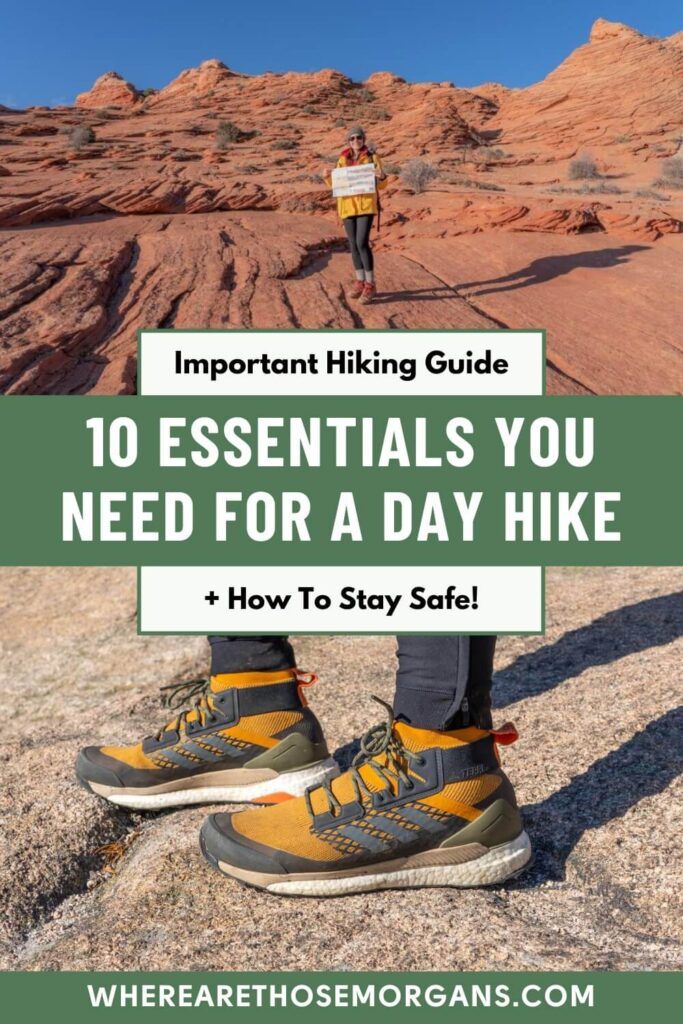
The best place to start when packing for a hike is with the ten essentials. These are a collection of emergency and first aid items that will help you survive should anything unexpected happen. Here’s what it includes:
- Navigation
- Emergency shelter
- Illumination
- Fire
- First-aid
- Knife and/or mini-repair set
- Sun protection
- Hydration
- Nutrition
- Insulation
Depending on how long you plan to hike, you might only need a few items or you might need more than what we’ve listed. Please remember this is only a guideline and your needs may vary. Tailor our packing list to suit your hike as necessary.
Now, let’s pack the 10 hiking essentials!

While you hike, you’ll have to navigate your way along the trail to make sure you’re following the correct route. Sometimes trails can be difficult to find and may overlap with other hikes so you’ll have to identify the right way. It’s smart to carry 3 forms of navigational tools:
- GPS system (downloaded maps for offline use)
- Up to date paper trail map
- Compass
A physical map is the most reliable form of navigation. You can typically pick up a physical map at a visitors center, at the trailhead or by purchasing one ahead of time. In case of bad weather, you should also keep a paper map inside a waterproof bag. Often times you can find a trail map located at the trailhead and we always like to take a photo of this before we start hiking.
But paper maps are not the most convenient when exploring outdoors so many hikers use a digital map in the form of smartphone apps. These are great because they can be downloaded for offline use and can track your progress as you hike. We always recommend Gaia GPS for accurate navigation or AllTrails to learn about recent trail conditions, but you can read our guide about popular hiking apps for more options.
However, you should not rely on your phone alone in case it dies during your hike. Always make sure you know how to use a topographical map and read a compass before going out. For extended trips into the backcountry, you should consider a satellite communicator such as a Garmin inReach Mini.
Hiking Tip: If you’re hiking in a new place, bring at least 2 forms of navigation so you can stay orientated.
2. Emergency Shelter
Shelter is one of the most important things you can carry in an emergency situation where you’re injured or stranded. A tarp, tent, bivy sack or an emergency blanket are all lightweight items that can protect you from the elements in case you have to spend an unexpected night outdoors. Here are the differences:
- Bivy – A waterproof and windproof option that can reflect up to 90% of your body heat back to you
- Survival tent – A no frills 2 person tent option with paracord
- Emergency blanket – Made from mylar foil, this small blanket will help keep you warm
We always carry an emergency blanket on every hike no matter how short. You just never know when an emergency can happen and these blankets give us peace of mind. For long hikes, we’d recommend at least a bevy if not the small survival tent. A large plastic trash bag can also work in a pinch.
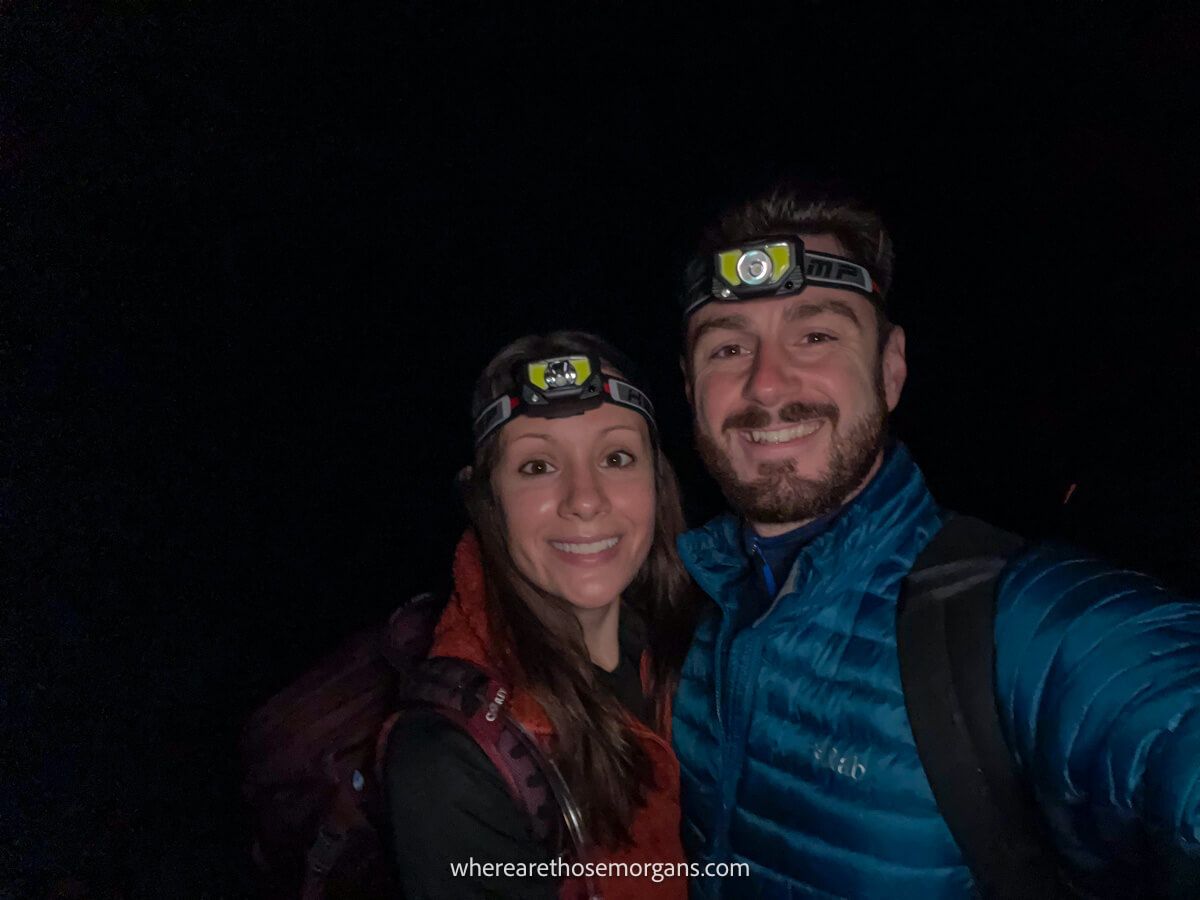
3. Illumination
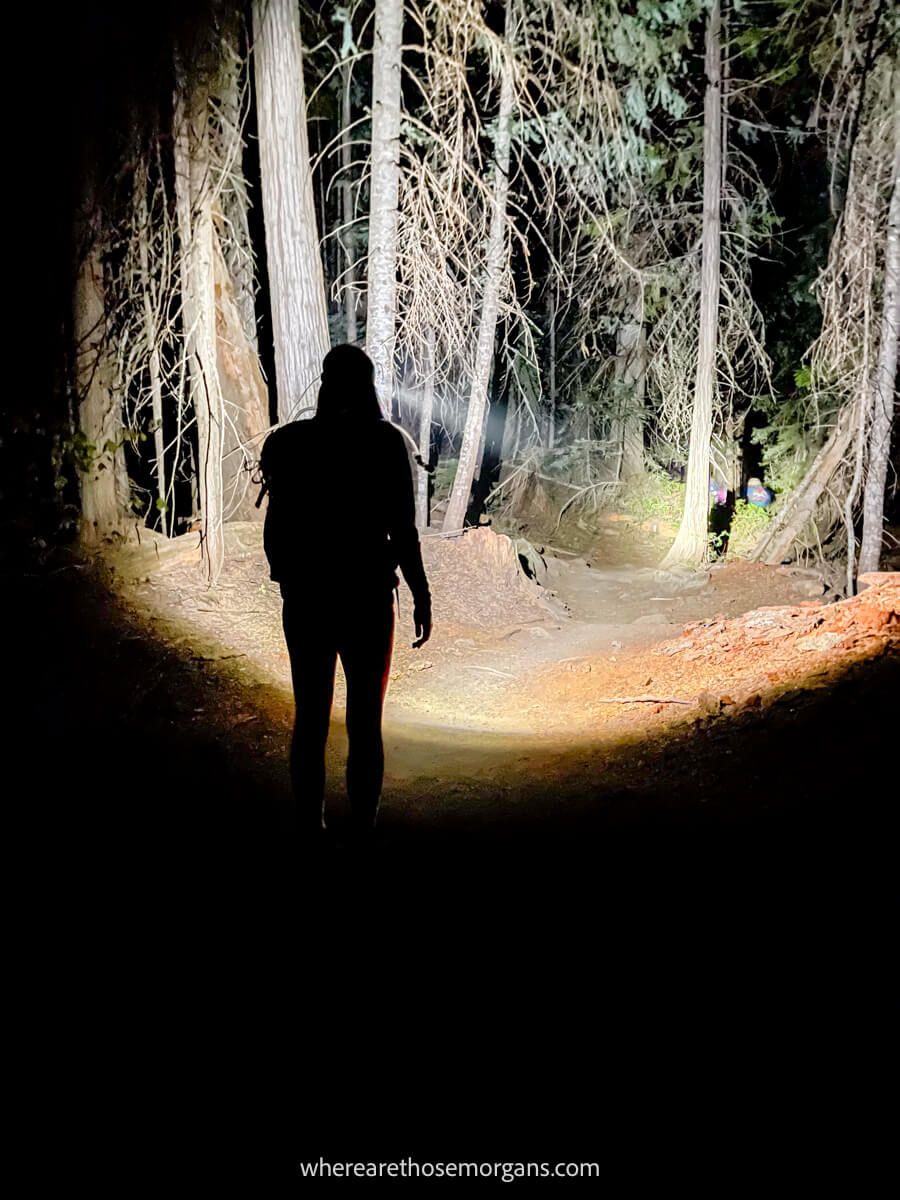
Often overlooked, lighting is another emergency essential all hikers should carry. Illumination includes items such as flashlights, lanterns, and headlamps. Personally, we prefer to use headlamps because it frees up our hands while hiking. Headlamps are also great for photographers because the red light option will preserve your night vision when hiking in the dark for shoots.
Beginner hikers may be temped to rely on their cell phone flashlight as their sole means of illumination. But this will leave you stranded when your phone battery dies so we never recommend using just your phone. We love Black Diamond headlamps because they are durable, waterproof, chargeable and highly rated. If your headlamp is rechargeable, make sure it’s fully charged before hitting the trails.
Hiking Tip: We always throw in a small flashlight just like this one so we have multiple forms of light should we need to use it. Keep your light source in an easy-to-access pocket in your backpack.
4. Fire
Fire is a multipurpose element because it can serve as both a heat source and an emergency signal. You should always carry an igniter such as waterproof matches as well as fire starters because they are lightweight so they won’t take up much space. An ideal fire starter ignites quickly and sustains heat.
It’s also very important to know how to start a fire just incase an emergency leaves you injured, lost or stranded. This is a basic survival skill all hikers should brush up on before hitting the trails. We like this video from REI because it shows how to safely start a campfire. You should also familiarize yourself with fire use regulations for where you plan to hike.
5. First-Aid

Accidents can happen to you or anyone on the trail. Being prepared for all types of emergencies by packing first-aid supplies can be useful in both non-threatening and life-saving circumstances. There’s a saying that prevention is the best medicine which is what we strongly believe so always fix the small problems before they become big problems.
Start with a pre-made first-aid kit and modify it to fit your needs. We purchased this kit and then customize it for each trip. So depending on the difficulty and length of our hike, we change what we take with us. It’s also a good idea to regularly check expiration dates and learn basic first-aid skills if you’re faced with a medical emergency.
You can buy a pocket first aid guide or take a first aid course to brush up on your knowledge. We highly recommend you know how to prepare for venomous bites, sprained ankles, hypothermia and how to treat wounds or burns. A CPR certification can also be very helpful when trying to save lives.
A good first aid starter kit will have:
- Antiseptic wipes or alcohol prep pads
- Antihistamine for allergic reactions
- Antibacterial ointment
- Assorted bandages of all sizes
- Aspirin and Ibuprofen
- Blister treatment
- Gauze pads
- Hand sanitizer
- Insect sting treatment
- Medical tape
- Precision tweezers
- Small scissors
This is just a basic first aid list to get you started and you should evaluate each item in your kit. Make sure you know how to properly use everything you pack and don’t forget personal prescriptions or special items such as an EpiPen.
One lesson we learned the hard way is to always replace items you use. In September 2023, we went hiking in Shenandoah National Park and Kristen got stung in the ankle by a bee. She isn’t allergic, but we hiked several miles that day and her ankle swelled massively. Unfortunately, we had no antihistamines because we forgot to replenish our first-aid kit. Luckily, the park store had antihistamines, but she had to wait several hours to take them which was really uncomfortable.
6. Repair Kit And Tools
Another few essentials hikers should always bring on a day hike is a small pocket knife or a multi-tool along with a mini-repair kit. We always carry a Swiss Army Knife, but have since upgraded to this multi-tool. The multi-tool is a more robust and compact option with pliers, wire cutters, can opener, serrated knife and screw driver.
A mini-repair kit is practical for fixing small gear emergencies like a tear in your backpack or a broken strap. Small repair kits contain various items depending on individual hikers needs, but we always carry:
- Electrical or duct tape
- Safety pins
- Small scissors
- Polyester paracord
- Sewing repair kit
- Zip ties
Hiking Tip: One item we never leave home without is gear aid tenacious tape. It can fix holes fast with an ultra-strong stick and we’ve used it on multiple occasions.
7. Sun Protection
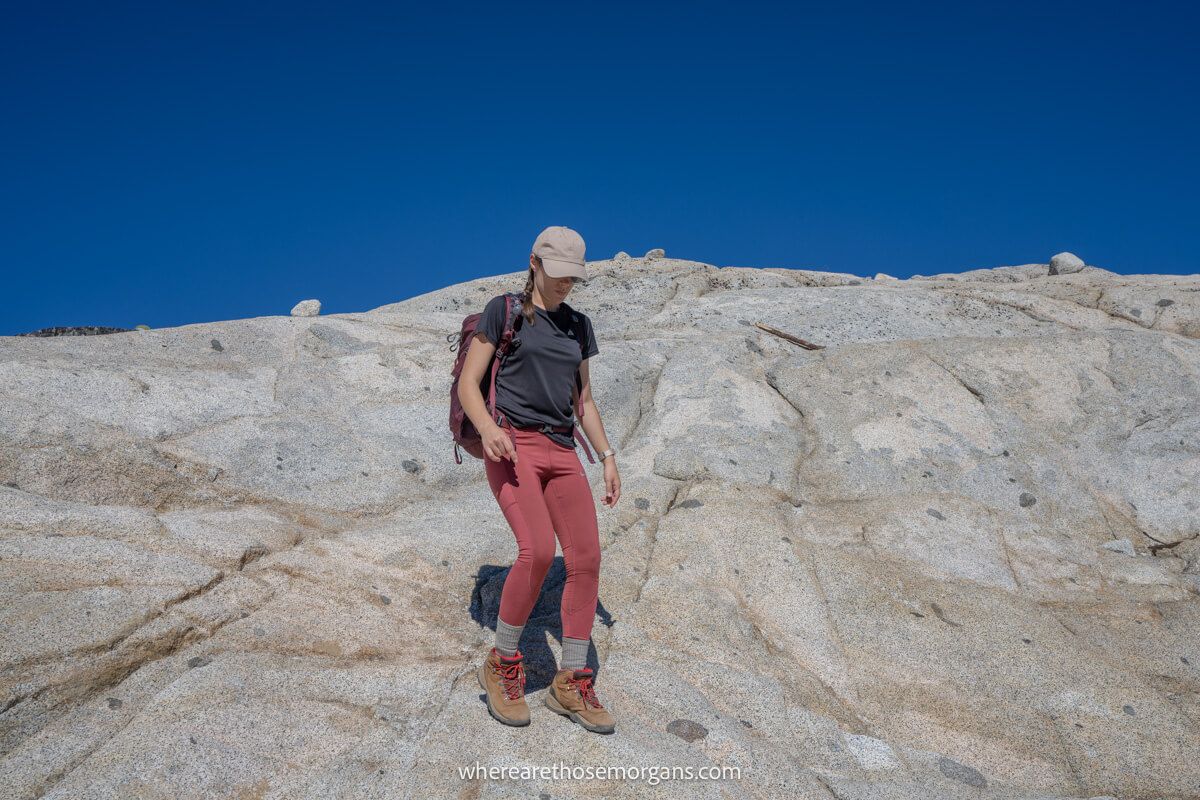
Just like any outdoor activity, you need to protect yourself from the sun while hiking. Here’s what every hiker should use for sun protection during a day hike:
- Sunscreen
- Sun hat or hiking cap
- Sunglasses
- Long-sleeved protective clothing
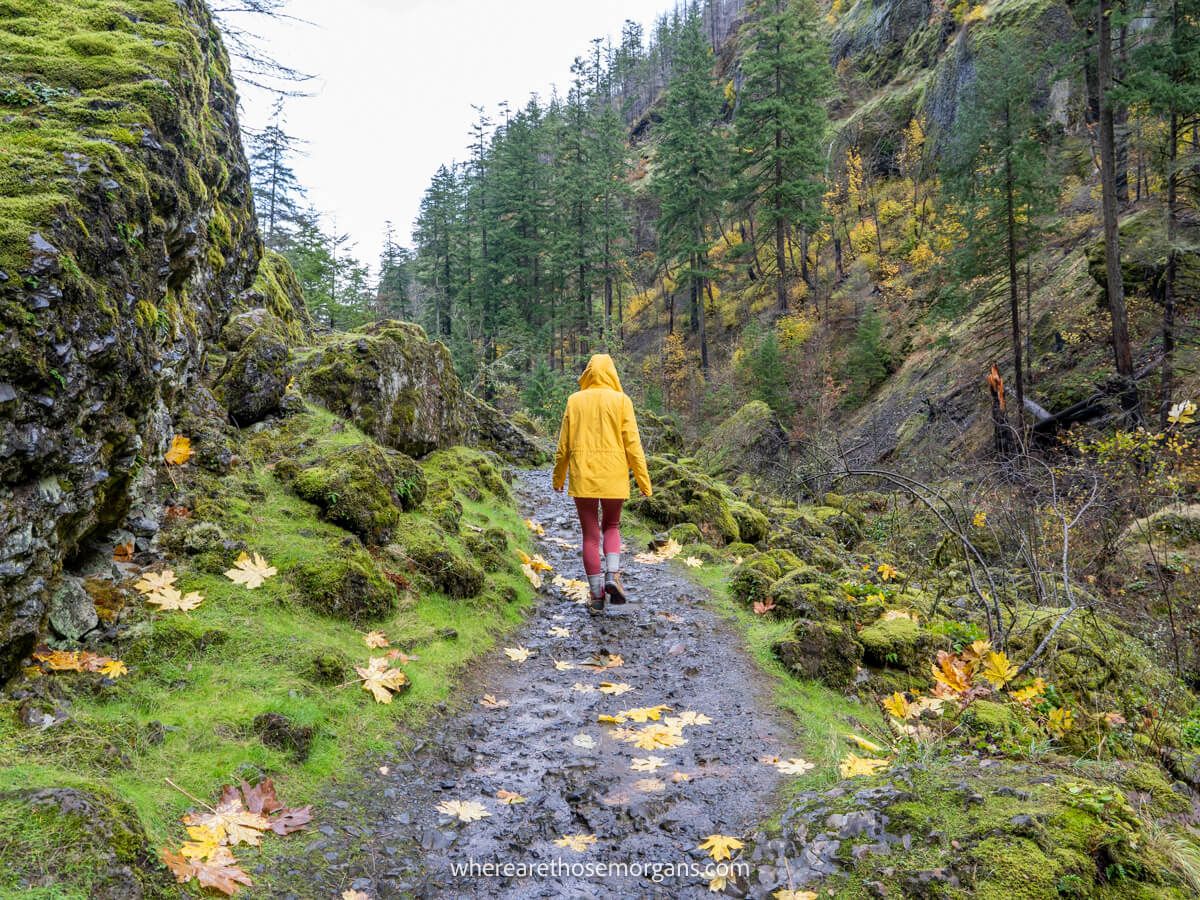
Sunscreen should not be your first line of defense for sun protection. Long sleeved shirts and long pants with Ultraviolet Protection Factor (UPF) are essential for any hike because this is the best way to naturally shield yourself from the sun. Dark colored clothing will protect you more compared to light colored clothing because dark colors absorb more UV rays. You also want to look for clothes with tightly woven fabrics to minimize sun exposure.
Choose a broad spectrum sunscreen that protects against both UVA and UVB radiation. Apply sunscreen at least 30 minutes before you hit the trail and use an SPF of 30 or higher. If you’re hiking at higher elevations, the sun is going to hit you much harder, but you may not realize it. The atmosphere is thinner at higher altitudes meaning it absorbs less UV radiation from the sun.
Keep in mind UV radiation intensity increases about 10-12% for every 3,000ft in altitude so sun protection becomes even more important. We always use a chapstick with SPF to help protect our lips at elevation. You can still get a sunburn even when it’s cloudy so it’s important to look after your eyes and skin properly. You can read more about sun protection here.
Hiking Tip: Try to avoid the sun when it’s at peak intensity between 11:00 am and 4:00 pm. Start your hike early in the morning or hit the trails later in the evening.
8. Hydration
Water is the most important item you can bring on a hike. It’s critical to bring even more water when hiking in hot dry climates or pushing yourself on very strenuous hikes. A good rule of thumb is to consume about 0.5L (16.9 ounces) of water for every hour of hiking in moderate temperatures. But you’ll need to double this number if hiking in warmer climates or difficult trails.
If you’re going on a shorter hike, the best way to carry your water supply is in a lightweight reusable water bottle. We love Nalgene Bottles because they are durable and hold a large amount of liquid. If you’re planning a longer hike, we recommend using a hydration reservoir (sometimes called a bladder). We typically use a 3L reservoir when hiking longer trails such as Mount Marcy in New York.
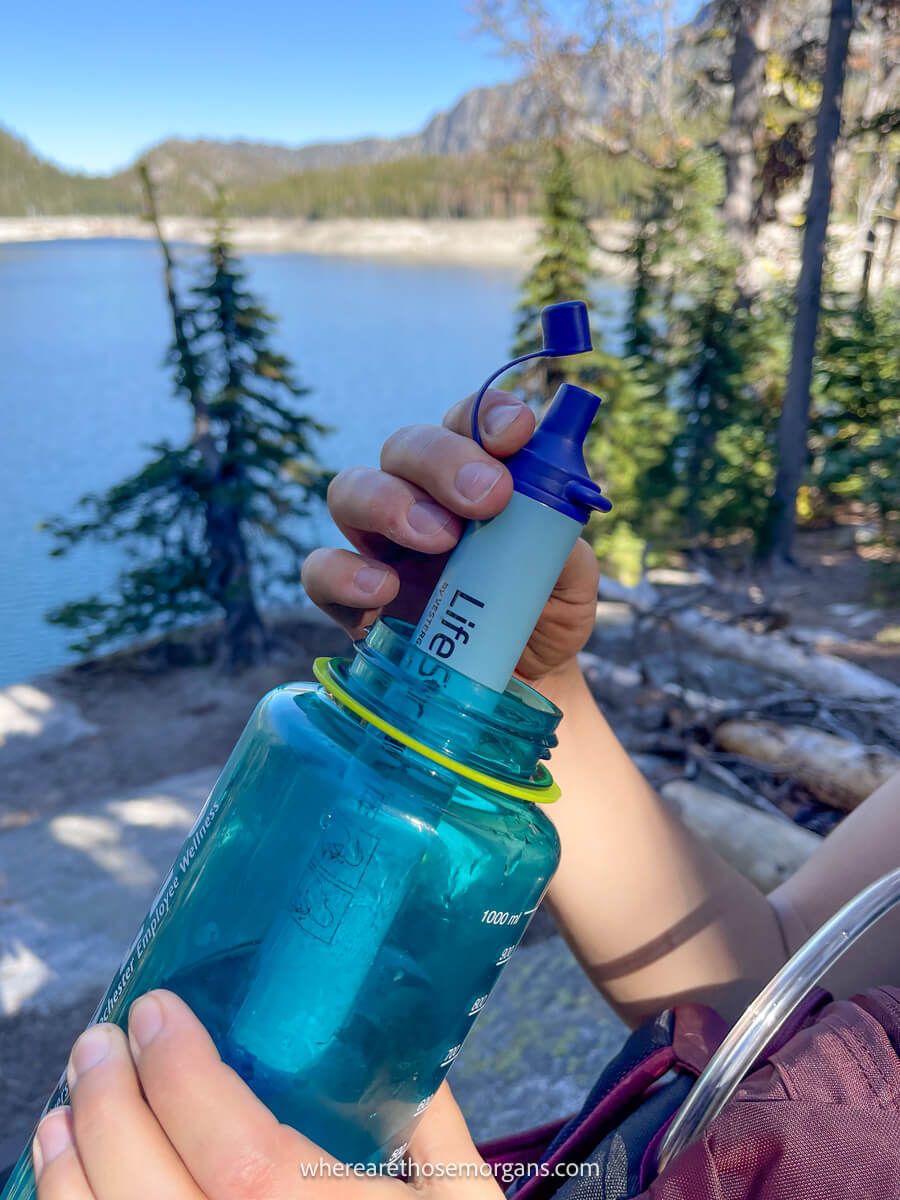
Another hiking necessity is a small water filtration device for emergencies. This is good to have in case your water source is depleted or you need more water urgently. A very popular option is the LifeStraw. We always carry this water filter as a back up during an easy day hike because you just never know what the trails holds.
Water purification tablets are another day hiking essential often used by long distance hikers. But it really depends on your preference and what you feel comfortable bringing on a day hike. One last item you may want to consider for your hike is something to help replenish your electrolytes. We typically use Gatorade, electrolyte chews or hydration tablets depending on what hike we plan to complete.
Travel Tip: We like to start with about 2-3L of water, especially when hiking in hot climates. You can always dump what you don’t use if you need to lose some weight towards the end of your hike.
9. Nutrition

Even if you’re only going for a day hike, it’s important to keep up your energy with extra food. We always use snacks as little rewards every time we meet a goal during a hike. And we save our best snacks to eat at the most enjoyable point such as the summit.
Here are some of our favorite things to bring for a day hike:
- Fresh fruit
- Jerky
- Crackers / cheese / pepperoni
- Power bars
- Homemade trail mix
- Hard boiled eggs
- Fresh sandwiches
You want to bring calorie-dense foods to help energize your body, but if you’re going on a longer hike you’ll need something a bit more substantial. Adventure Meals are a great option and we always throw in a few Emergency Food Rations when driving long distances through remote areas. Make sure you bring enough food to last the drive home as well. We always carry at least one full day of food even if going on a short day hike.
Planning to camp? Use our exclusive 30-day free trial with The Dyrt PRO. This app helps you find the best campgrounds and you can use Dyrt Alerts to receive notifications when sold out campgrounds have recent cancellations.
10. Insulation
In the last section, we’ll cover what to wear including a detailed description about basic layering concepts which is important for any day hike. Weather is very unpredictable, especially in the mountains so you’ll need to be prepared.
When we exert ourselves, our body temperature increases and in response, our body sweats to regulate the temperature. So the best hiking clothes will remove sweat quickly from your skin to keep you dry. Hikers should wear clothing made out of quick-drying and moisture wicking fabrics such as:
- Merino wool
- Nylon
- Polyester
You want to avoid cotton or denim because these fabrics easily soak up sweat which will leave you feeling wet and cold on the trails, especially the higher you climb in altitude. After finding the right materials, it’s important to know about the layering system. This is how hikers can quickly adapt for various weather conditions because layers can be easily added or removed to ensure safety as well as comfort. Here are the 3 main layers:
- Base Layer – Underwear layer that is in direct contact with your skin. Look for a lightweight base that dries quick and wicks sweat away from your body with odor resistance properties. These long sleeve shirts and Smartwool base layers are popular options.
- Mid Layer – Insulating layer that works to preserve your body heat. We typically use Patagonia Better Sweaters for both hot and cold climates.
- Outer Layer – The shell layer that protects you from the elements and it should be wind resistant as well as water repellant. We like to use the Patagonia Nano Puff or Patagonia Torrentshell jackets.
Layering is critical to preparing for a successful hike in cooler conditions, such as a visit to Yellowstone in October or similarly Yosemite in October. Or when hiking in the mountains, temperatures will be very different at the summit compared to the base. On a hot day with low elevation, you won’t need to worry as much about layering. Instead, you need to consider sun protection such as lightweight long clothing to prevent sun overexposure.
When initially hitting the trails, you shouldn’t be wearing all of your layers immediately. We like the saying “be bold and start cold” because this is a good way to remember how to appropriately dress. Once you begin hiking, you’ll quickly warm up so try to remove most layers before you start sweating. If the weather takes a turn for the worst, put on your shell layers before your clothing gets wet. The key here is to stay as dry as possible on the trails.
Hiking Tip: We don’t recommend hiking in tank tops because these shirts expose your shoulders to the sun and your hiking backpack may start to rub on your bare skin which can be very painful.
Hiking Footwear
We think hiking footwear is just as important as your layering system because what you wear on your feet can make our break your experience. The best way to figure out what kind of shoe you need is to work out what type of trails you’ll be walking on.
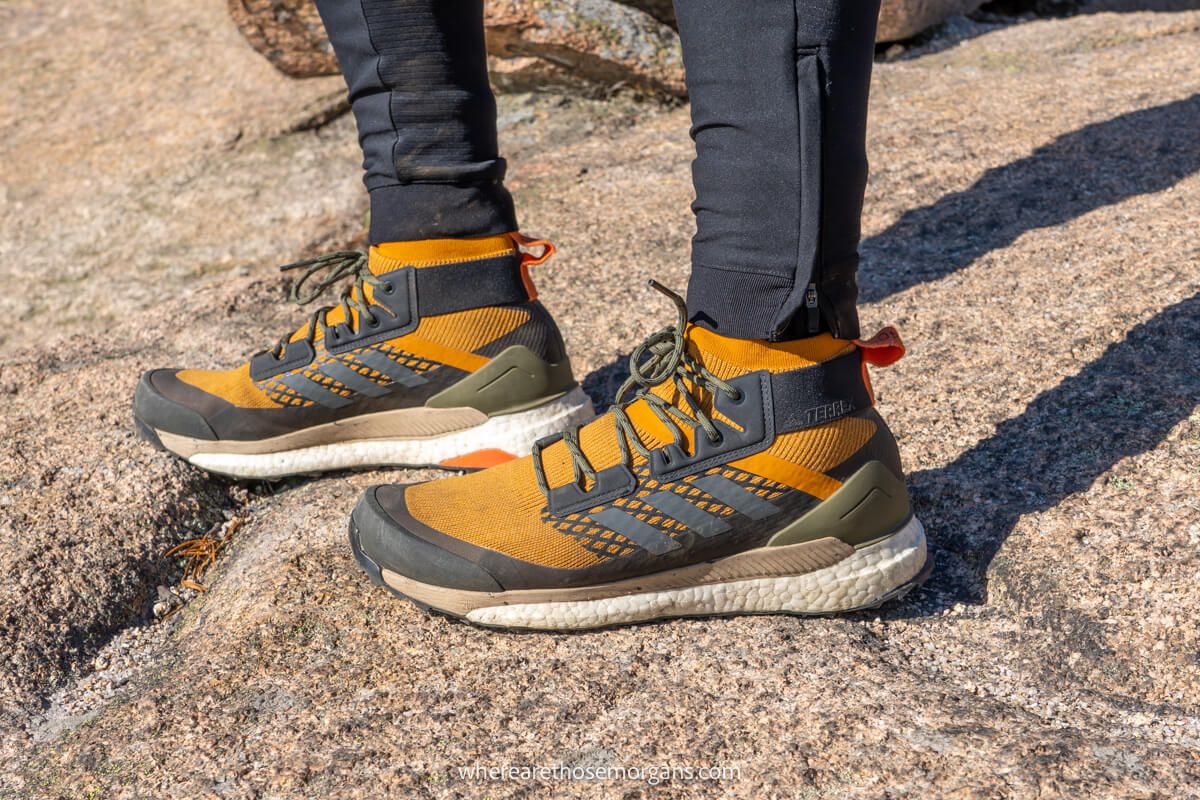
For shorter hikes on paved, sandy or smooth terrain, you should use a basic hiking shoe or a trail runner. These are durable as well as lightweight and offer the best balance protection for hikers.
Here are the best hiking shoes:
- Women – Merrell Moab 3, adidas Terrex Free Hiker or Danner Trail 2650
- Men – Merrell Moab 3, adidas Terrex Free Hiker or Danner Trail 2650
On longer hikes with rough and rocky terrain, we recommend hiking boots. These will provide good traction, support and stability. If you have weak ankles, you should look for boots with higher ankle support.
Here are the best hiking boots:
- Women – KEEN Targhee, Merrell Moab 3 Mid or Columbia Newton Ridge
- Men – Timberland Mt. Maddsen, Merrell Moab 3 Mid or KEEN Zionic
Hiking Tip: After hitting the trails, we always like to have a pair of sandals such as Birkenstocks waiting in the car. Trust us, your hot and swollen feet will thank you immensely.

After you found the right pair of shoes or boots to bring on your hike, you need to find the right pair of socks. Nothing will ruin a day hike more than blisters or cold damp feet. Similar to the clothing we’ve already discussed, you need to look for socks made from wool or a synthetic blend.
This type of fabric will wick sweat away and help to regulate the temperature of your feet. Hikers should avoid cotton socks because this material absorbs moisture and will lead to blisters. Our favorite hiking socks are Darn Tough. We’ve used these socks during our multi-day hikes over hundreds of miles and never had one blister. A cheaper option are Smartwool socks.
Hiking Tip: Choose a hiking sock that extends a few inches above the line where your footwear ends.
Best Backpack For Hiking
It’s critical hikers use the right kind of backpack. At first, you can use a bag you have laying around the house, but if you’re serious about hiking, you should purchase a hiking backpack because they are designed to give you the most support.
Typical day packs range from 15-30L in size. And unless you plan to do some serious backpacking, this should be enough to hold all of the items we discussed. You should also look for a hip belt to take some of the load off your shoulders. We like hiking backpacks with an interior sleeve for our hydration reservoir, but side pockets for a water bottle will work too. Make sure your bag is made from quality materials so it can withstand all types of weather.
We own several different hiking backpacks so we have options depending on the length of our day hike as well as our content creating equipment. Our favorite brand for a hiking backpack is Osprey, but we also like Peak Design to store our camera equipment. You can read our review of the Peak Design Everyday Backpack, but we don’t recommend it for long hikes.
Here are popular hiking backpacks:
- Day Hiking – Men’s Skarab | Women’s Skimmer
- Longer Hikes – Men’s Stratos | Women’s Sirrus
- Peak Design – Everyday Backpack
- Multi-Sport – Men’s Talon | Women’s Tempest
Extra Items To Think About

In addition to the 10 essentials for safety, there are a few items you should bring to make your hike a little more enjoyable.
- ID – Always carry some form of identification such as a passport or drivers license.
- Cards, cash or coins – In addition to our cards, we always like to have some cash and coins especially in remote ares where card may not be accepted.
- Required permits – Some trails such as Angels Landing in Zion require a permit so make sure you have a copy in case you’re asked for it.
- Trash bag – Following the principles of leave no trace, you should always carry out what you bring in.
- Insect repellent – The bugs are awful on certain trails like Bench and Snow Lakes at Mt Rainier and we always like to carry a small can of insect repellent to avoid getting eaten alive.
- Bear spray – If you’re hiking through bear county, carry a can of bear spray. But keep in mind some locations do not allow it such as Yosemite National Park.
For colder climates, you might also want to consider:
- Warm hat and gloves – You don’t have to wear these at all times, but it’s good to have them in your backpack.
- Buff – We love buffs because they are multi-functional. It’s a lightweight breathable fabric that can be worn as a scarf, headband, bandana or neck warmer.
- Kahtoola MICROspikes – These small chains are often required for safely hiking in snowy and icy conditions. They provide traction on slippery trails and fit right over your hiking boot or shoe. We take them when we hike at higher elevations and may encounter snow.
And that’s a wrap with everything you should bring on a hike. You might not need everything so pick and choose items based on your individual needs. Make sure you subscribe to our blog for a free day hike packing check list. We want you to feel completely prepared next time you hit the trails.
More Hiking Resources
- Useful tips for beginner hikers
- 10 popular hiking apps to download
- Cool gifts for people who love hiking
- Amazing hiking trails in the US
- 20 hikes you can’t miss in Utah
Want more hiking content? Head to our Hiking Guides for more tips and explore the world’s best hikes.
We hope our guide featuring the best things to bring on a day hike helps you prepare for your time outdoors!
Please let us know if you have any questions in the comments below.
Happy Hiking,
Mark and Kristen
Enjoy this guide? Pin it for later!
All Rights Reserved © Where Are Those Morgans, LLC. Republishing this article and/or any of its contents (text, photography, maps, graphics, etc.) in whole or in part is strictly prohibited.

Mark and Kristen spent 6 years traveling the world, visiting over 40 countries across 4 continents and more than 30 US states. They created Where Are Those Morgans in 2018 to help others plan the best possible vacations by writing authentic travel and hiking guides based on their real experiences.
Since the arrival of baby Maya in late 2024, Mark and Kristen’s extensive travels have slowed down but they still take plenty of trips. Where Are Those Morgans now helps millions of travelers each year to visit new places and hike new trails through information-packed blog posts and expert travel guidebooks. Read more about Mark and Kristen.