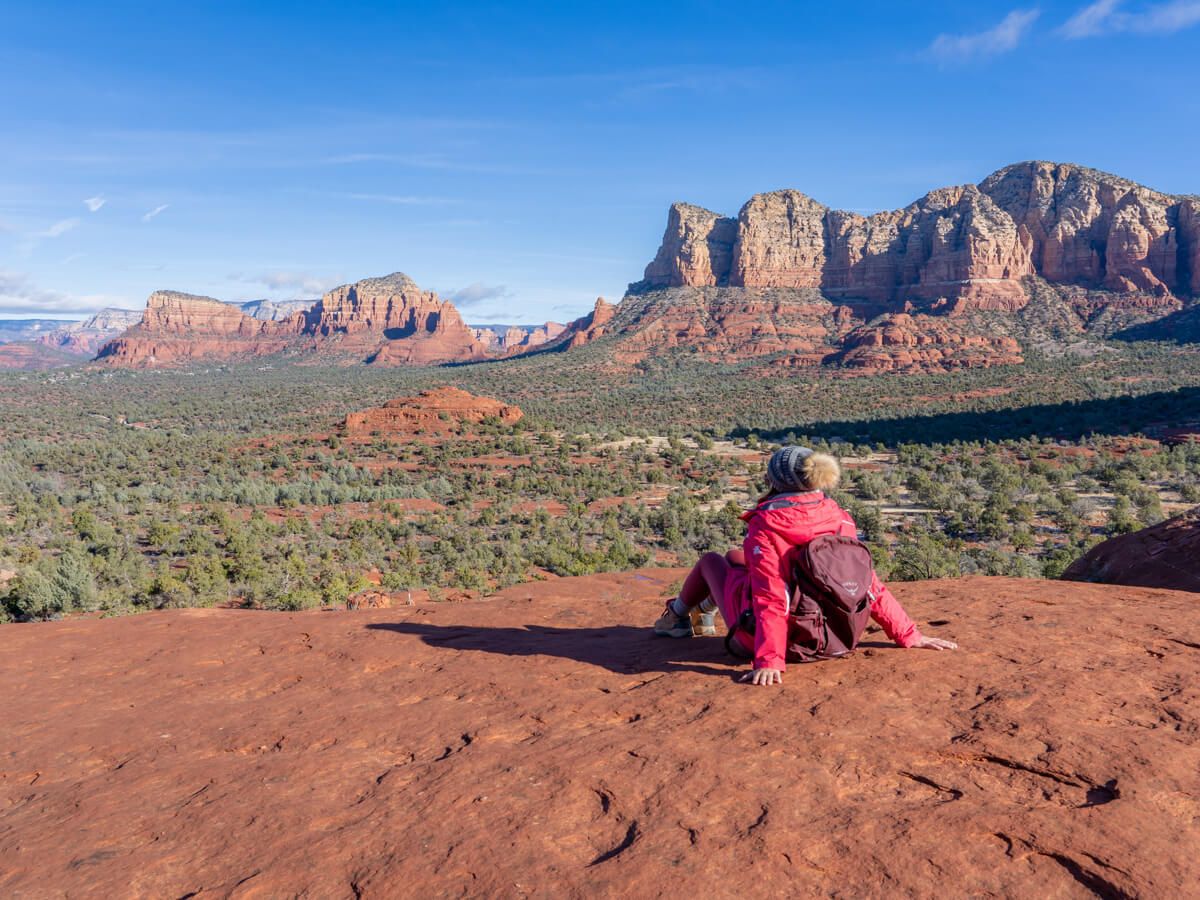
Bell Rock and Courthouse Butte are two popular natural landmarks located just south of Sedona and north of the Village of Oak Creek. The excellent Bell Rock and Courthouse Butte Loop Trail is a 4.5-mile trail with a total elevation gain of 800 feet, which encircles the base of Courthouse Butte before climbing Bell Rock to an adventurous loop trail with far reaching views.
In this guide, we’re going to walk you through everything you need to know about hiking the Bell Rock and Courthouse Butte Loop Trail in Sedona, Arizona based on our experiences.
Our Bell Rock And Courthouse Butte Experience
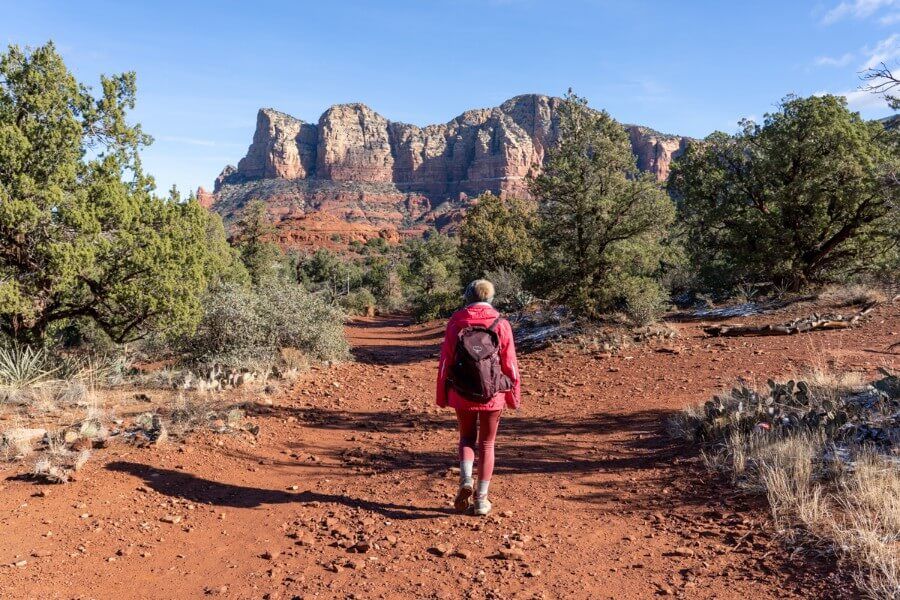
We hiked the popular Bell Rock and Courthouse Butte Loop Trail on a sunny but cold afternoon during our week long visit to Sedona at the end of 2021. It’s one of our favorite Sedona hiking trails.
Instead of heading straight up Bell Rock, we decided to walk the easier Courthouse Butte Loop first and then at the end we climbed a part of Bell Rock. The rocks were a little slippery so we didn’t get all the way to the summit.
But we did stumble across a secret loop trail that circumnavigates Bell Rock around half way up, which turned out to be awesome and we’ will tell’ll show you how to find it in this guide.
Hiking Tip: When exploring outdoors, be sure to always practice the seven principles of Leave No Trace to preserve natural beauty so others can enjoy the same environments.
Hiking Statistics
There are three ways you can hike around Bell Rock and Courthouse Butte:
- 1. Bell Rock and Courthouse Butte Loop Trail
- 2. Climb up Bell Rock
- 3. Bell Rock and Courthouse Butte Loop Trail + Bell Rock climb
If you’re looking for an easier hike with no climbing, you should walk the full loop trail without ascending Bell Rock. But if you want a challenge, you should definitely take on the Bell Rock climb.
It took us 3 hours to hike the whole loop, climb a portion of Bell Rock and walk the hidden loop that we found.
Let’s take a summarized look at trail distance, elevation, difficulty and time required for each version.
1. Bell Rock And Courthouse Butte Loop Trail
- Trail Distance: 4 miles
- Elevation Gain: 400 feet
- Hike Difficulty: Easy
- Time Required: 2 hours
2. Climb Up Bell Rock
- Trail Distance: 1 mile
- Elevation Gain: 400 feet
- Hike Difficulty: Moderate
- Time Required: 1 hour
3. Bell Rock And Courthouse Butte Loop Trail + Bell Rock Climb
- Trail Distance: 4.5 miles
- Elevation Gain: 800 feet
- Hike Difficulty: Moderate
- Time Required: 3 hours
Bell Rock Courthouse Butte Loop Trail Map
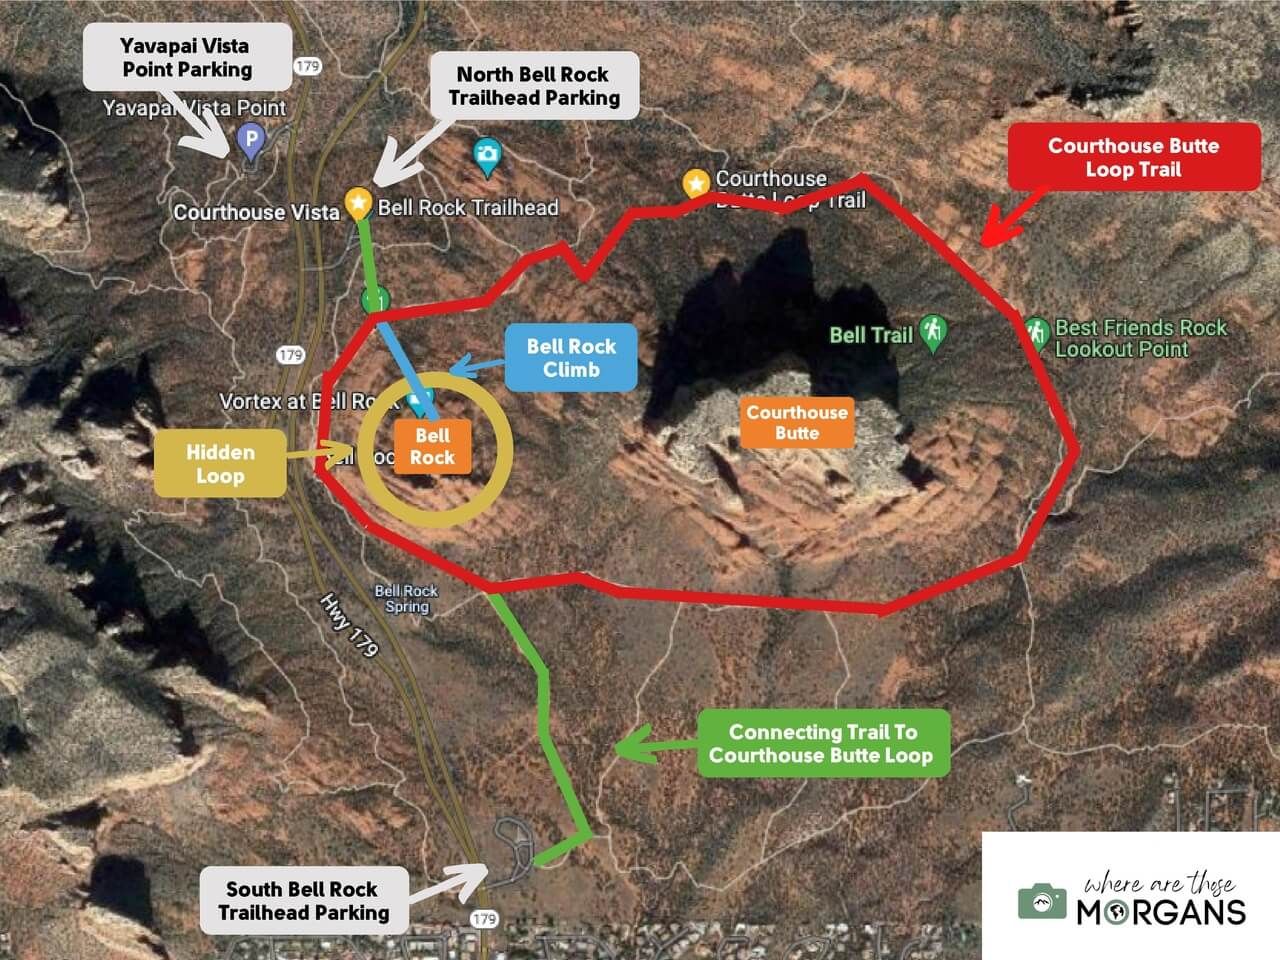
Image key:
- Orange Boxes – Bell Rock and Courthouse Butte locations
- Red Loop – Courthouse Butte Loop Trail
- Blue Line – Bell Rock Climb
- Gold Circle – Hidden loop trail around Bell Rock
- Green Lines – Connecting trails to the loop from north and south parking
- Grey Boxes – Parking options
Bell Rock and Courthouse Butte Loop Trail is part of a complex web of interconnected hiking paths in Sedona.
We found the trail names around Bell Rock and Courthouse Butte to be confusing because Google Maps, All Trails and the official trail names do not match up.
Use the image we created above to familiarize yourself with the Bell Rock and Courthouse Butte area before you begin hiking.
Bell Rock Courthouse Butte Loop Trail Walkthrough
Next, we’re going to walk you though the hike based on our experience with our own photos so you can see exactly what you are getting into!
1. Park And Begin The Hike
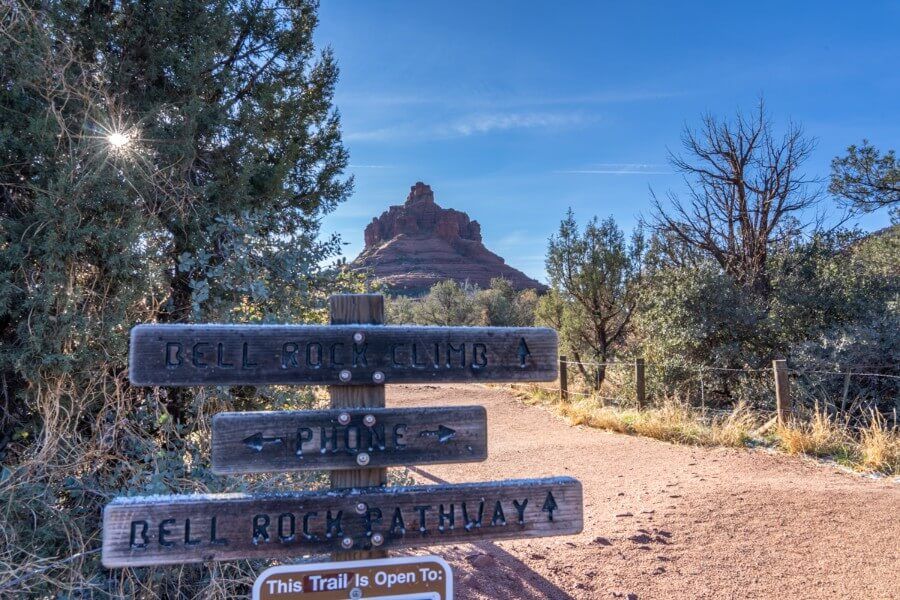
Park in the popular north parking lot and display a Red Rock Pass or America the Beautiful Pass on your dashboard before starting your hike.
If you have just arrived into Sedona and need to get a pass, you can buy one at a ticket machine right at the trailhead. There are also restrooms (vault toilets) you can use in this parking lot.
2. Take Bell Rock Pathway
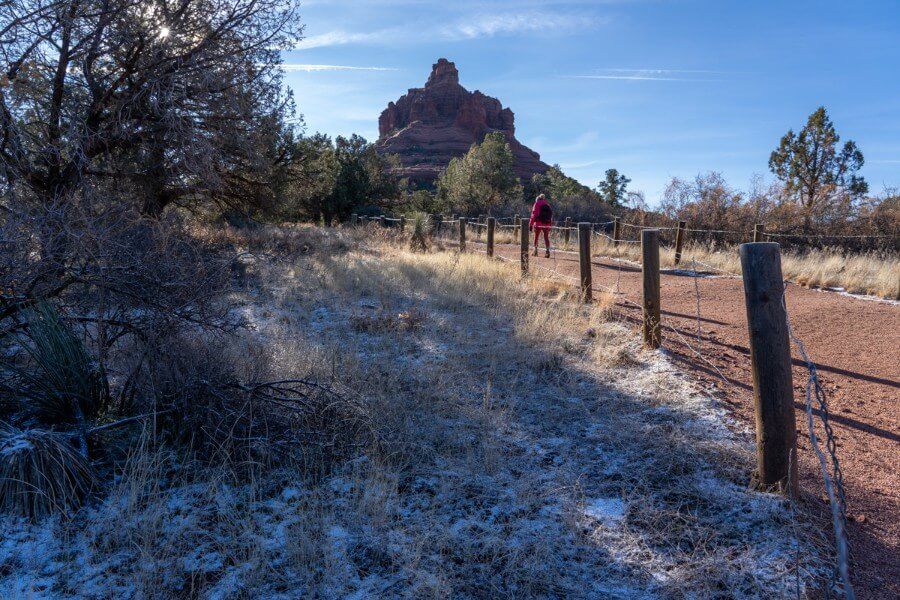
Head toward Bell Rock and Courthouse Butte which you can clearly see as massive towering formations from the parking area.
Next to the ticket machine and information board you will see Bell Rock Pathway sign posted. Follow the flat dirt packed path until you reach a trail junction.
3. Turn Left To Bell Rock Path
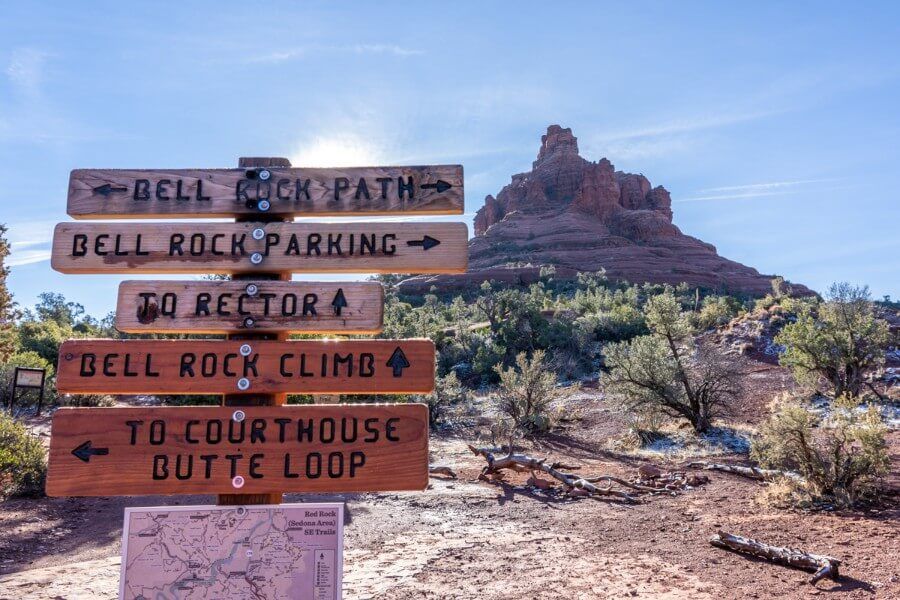
Bell Rock is directly ahead of you as you approach a crossroads. If you want to climb Bell Rock first, now is the time to go straight ahead. You can rejoin our walkthrough once you descend back to this point.
However, we suggest hiking the loop first so you can end with the most fun part.
Turn left for Bell Rock Path and Courthouse Butte Loop (as though you are hiking clockwise) and follow basket cairns consisting of stones wrapped in mesh wiring.
4. Take Llama Trail
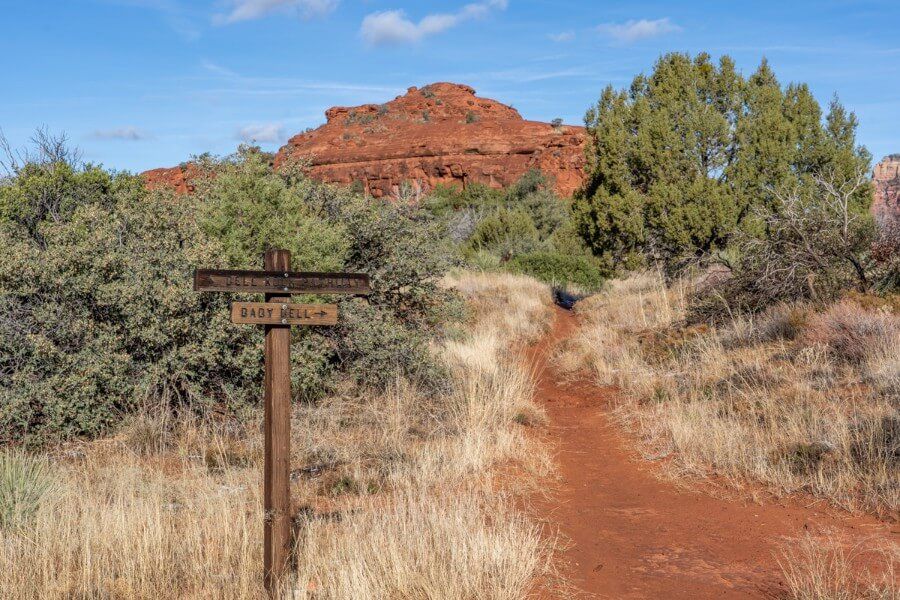
Walk along the flat Bell Rock Trail heading east for around 0.3 miles until you reach a split. You’ll see a sign for Courthouse Butte Loop Trail and Llama Trail, which you take and follow for 300 feet.
An optional left turn takes you on a loop around Baby Bell Trail (see the small rock formation in the photo above).
If you have plenty of time and you want to fully explore this area, there’s no harm taking Baby Bell Trail and rejoining Llama Trail just a few hundred meters further up.
5. Split Onto Courthouse Butte Loop Trail
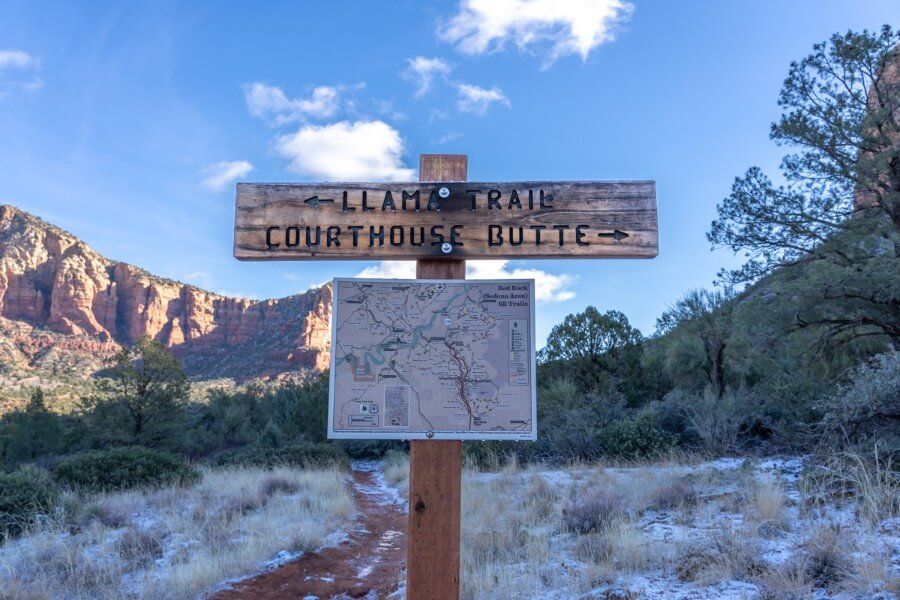
When you reach the fork in the path, take the right trail for Courthouse Butte (see the photo above).
If you are rejoining the trail from Baby Bell and Llama, you will come down the left fork and take a sharp left to join Courthouse Butte.
6. Follow The Loop
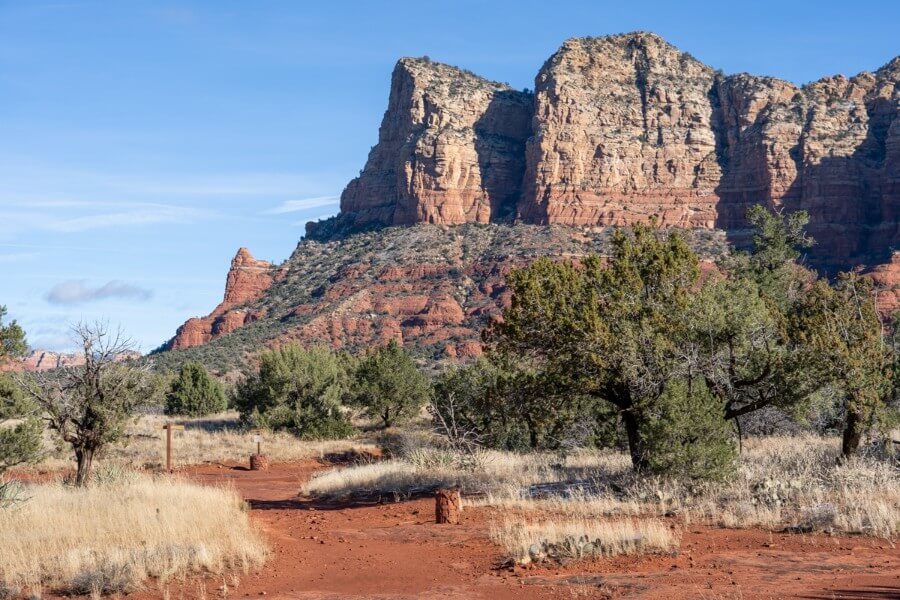
Continue to follow the dirt path and keep an eye out for the basket cairns.
The trail is relatively flat with very slight gains and losses in elevation. At certain points the trail is less obvious but you can still easily follow what looks like a beaten path.
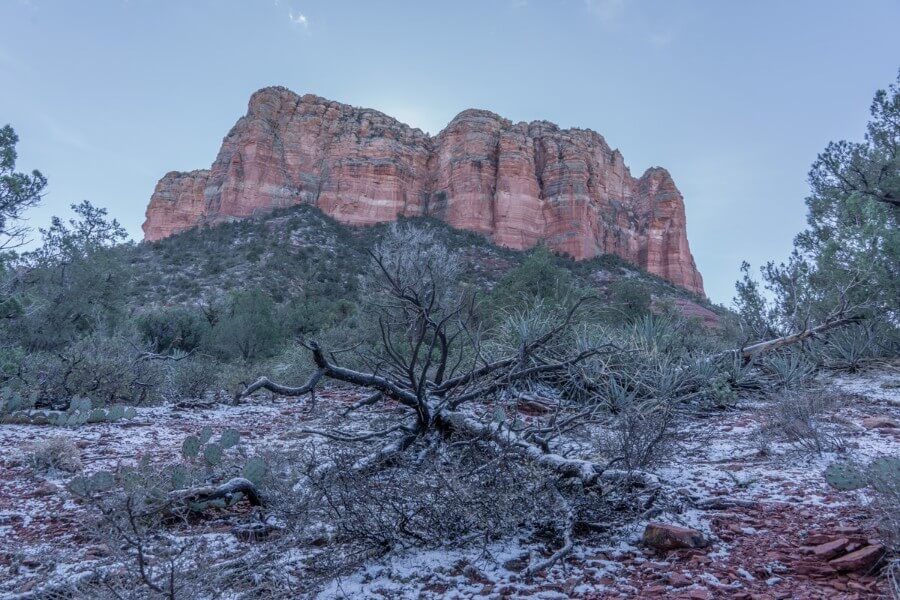
We hiked Bell Rock and Courthouse Loop Trail on a brisk December morning during our visit to Sedona in winter. This whole section of trail remains in shadow during the morning and can be cold if you visit Sedona in winter.
7. Look For The Domes With Flat Tops
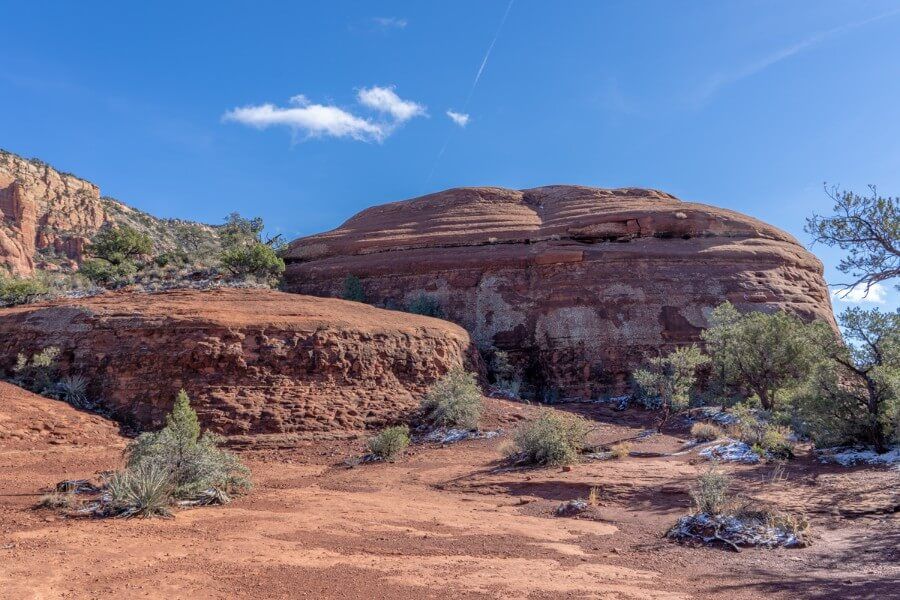
Keeping the enormous red and orange monolith of Courthouse Butte to your right at all times and begin to circle around the formation.
There aren’t any landmarks to use as reference points on the far side of Courthouse Butte until you reach two flat topped domes (pictured above). They look like stacks of pancakes and one is slightly taller than the other.
Stay to the right side of the rounded rock formations. This section of the trail has more of a well beaten path because it doubles as a horse riding bridleway.
8. Enter A Narrow Wash
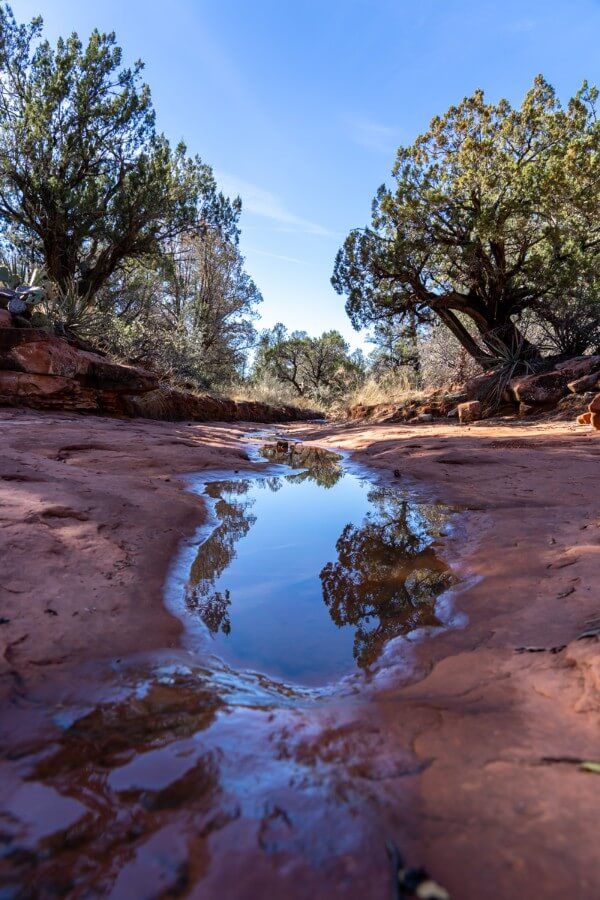
You’ll pass through trees and rough desert vegetation until you reach another split in the trail. As the trail forks, stick to the right side and you’ll enter a narrow wash.
There may be some water in the wash if you visit Sedona in spring, but there were only a few shallow puddles when we hiked the trail in December.
The creek is only around 500 feet long and at the very end you will reach an intersection.
9. Follow Signs For Big Park Loop
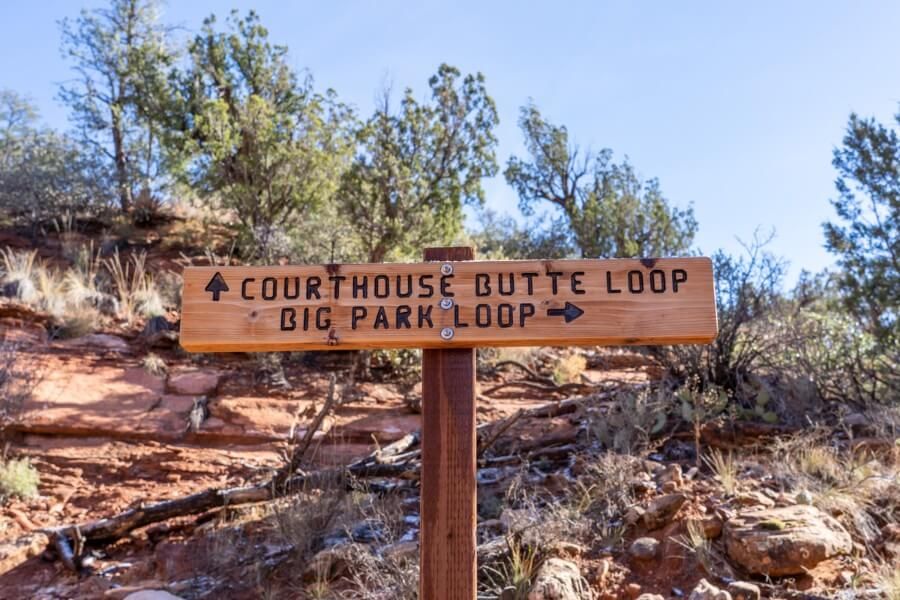
A left turn at the end of the wash and up the steps would take you onto Big Park Loop Trail (signed as Courthouse Butte Loop in the photo above). This would head south and eventually lead to the south trailhead parking lot.
But you want to follow the right turn sign for Big Park Loop. This will take you to the right side of the wash as you leave. Follow the right curving turn with stones to either side of the path.
If in doubt, just follow the path that sticks closest to the Courthouse Butte monolith.
10. Enter A Flat Open Field
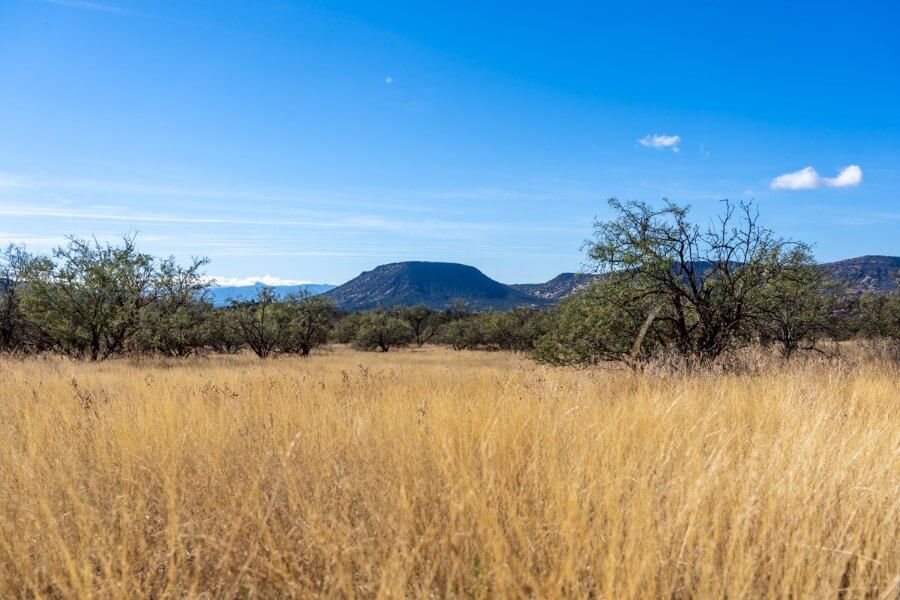
Coming out of the wash you have a slight elevation gain on dry red dusty stones. Around 0.3 miles after leaving the dry creek bed you will reach another intersection.
Left would take you along Middle Trail, which is popular with mountain bikers. But you want to stay straight on Big Park Loop Trail.
You are now in a picturesque and photogenic wide open prairie-like region. Courthouse Butte is very close to your right side so you can really appreciate the grandeur of the giant monolith.
11. Finish Courthouse Butte Loop
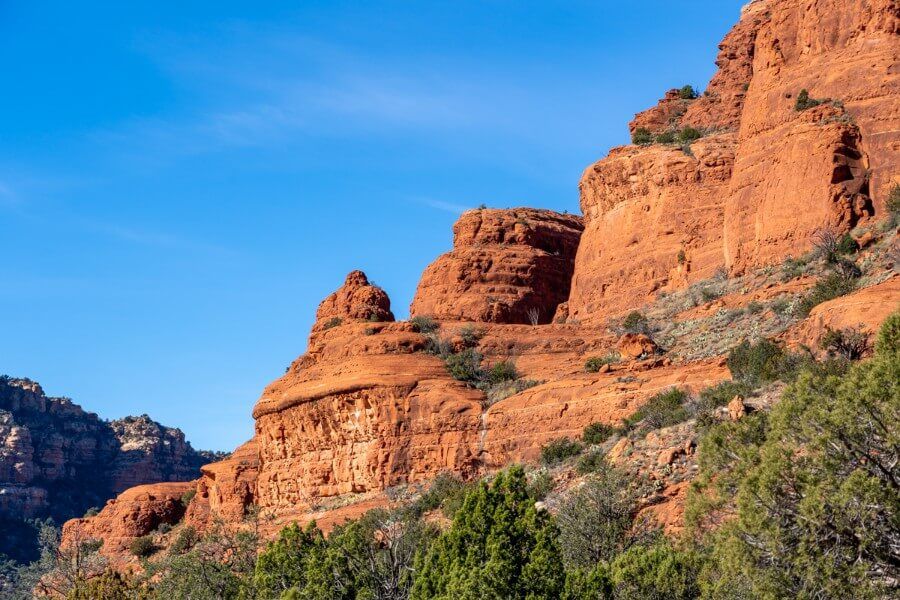
Continue straight ahead and pass by another left turn that would take you down to south Bell Rock trailhead.
Any of the cut through trails here will effectively lead from Courthouse Butte back to the south parking lot. You don’t want to take any of them.
One of our favorite parts of the entire hike was seeing what appears to be a mini Bell Rock formation on the back side of Courthouse Butte (see the photo above). That isn’t Bell Rock, even though it looks more like a bell!
12. Circle Around Bell Rock
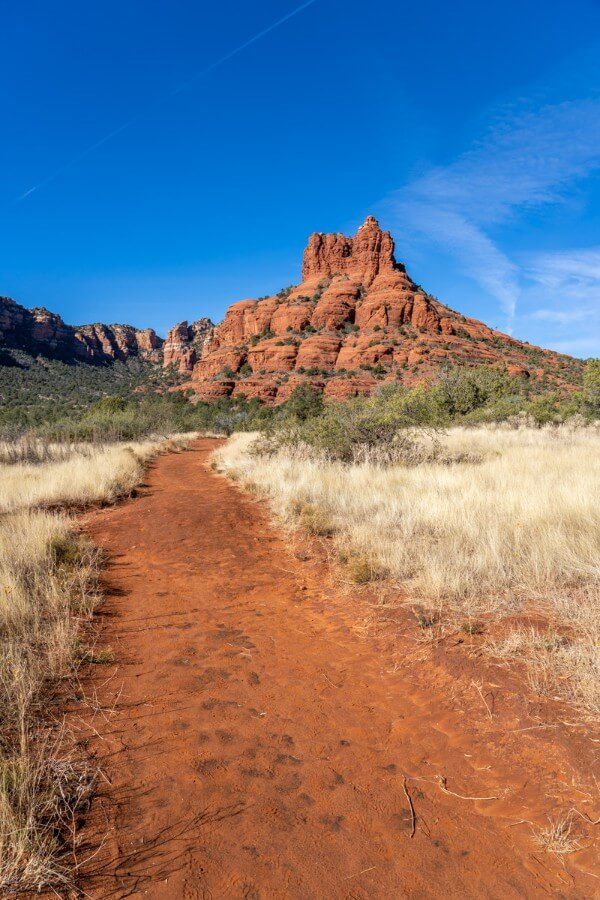
Eventually the real Bell Rock will appear from behind Courthouse Butte, and it will get larger and more prominent as you get closer.
Long grass, attractive trees and a standout orange dirt path make this point the most visually stunning part of the Bell Rock Courthouse Butte Trail.
Stick to the right side as the trail splits one last time, hugging closely to the side of Bell Rock. This final part of the loop gains more elevation before you arrive back to the Bell Rock Climb sign.
13. Climb Bell Rock
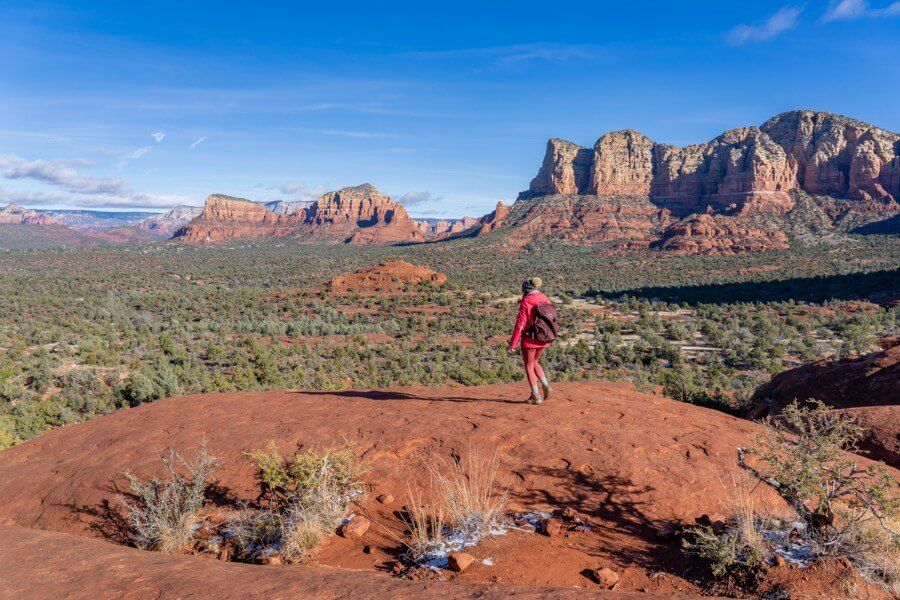
Adventurous hikers should not miss the chance to climb Bell Rock. You can scramble up to a high vantage point but you won’t be able to scale the bell without climbing experience and ropes.
Even if you only get half way up Bell Rock, it is still well worth the effort for the views you will receive as a reward.
Follow signs for Bell Rock Climb, look for cairns and see which routes other climbers are taking. Use common sense and shoes with good grips to avoid accidents.
We could only get to a certain point on the climb before it was too slippery to continue. Ice can be stubborn here because the route up Bell Rock is north facing.
14. Find The Secret Loop Route
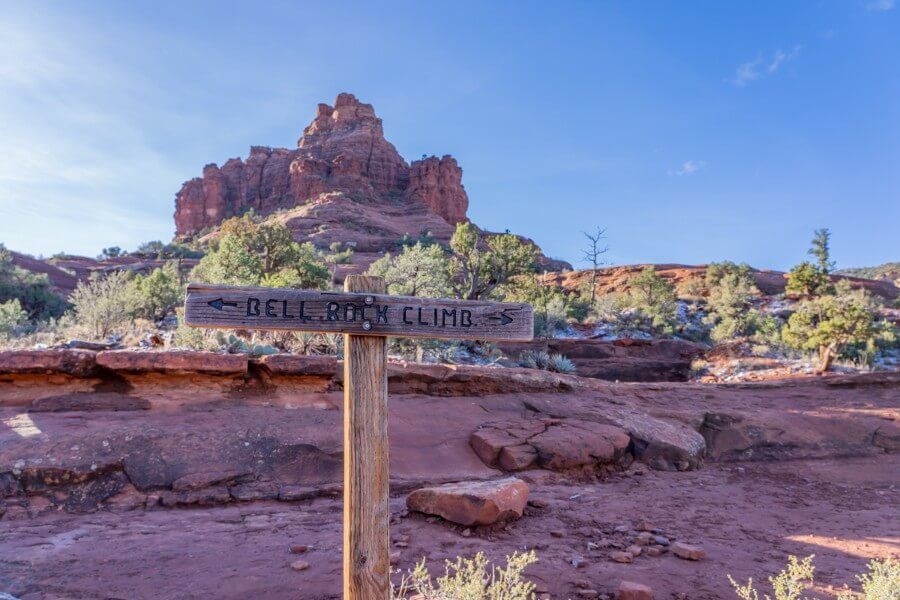
Here’s our hidden gem secret loop.
As you walk directly toward Bell Rock, you will climb a little and then reach a flat plateau. Once you reach the plateau with a sign stating Bell Rock Climb to the left and right, take the right turn.
By taking the right turn, you will be walking west and you will loop around Bell Rock half way up in an anti-clockwise direction.
You can do this hidden loop either before or after you climb up Bell Rock to the vantage point near the top.
15. Find The Gap In The Rocks
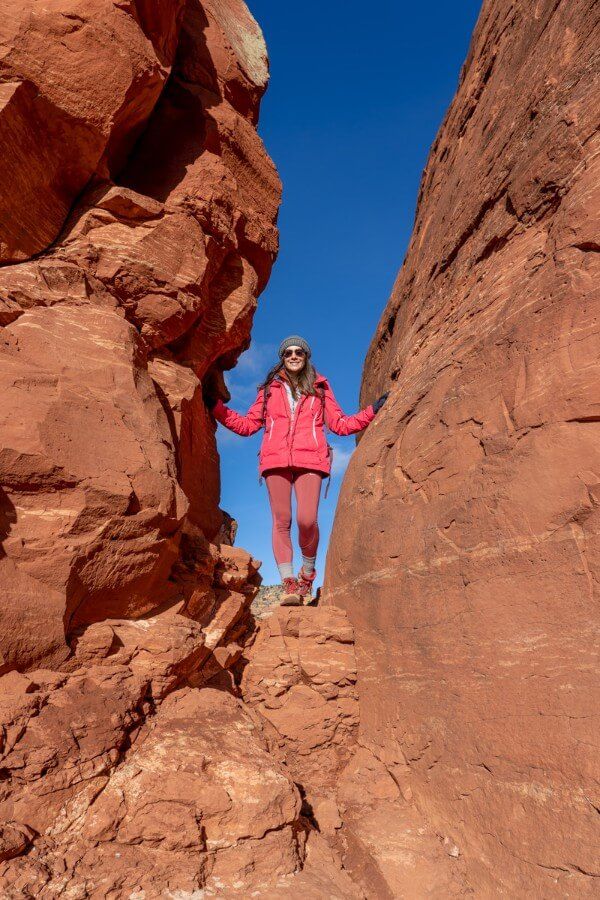
Stay close to the inside of the ledge and begin to circle around Bell Rock. You are walking on a designated trail but you will have to forge your own path at first.
No matter how you walk around this part, you must end up at a narrow V shaped gap between two rocks because that is the only way you can continue with this loop.
In the photo above we were already a quarter of the way around Bell Rock, looking back at the same view over Sedona you get from climbing Bell Rock.
16. Back Side Of Bell Rock
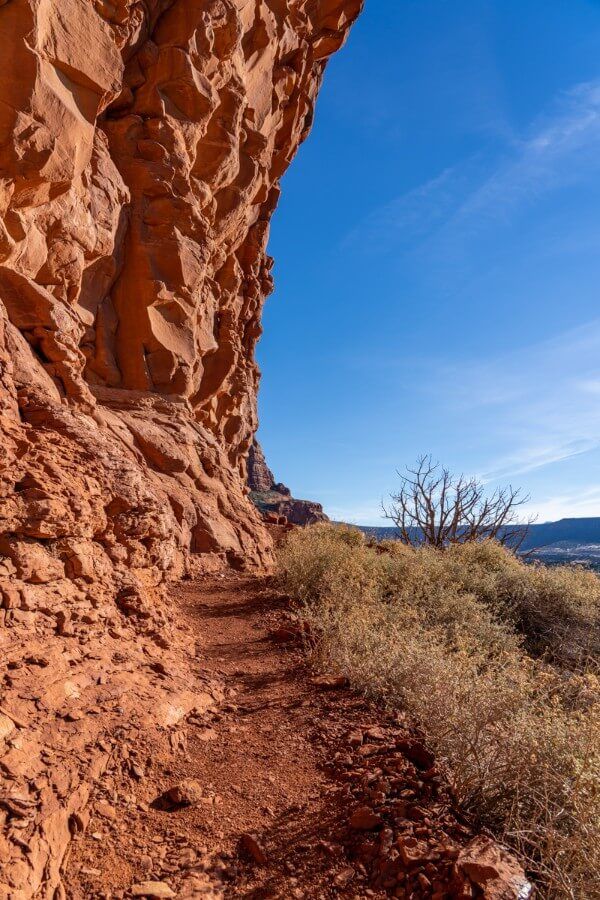
You are now on the back side of Bell Rock at quite a height. Look down on the Courthouse Butte Loop Trail you just walked and spot the Village of Oak Creek in the distance.
Stick closely to Bell Rock at all times. There are sections of this path with loose stones and narrow hiking areas, so shoes with good grips are essential.
Eventually the loop rejoins the front side of Bell Rock. It will take you around 30 or 40 minutes to get around and it is by far the most entertaining part of hiking Bell Rock.
Hiking tip – This hidden loop on Bell Rock should only be attempted by experienced hikers who are capable and have the correct footwear.
17. Finish The Hike
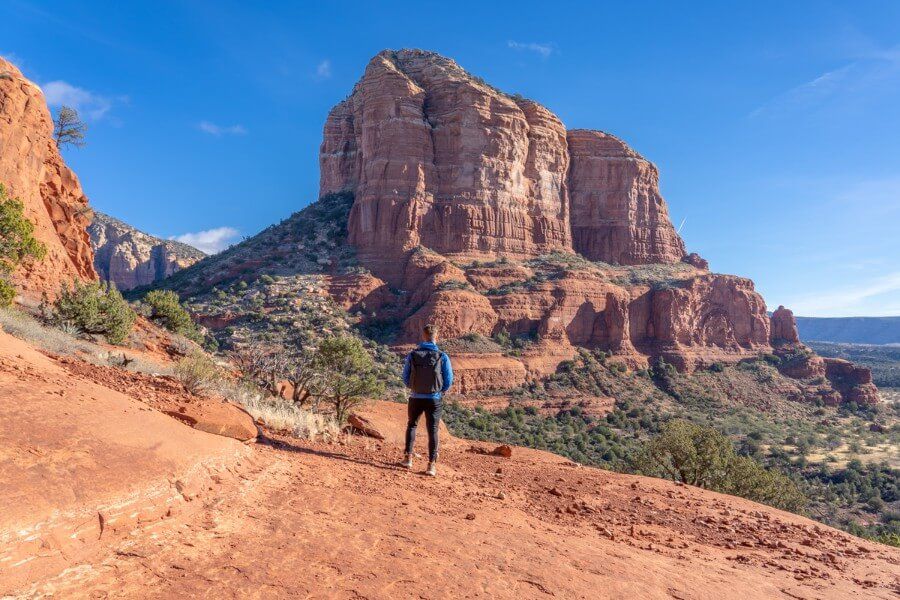
In the photo above we were on the south side of Bell Rock hiking east directly toward Courthouse Rock with a wonderful view of the imposing monolith.
Once you make your way back to the beginning, find your way down the rock face and head back to the parking lot.
You have officially completed the best hike the far south of Sedona, so it’s time to move on to your next trail!
Pros and Cons
Pros:
- Easy loop hike for the whole family
- Additional Bell Rock climb for adventure
- Wonderful north facing elevated views over Sedona
Cons:
- Very difficult to get parked
- Bell Rock scramble can be slippery when wet or icy
- Extremely busy trail
Bell Rock Parking
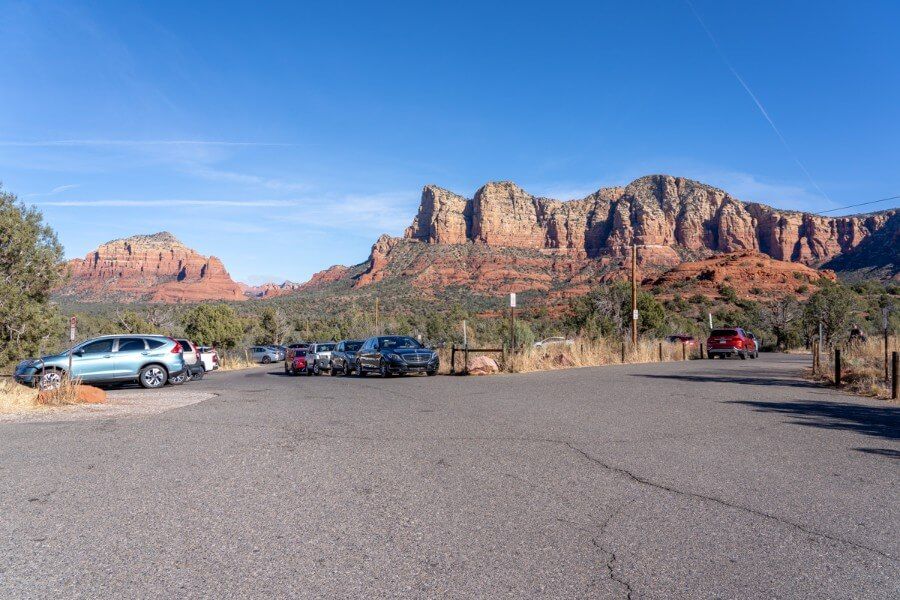
Parking can be a real challenge for accessing Bell Rock because it is a popular hike and one of the 4 major Sedona vortex sites.
We strongly recommend arriving early in the morning or much later in the day if you want to get parked in peak seasons.
There are 3 places you can park near the loop hike:
- 1. Bell Rock trailhead north parking lot
- 2. Bell Rock trailhead south parking lot
- 3. Yavapai Vista Point parking lot
North parking lot is the best and most convenient place you can park for the hiking Bell Rock and Courthouse Butte loop trail.
Here is the Google Maps location for north trailhead parking, which is called Courthouse Vista on the map.
Do You Need A Pass?
Yes, you need to display either a Red Rock Pass or America the Beautiful Interagency Pass on your vehicle dashboard for the duration of your hike around Bell Rock and Courthouse Butte in Sedona.
You can buy a Red Rock Pass at this specific recreation.gov site in advance, or you can buy one at a ticket machine when you arrive in person.
Red Rock Pass options include:
- 1 Day Red Rock Pass – $5
- 7 Day Red Rock Pass – $15
- Red Rock Annual Pass – $20
Do you have an America the Beautiful National Parks Pass? You can use this instead of a Red Rock Pass at these trailheads in Sedona.
Best Time To Hike Bell Rock Courthouse Butte Loop Trail In Sedona
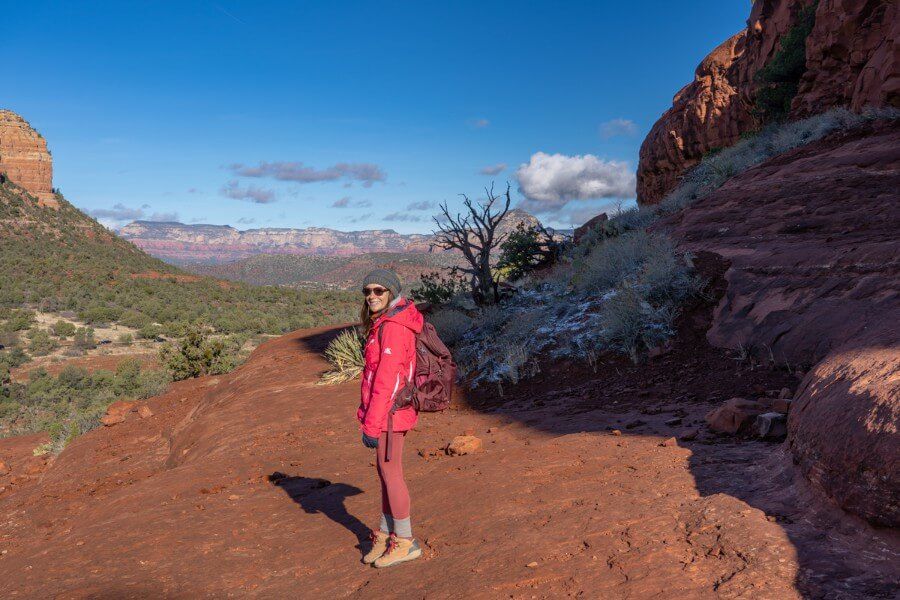
The optimal time to hike Bell Rock and Courthouse Butte Loop Trail is early morning on a weekday in spring or fall so you can benefit from perfect hiking conditions, easily get a parking spot and enjoy a crowd free hike.
If you visit Sedona in spring or fall during peak season, you simply have to be out early at trailheads or you’ll have problems getting parked.
Winter and to an extent summer are quieter periods in Sedona, which means you have a bit more flexibility over when you hike.
Try to avoid weekends, holidays and the 10:00am to 2:00pm rush for the best chance of parking to hike Bell Rock and Courthouse Butte Loop Trail.
Further Reading: The 50 best hiking trails in the US
What To Pack
- Footwear – Good shoes are essential for the scramble up Bell Rock. Without a robust grip on your sole, you will slip and slide all over the rocks.
- Water – The loop trail alone will take you around 2 hours, which means you’ll need to take plenty of water. Summer months require more water and even electrolyte drinks.
- Sun protection – Sunglasses, sun hats, long layers and sunscreen are vital if you are visiting Sedona in summer. The good news is Bell Rock’s climb is up its north face, which means the formation keeps most of the trail in shade.
Our Top 5 Tips
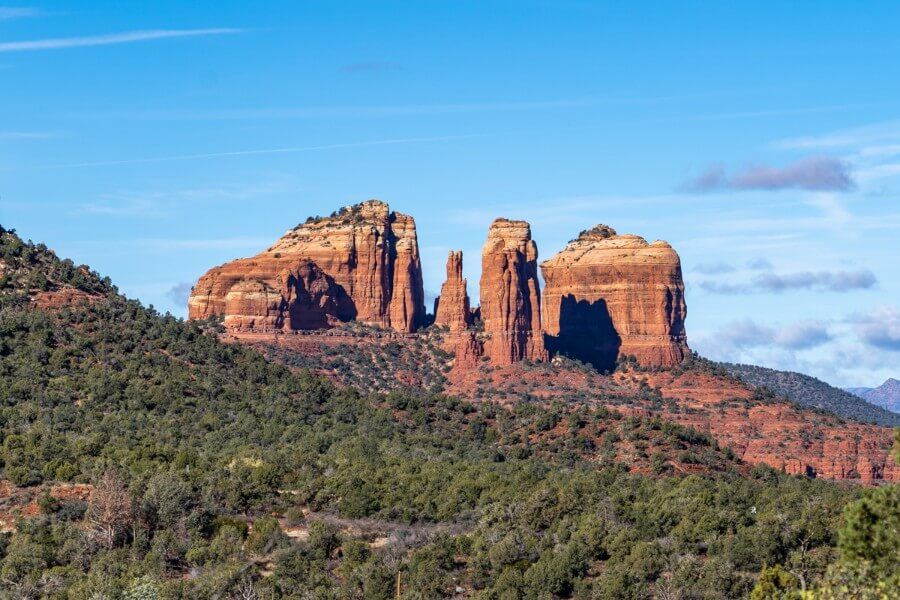
- Park at south lot or Yavapai Vista if you can’t get into the main parking area
- Wear the pair of shoes you know has the best grip for scrambling Bell Rock
- If hiking in winter you may need layers, hats and gloves for shaded sections
- Views of Cathedral Rock are awesome from half way up Bell Rock (photo above)
- Don’t miss our secret loop trail around the middle section of Bell Rock
In Conclusion
Bell Rock and Courthouse Butte Loop Trail is one of the most popular hikes in Sedona, Arizona. Previous hikers have scored the trail at 4.7 / 5 on All Trails. Courthouse Loop is great for beginners and Bell Rock is a fun climb for stronger hikers. Parking can be an issue, so arrive early to beat the crowds.
Is Bell Rock and Courthouse Butte Trail worth it?
Yes! Courthouse Butte and Bell Rock Trail is a terrific family friendly hike with several route variations to suit all abilities. It also has one of Sedona’s most powerful vortex sites and far reaching views. Bell Rock is definitely one to include on your Sedona hiking itinerary!
More Sedona Hikes
- Cathedral Rock Trail
- Devil’s Bridge Trail
- West Fork Trail
- Boynton Canyon Trail (Subway Cave)
- Birthing Cave Trail
- Soldiers Pass Cave Trail
- Airport Mesa Sedona View Trail
More From Sedona
- Best things to do in Sedona
- 1-7 days Sedona itineraries
- Best hikes in Sedona
- Most powerful vortexes in Sedona
- Best jeep trails in Sedona
- Best places to stay in Sedona
Want more Arizona content? Head over to our Arizona Travel Guides to explore the best of Grand Canyon, Sedona and beyond.
We hope this guide to hiking Bell Rock and Courthouse Butte Loop Trail helps with planning your visit to Sedona, Arizona!
Please let us know if you have any questions about hiking Bell Rock Courthouse Butte Loop Trail or your visit to Sedona in the comments below.
Happy Hiking,
Mark and Kristen
Was This Bell Rock Hiking Guide Helpful? Pin It For Your Visit To Sedona!
Note: This article contains affiliate links. When you make a purchase using one of these affiliate links, we may earn a small commission at no extra cost to you.
All Rights Reserved © Where Are Those Morgans, LLC. Republishing this article and/or any of its contents (text, photography, maps, graphics, etc.) in whole or in part is strictly prohibited.
Mark and Kristen Morgan are travel, hiking and photography experts. Over the last 6 years traveling full time, they have explored more than 40 countries and 30 US states.
Where Are Those Morgans has been featured in USA Today, Gestalten, Get Your Guide, CityPASS and Condé Nast Traveler along with various other publications. Read more about us.

