Cathedral Rock is a skyline dominating sandstone butte in the center of Sedona and it’s one of the most photographed natural landmarks in Arizona. We hiked the surprisingly steep and challenging Cathedral Rock Trail in the dawn darkness so we could beat the crowds and summit in time to watch a stunning sunrise erupt over Sedona. And boy was it worth setting that early alarm!
In this guide we explain everything you need to know about hiking the iconic Cathedral Rock Trail, based on our experiences. Read more about us.
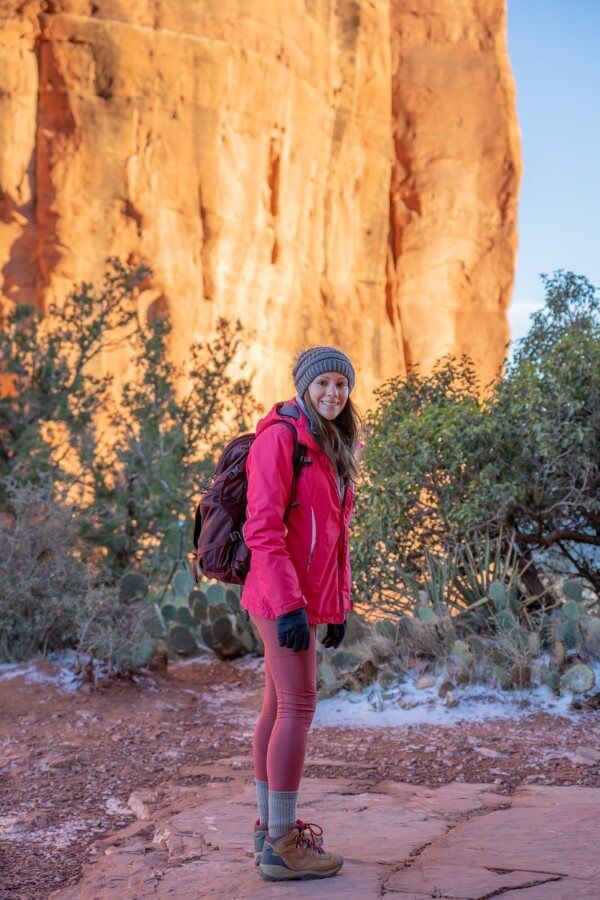
Cathedral Rock was the number one hike on our wishlist when we spent a little over a week in Sedona at the end of 2021. We actually tried to hike it for sunset the day before, but the line of cars leading to the main trailhead parking area was enormous, so we aborted and went back super early the next morning instead. And we’re so glad we did because the sunrise climb was amazing.
It was a chilly December morning, so we filled up with oatmeal and hot coffee in our hotel room before driving to Back O Beyond Trailhead and climbing with headlamps to light the path. We climbed fast to beat the sunrise, then we took it super easy on the way down. It was a fantastic experience and we’d definitely hike it again next time we visit Sedona. Okay, let’s begin!
Note: Our content is reader supported and contains affiliate links. If you make a purchase through one of these links, we may earn a small commission at no extra cost to you and it helps us keep this site running.
SEDONA Planning
📖 Ultimate Sedona Guidebook: Get our complete 50+ page offline PDF with everything you need for Sedona.
📞 Personalized Sedona Planning Call: Book a call with Mark to have your questions answered, optimize your itinerary, avoid tourist traps and get our best insider tips.
💡 Still Planning? Read our essential first-timer’s guide to visiting Sedona.
Cathedral Rock Trail Variations
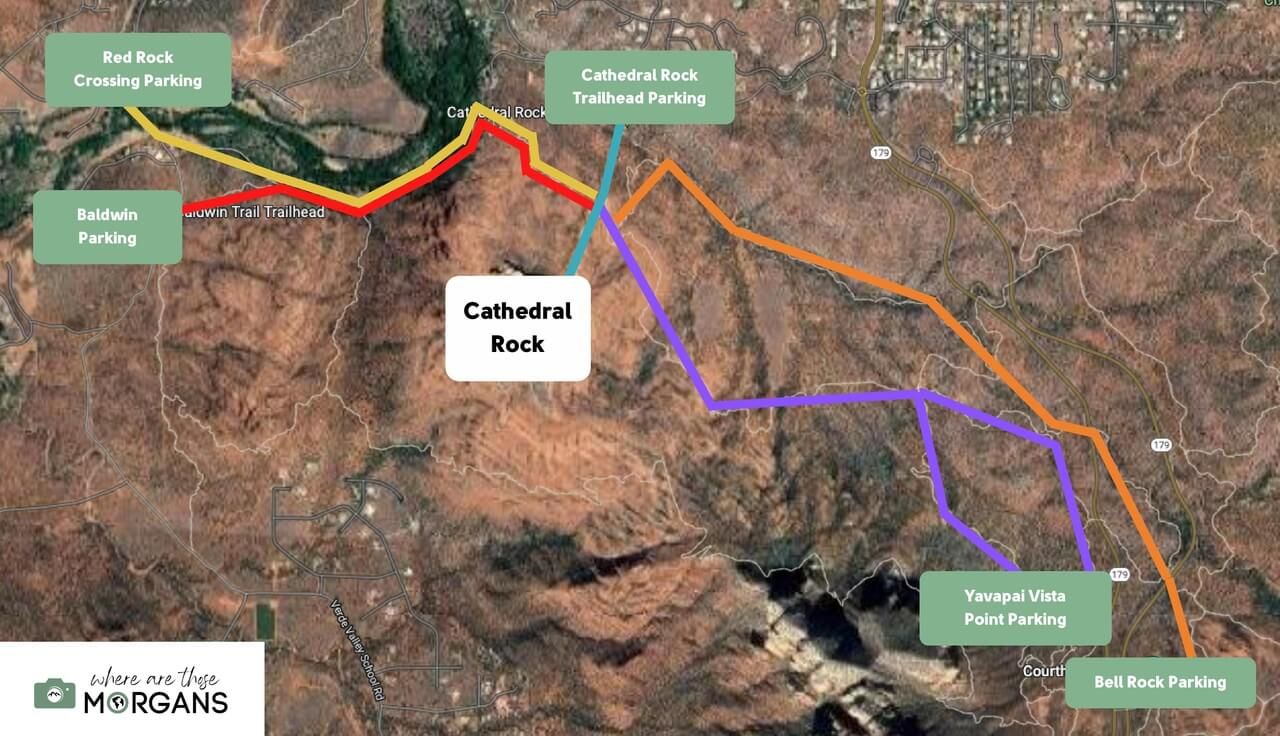
Okay, the most important thing you need to know is that there are several parking and trailhead options. Think of Sedona’s vast network of hiking trails as a spider’s web with various connector paths and routes spread across the red rock landscape.
There are 5 different trails leading to Cathedral Rock (use the map image above for reference):
- Cathedral Rock Trail – Blue line from Cathedral Rock trailhead parking.
- Templeton Trail – Purple line either via Slim Shady (left arm) or Hermit (right arm) from Yavapai Vista Point parking.
- Easy Breezy Trail – Orange line from Bell Rock parking.
- Red Rock Crossing Trail – Gold line from Red Rock Crossing parking in Crescent Moon Picnic Area.
- Baldwin Trail – Red line from Baldwin trailhead parking.
All the trails listed above lead to a crossroads marking the beginning of the climb to summit Cathedral Rock. You can see the crossroads where all the trail lines meet in the map we created above.
Cathedral Rock Trailhead is directly accessed by Back O Beyond parking lot. It’s the most popular parking lot with the quickest ascent, which means it’s also the busiest and hardest to get parked.
Taking Alternative Trails
Why do you need to know about other options when Cathedral Rock Trail looks the shortest? Because getting parked at Cathedral Rock Trailhead in the Back O’ Beyond lot is near impossible at times.
You might not be able to hike the shorter version of Cathedral Rock Trail, so you need a backup plan in case the lot is jam-packed and cars are circling like sharks.
The 5 Parking Areas
Let’s take a closer look at the five different Cathedral Rock parking areas you can use, along with hiking statistics from each trailhead.
1. Cathedral Rock Trail – Best Option
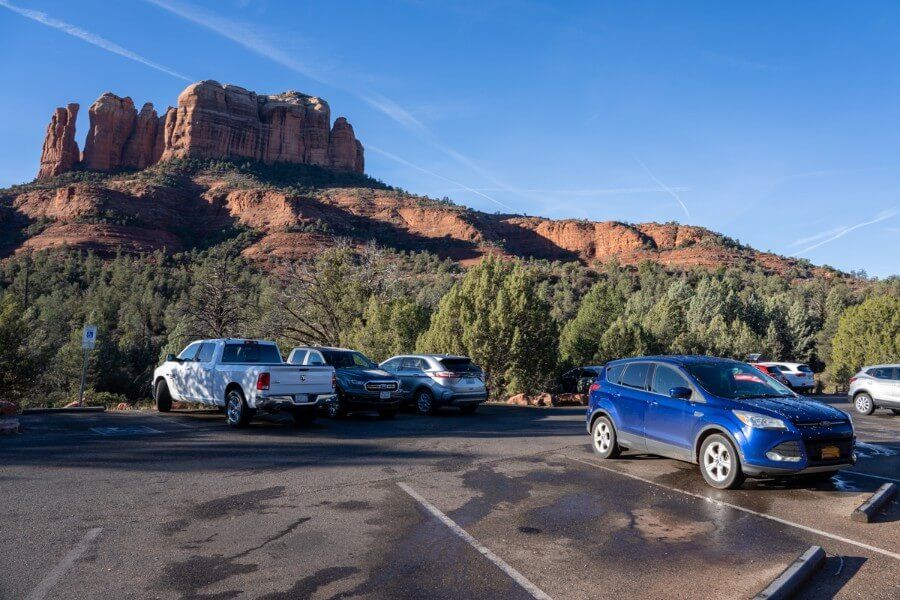
- Distance: 1.2 miles roundtrip
- Elevation: 700 ft
- Trailhead: Cathedral Rock Trailhead
- Location: Back O’ Beyond Road
- Parking: Google Maps location
Cathedral Rock Trail is the shortest and most iconic route to use for ascending Cathedral Rock. This version of the hike is just 1.2 miles roundtrip but it is steep from the start.
We strongly recommend you take this route if you can get parked. Arrive early to give yourself the best chance at parking. This route will give you the most direct hike when compared to all other options.
We made an attempt to hike Cathedral Rock for sunset the evening before we eventually hiked for sunrise. However, there was an enormous line of cars trying to park at Back O Beyond lot so we instantly gave up on that idea!
2. Templeton Trail (East)
- Distance: 6 miles roundtrip
- Elevation: 1,100 ft
- Trailhead: Yavapai Vista Point
- Location: Highway 179
- Parking: Google Maps location
Templeton Trail begins at Yavapai Vista Point parking lot which is primarily an overflow parking area for Bell Rock and Courthouse Butte.
From Yavapai Vista you can take either Slim Shady or Hermit to join Templeton Trail, before heading west to Cathedral Rock. Slim Shady has slightly more elevation when compared with Hermit.
An early morning hike from here would allow you to benefit from the sun glowing on Cathedral Rock’s eastern face.
3. Easy Breezy Trail (East)
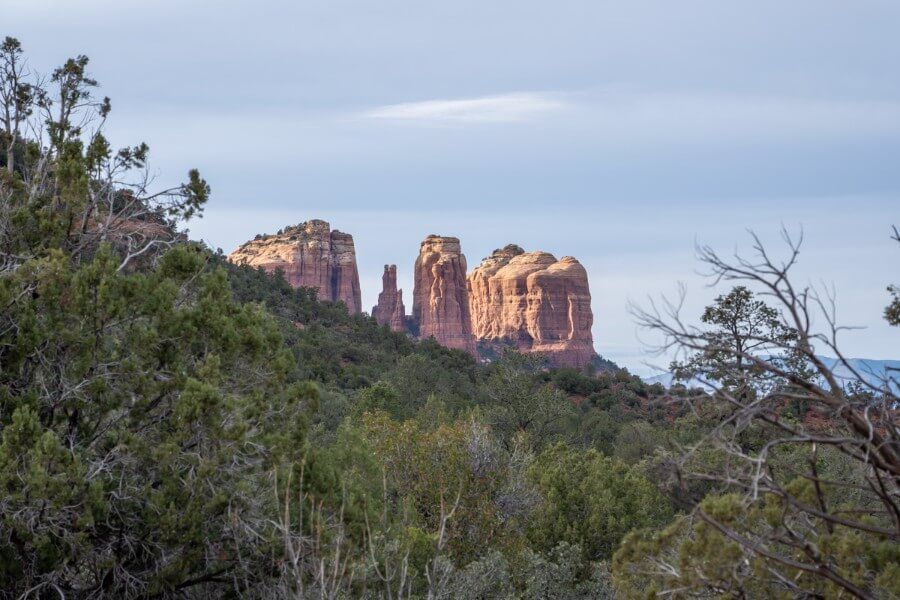
- Distance: 6.5 miles roundtrip
- Elevation: 900 ft
- Trailhead: Bell Rock Trailhead
- Location: Highway 179
- Parking: Google Maps location
Easy Breezy Trail starts at Bell Rock Trail parking lot. Walk along Phone Trail, Bell Rock Trail and Templeton Trail for a combined 0.5 miles, before starting on Easy Breezy Trail which goes all the way to Cathedral Rock Trailhead.
This version of the hike is flat and easy until you reach the climb at Cathedral Rock.
We think this parking lot offers the perfect solution for hikers who want to do both Cathedral Rock and Bell Rock without having to worry about parking in two different places.
4. Red Rock Crossing Trail (West)
- Distance: 4 miles roundtrip
- Elevation: 1,000 ft
- Trailhead: Crescent Moon Picnic Site
- Location: Red Rock Crossing Road
- Parking: Google Maps location
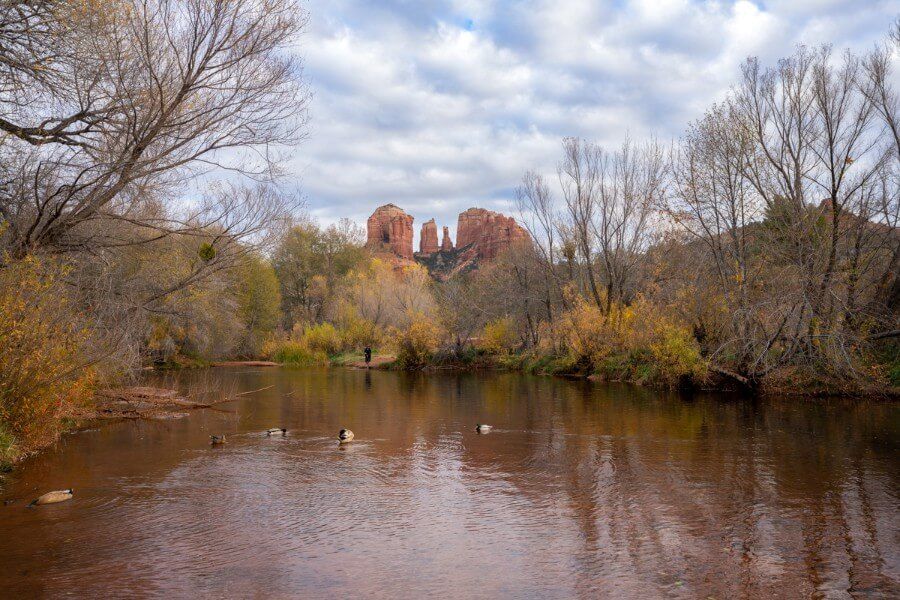
Red Rock Crossing Trail is a short, flat and picturesque hike to reach Cathedral Rock Trail. You will need to cross through Oak Creek in order to access the west side of Templeton Trail, which could mean getting your feet wet.
Our photo above is the iconic view over Oak Creek and Cathedral Rock from Red Rock Crossing.
Important: You need a separate parking pass called Big Three Pass to enter Crescent Moon Picnic Site. It is not part of the Red Rock Pass or the America the Beautiful Interagency Pass. You must pay at a kiosk upon entry to Crescent Moon.
5. Baldwin Trail (West) – Best Alternative
- Distance: 4 miles roundtrip
- Elevation: 1,000 ft
- Trailhead: Baldwin Trailhead
- Location: Verde Valley School Road
- Parking: Google Maps location
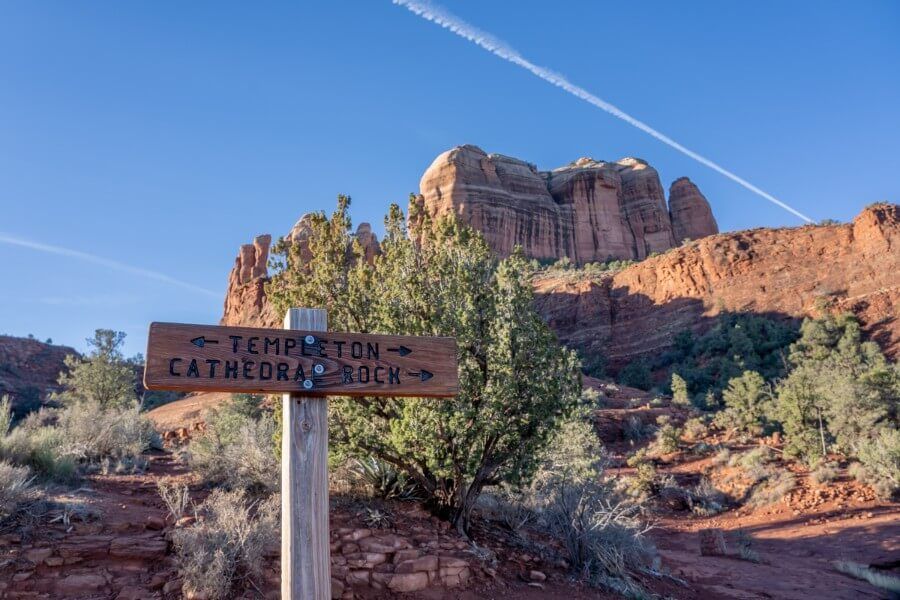
Baldwin Trail is the second best option for hiking Cathedral Rock. It is the same distance and elevation as Red Rock Crossing but you don’t have to cross a creek and get wet.
There are around 40 parking spaces and you can use the same Red Rock or America the Beautiful Pass as most other hikes in Sedona. So you won’t have to purchase an additional pass like at Crescent Moon.
The trail is flat and easy until you reach the climb for Cathedral Rock. Late afternoon and just before sunset provide the most picturesque views from the west side as the sun lights up Cathedral Rock.
Sedona Shuttle
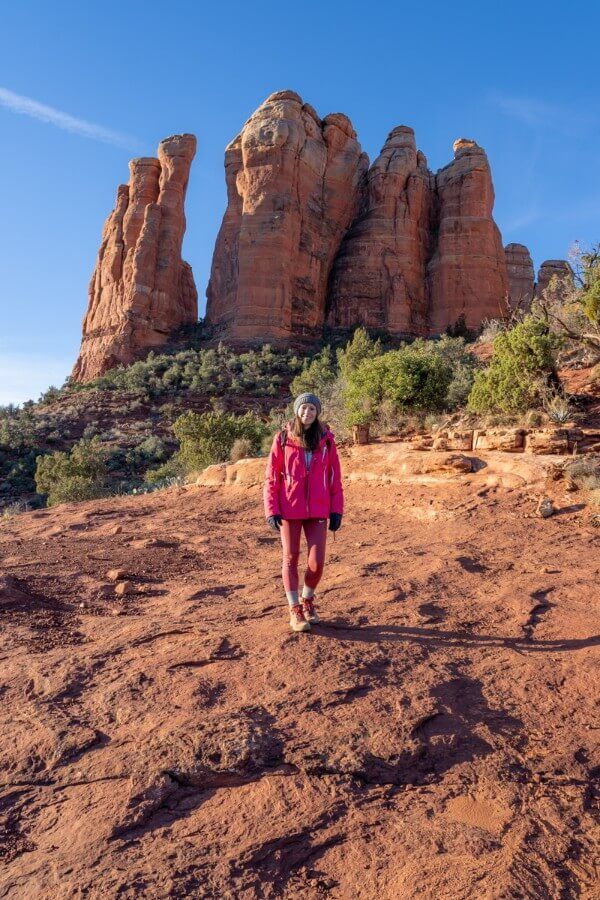
If you want to hike the more popular Cathedral Rock Trail without the hassle of getting parked, we strongly recommend you consider taking the Sedona shuttle park and ride.
Bus number 15 (orange line) runs every 15 minutes from 8:00am through 5:30pm from North SR-179 to Cathedral Rock trailhead during peak season in Sedona.
The trip takes 10 minutes and the bus returns to the park and ride after each run. The final trip back from Cathedral Rock trailhead to North SR-179 is at 6:20pm.
Trail Walkthrough
Next, we’re going to walk you though the hike from Cathedral Rock Trailhead based on our experience with plenty of our own photos so you can see exactly what you are getting into!
Important: If you take any of the alternative routes, they all converge at the same point around 0.3 miles into Cathedral Rock Trail. The rest of the hike (up to the summit) is the same for all trail options.
1. Park Up And Walk To The Trail Junction
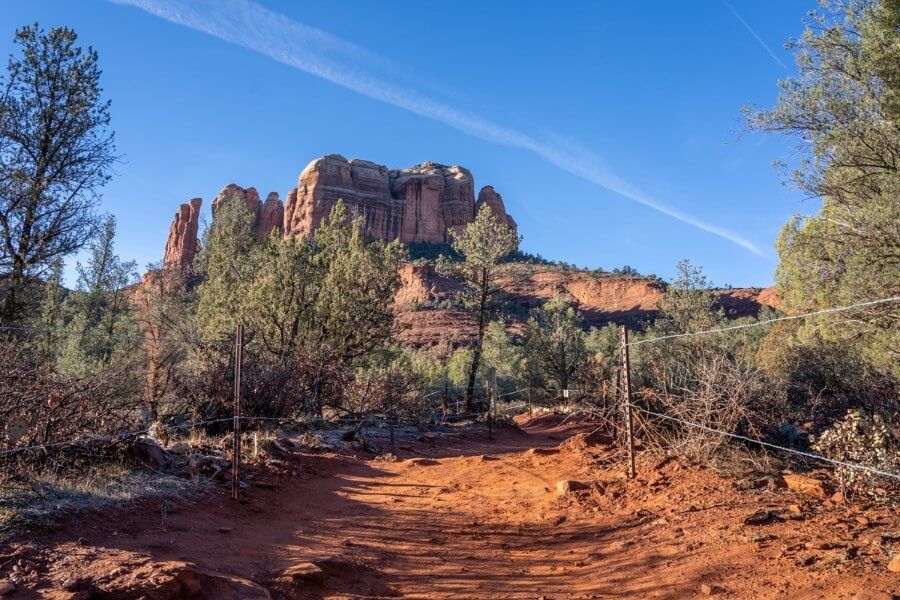
Park at Back O Beyond main parking lot or the overflow lot located a few meters further down the road. Use the vault toilets and a buy a Red Rock Pass at the ticket machine if you need one.
Head onto the trail and you will pass through a dry bed creek. When we hiked Cathedral Rock Trail in December there was a thin film of ice covering the creek but this won’t be an issue if you visit in the warmer seasons.
Continue along the dirt track with fences running on either side, as you can see in the photo above. At the end of this dirt path you will reach the trail junction connecting Templeton, Easy Breezy, Red Rock Crossing and Baldwin.
2. Follow The Basket Cairns
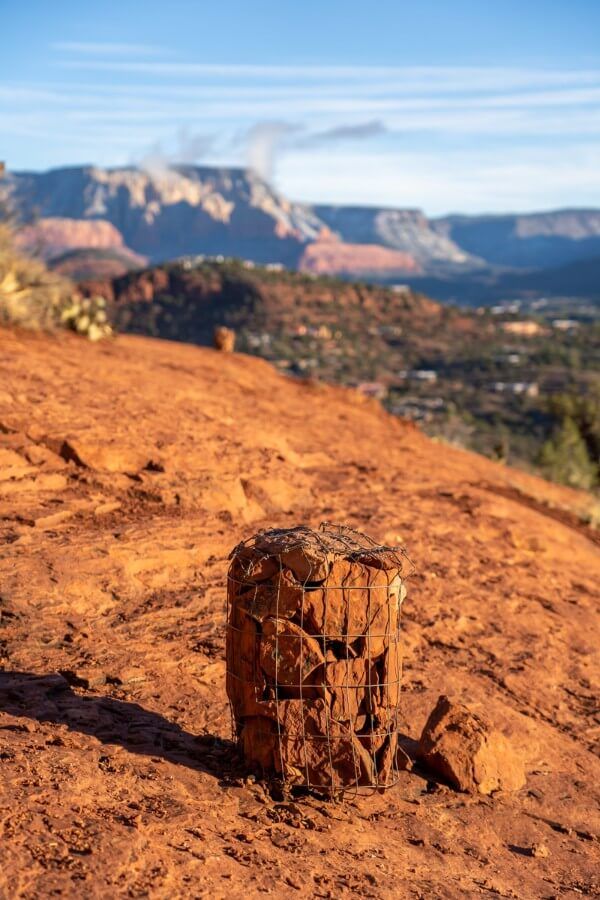
The trail junction is located on a rocky shelf-like plateau. From this point you will begin to gain elevation and move around to the eastern face of Cathedral Rock.
Look for basket cairns on the wide open trail to guide you. This lower portion of Cathedral Rock Trail is easier going, but it is about to get interesting.
3. Time To Scramble
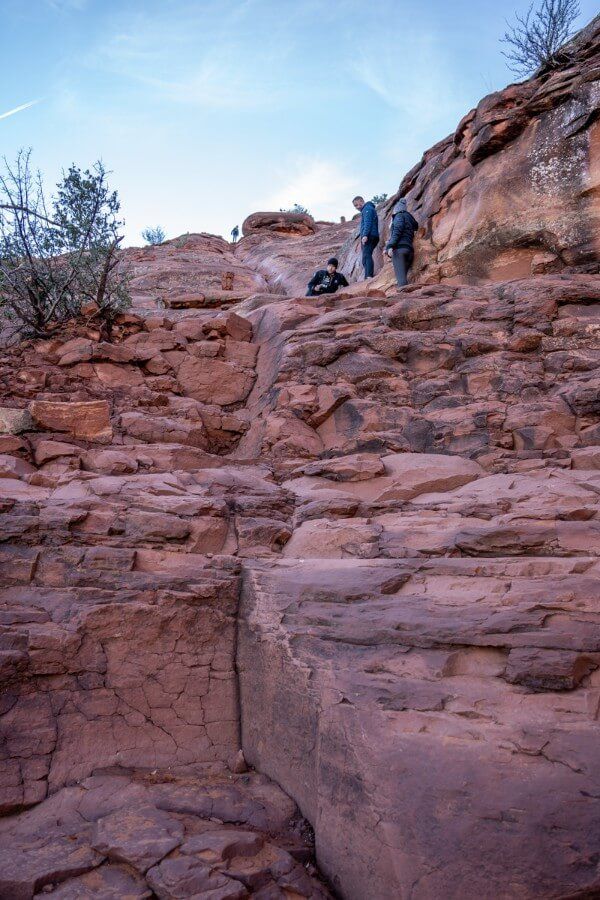
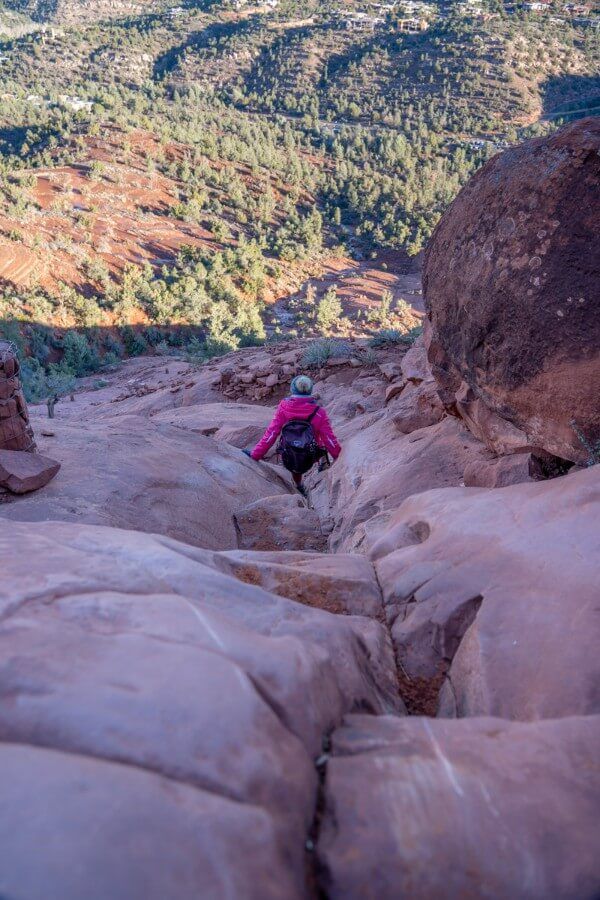
Next, you will reach the hardest part of the trail which requires some scrambling. This is the most difficult part of the ascent and descent but it is a lot of fun.
The rocks can be very slippery when wet or icy so it is important you have robust footwear for this section. Be aware of any loose rocks falling from above as others climb.
Use your hands and feet so you have four points of contact on the rocks, which will allow you to distribute your weight around evenly.
Need help planning your trip to Sedona?
Our Sedona travel guidebook gives you hidden gem hiking trails, secret caves, vortex sites, ancient ruins, wineries, jeep trails, photo spots, where to eat and stay, 1-5 day itinerary ideas and much more. Plus, you’ll get an exclusive map to use in Sedona!
View Guidebook
4. Views Opening Up Over Sedona
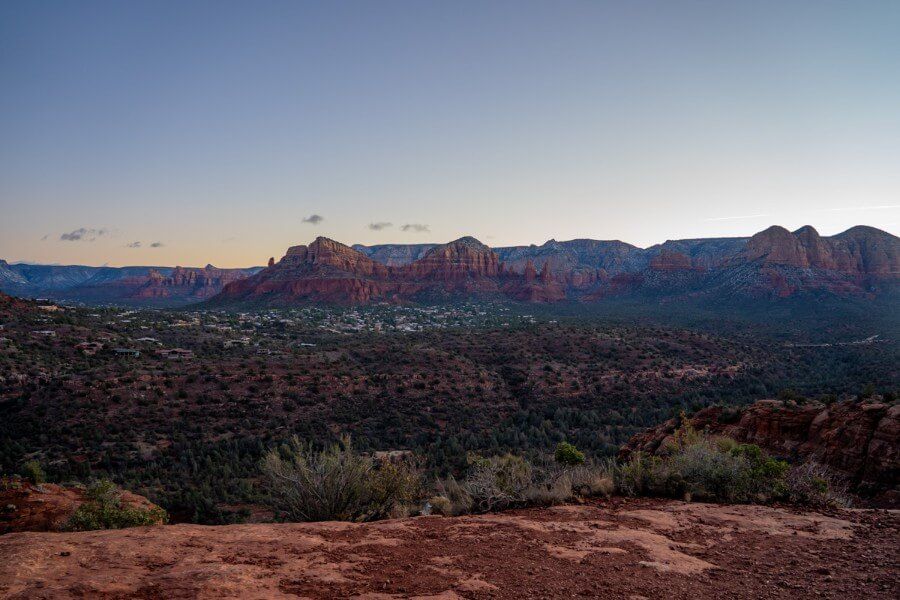
Once you climb the steep scramble section, you are instantly rewarded with fantastic views over Sedona. They never get old! We took the photo above at dawn before the sun had risen above Sedona’s red rock landscape.
The popular Broken Arrow Jeep trail is located within the first set of rocks and Schnebly Hill Road Jeep trail takes you to the top of those taller cliffs in the distance.
5. Half Way
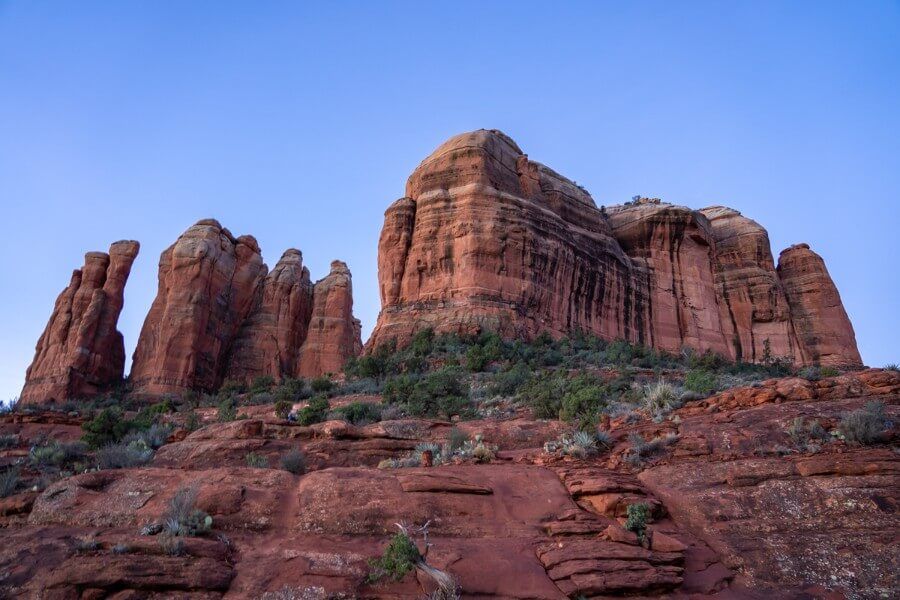
You are now over half way up Cathedral Rock. Continue following the basket cairns on this wide open rocky section of the trail. Looking at our photo above, you are aiming for the V shaped gap in the middle. At this point we were racing against the sunrise!
6. Switchbacks
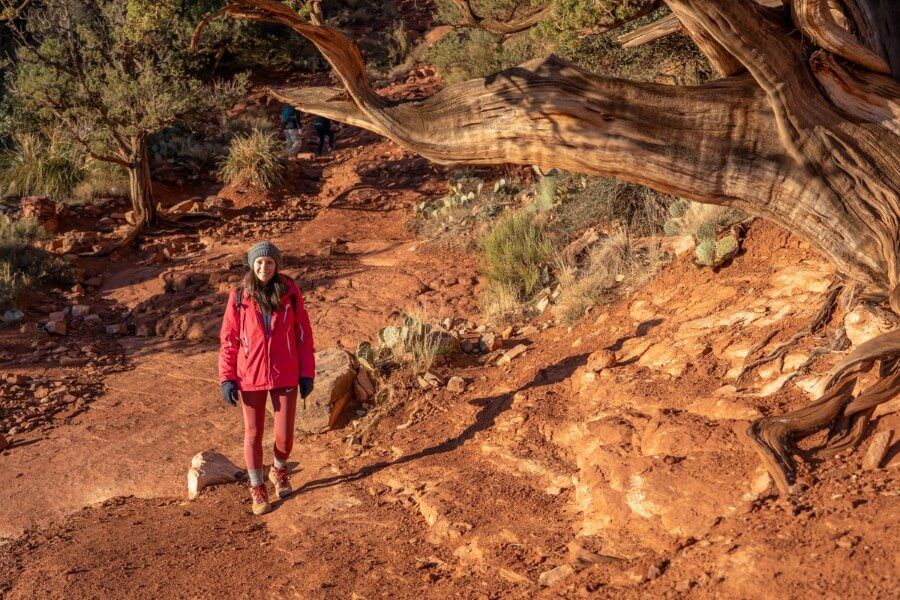
The final ascent of Cathedral Rock is a series of short zig-zagging switchbacks. Here, you are climbing a steep rock face covered with loose sand and stones.
Try to stick to the parts of rock that are clear of dirt and gravel to make gripping easier. Look out for enormous Juniper trees scattered all across the trail close to the top. You’ll know when you’re almost at the summit as you approach a flat rocky area flanked on either side by huge spires.
7. End Of Trail
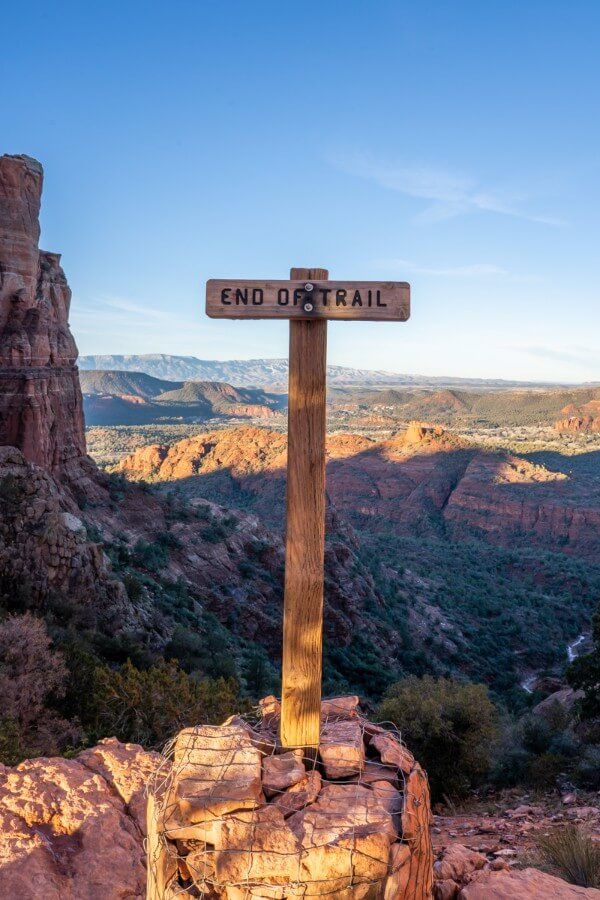
What awaits you as you reach that flat horizon?
An end of trail sign at the top of a wide saddle like plateau. But don’t worry, this is not the end of the trail. You have reached the saddle of Cathedral Rock, which has now opened up views looking to the west for the first time since you began climbing.
8. Left Turn On The Saddle Of Cathedral Rock
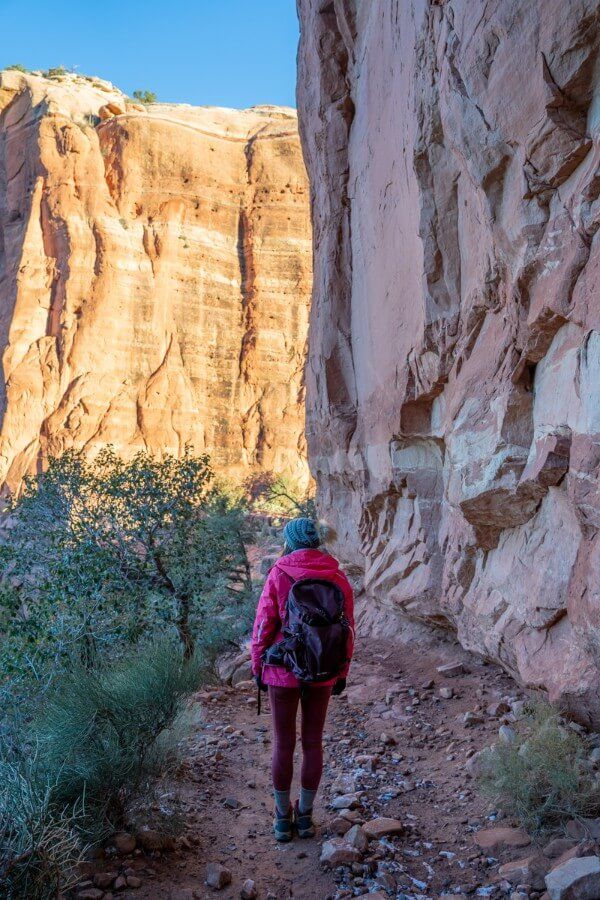
Approach the end of trail sign on the saddle, turn left (heading south) and pass behind the rock on a narrow trail.
In the photo above we were on the way back to the end of trail sign so you would be heading in the opposite direction here. Walk a very short distance and you will find another left turn leading to a steep slope which climbs even higher.
9. Steep Climb To Hidden Summit
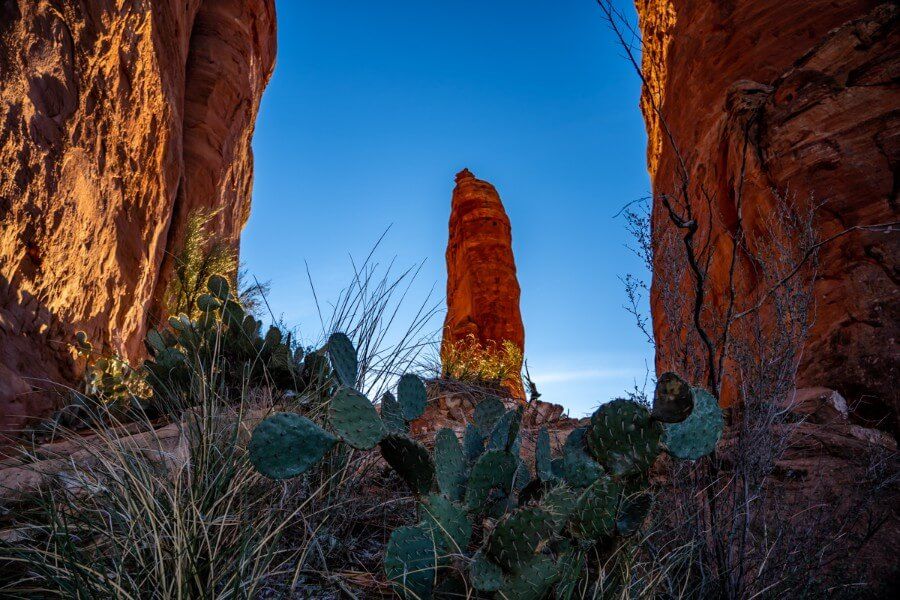
The final climb to a hidden second summit is steep and you will have to use your hands. Take your time and find the safest path up to the top. This is a really fun part of Cathedral Rock trail with huge rock walls to either side as you climb toward a single needle-like rock tower.
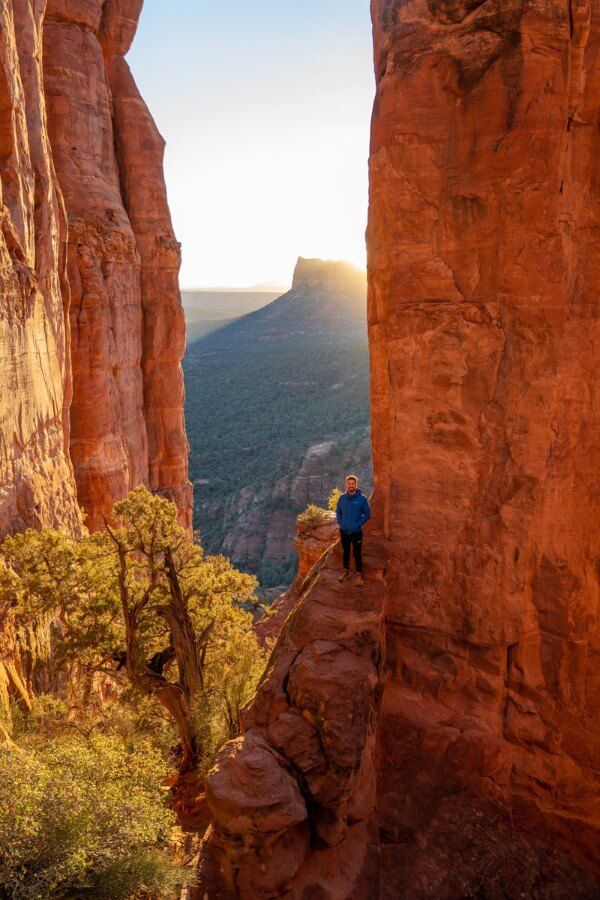
10. Sunrise Behind Courthouse Butte
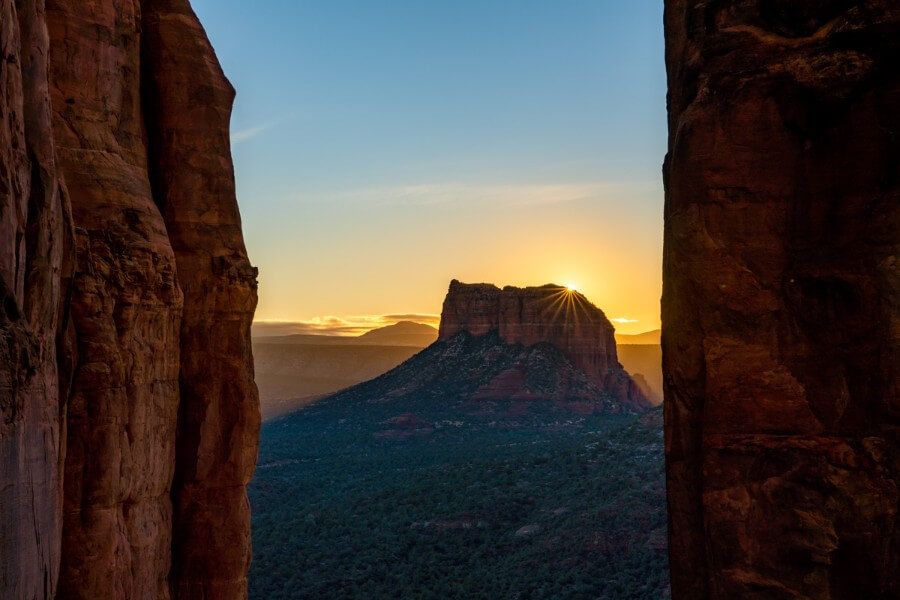
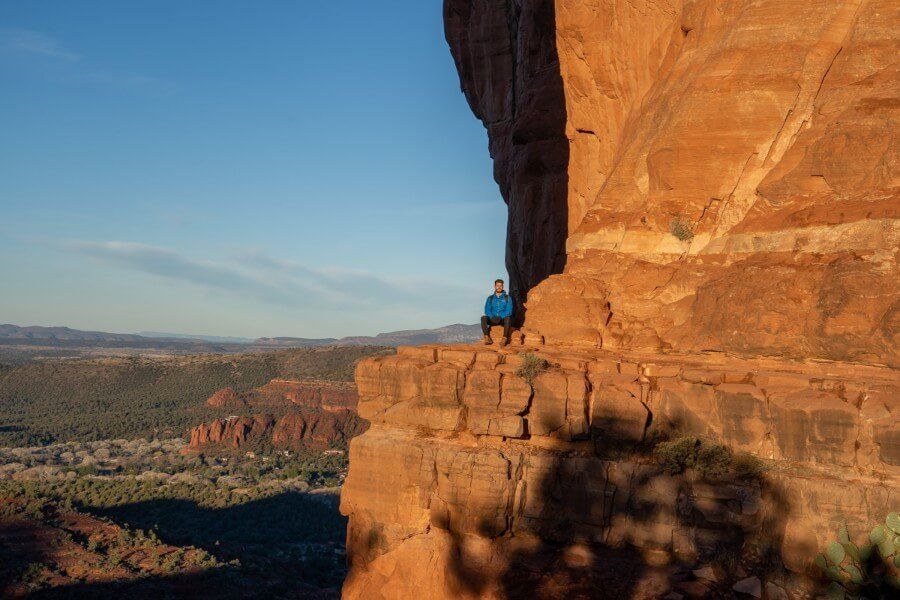
If you hike Cathedral Rock for sunrise like we did, you might be able to capture the sun rising beautifully behind Courthouse Butte as you can see in the photo above. Along with one other hiker, the three of us were the only people at the top of this hidden summit on Cathedral Rock for sunrise.
It’s well worth making the effort to get up here for sunrise. Not only is it spectacularly beautiful, but it also means you don’t have to worry about parking. Both summit areas will be much busier during the day. The views are just as good, but you will need to take care when passing other hikers on the narrower trail sections.
Pros and Cons
Let’s take a quick look at some of the pros and cons to hiking Cathedral Rock. Our opinions here are based on having hiked almost every trail in Sedona.
Pros:
✅ One of the most iconic hikes in Sedona
✅ Short hike if starting at Cathedral Rock trailhead
✅ Stunning views in all directions
✅ Excellent sunrise and sunset location
Cons:
❌ Extremely busy trail
❌ Getting parked is a real challenge
❌ Steep and often slippery sections of rock
❌ Not much room at the summit
Parking Passes
Yes, you need to display either a Red Rock Pass or America the Beautiful Interagency Pass on your vehicle dashboard for the duration of your hike to Cathedral Rock in Sedona.
You can buy a Red Rock Pass at this specific recreation.gov site in advance, or you can buy one at a ticket machine when you arrive in person.
Red Rock Pass options include:
- 1 Day Red Rock Pass – $5
- 7 Day Red Rock Pass – $15
- Red Rock Annual Pass – $20
Do you have an America the Beautiful National Parks Pass? You can use this instead of a Red Rock Pass at these trailheads in Sedona.
Best Time To Hike Cathedral Rock Sedona
The optimal time to hike Cathedral Rock Trail in Sedona would be for sunrise or sunset in spring or fall when the temperatures are perfect for hiking and the light is soft.
However, getting parked for a sunset hike in the busy seasons of spring and fall is difficult. So our advice is to hike early in the morning and avoid weekends, holidays or summer months if possible.
Here are some tips:
- You should arrive just before first light to get a parking spot for sunrise
- Arrive at least 3 hours before sunset to wait for a parking spot or choose another place to park in Sedona
- Winter offers the perfect opportunity for getting a parking spot at Cathedral Rock trailhead and experiencing a much quieter hike
- Hike less popular trails on weekends and hike Cathedral Rock on a weekday
What To Pack
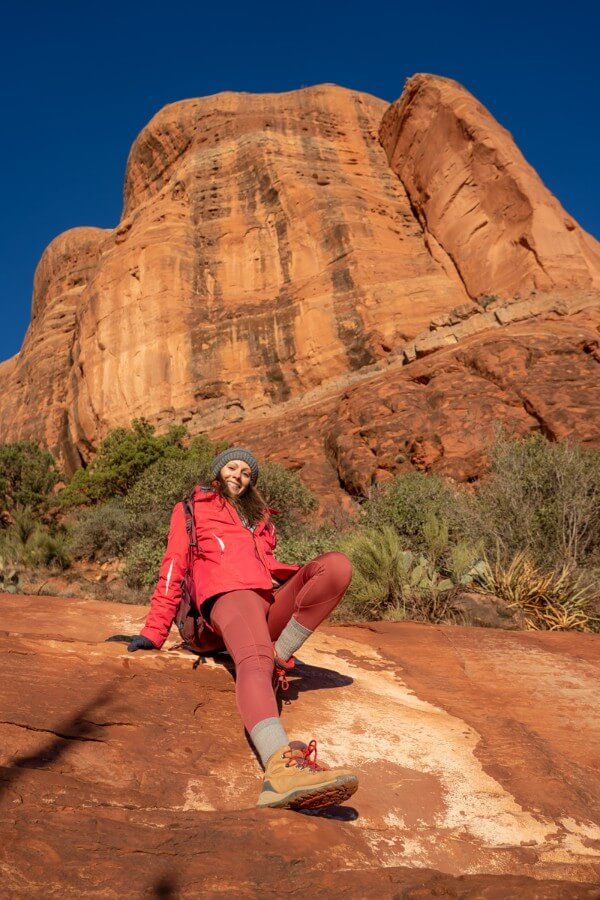
Cathedral Rock Trail is a short hike that will take around 2 hours to hike so you don’t need to carry a big backpack full of gear.
What to wear and take along:
- Footwear – Good shoes are essential for hiking to Cathedral Rock. Without a solid grip on your sole, you will slip and slide all over the rocks.
- Water – This is a short hike but it is completely open, exposed and steep to climb so you’ll need plenty of water. Summer months require more water and even electrolyte drinks.
- Sun protection – Sunglasses, sun hats, long layers and sunscreen are vital if you are visiting Sedona in summer.
Our Top 5 Tips
- Use Baldwin Trail if you can’t get parked at Cathedral Rock Trailhead
- Wear the pair of shoes you know has the best grip
- If hiking in winter you will need layers, hats and gloves for sunrise or sunset
- Renting a jeep or ATV won’t get you to any secret parking areas for this hike
- The end of trail sign is not the end of the trail
Do you like to track your hikes using any of the best hiking apps? We always use Gaia GPS offline maps for navigation and tracking our speed, elevation and time on hikes.
Tip: When exploring outdoors, be sure to always practice the seven principles of Leave No Trace to preserve natural beauty so others can enjoy the same environments.
The Morgan Conclusion
Cathedral Rock Trail is one of the most famous hikes in Sedona. Previous hikers rate it at 4.8/5 on All Trails but we’d give it a 4.9 because it really is awesome. The hike is short but steep, so you’ll need shoes with good traction. Back O’ Beyond is the best place to park but you need a backup plan in case the lot is full.
Is Cathedral Rock worth it?
Yes! Climbing to Cathedral Rock summit for sunrise was one of our favorite Sedona experiences and we’d do it again in a heartbeat. It’s a fun and incredibly photogenic hike, and it should definitely be included in your Sedona itinerary.

Next Steps
We hope our Cathedral Rock Trail guide helps with planning your trip to Sedona.
Don’t forget you can book a travel planning video call with us if you’d like our expert help organizing your trip to Sedona. We can answer any questions you have or walk through a personalized itinerary to make the most of your time.
Still researching for your trip?
- What to know about a first trip to Sedona
- Here are the top things to do in Sedona
- Here’s exactly where to stay in Sedona
- These are the unmissable hikes in Sedona
- Here’s our 1-5 days in Sedona itinerary
- This our ultimate 7-day Sedona itinerary
Finally, if you’ll be visiting more places on the same trip, we recommend reading our Arizona travel guide for more helpful tips and advice.
Happy Travels,
Mark and Kristen
Find this guide helpful? Pin it for later!
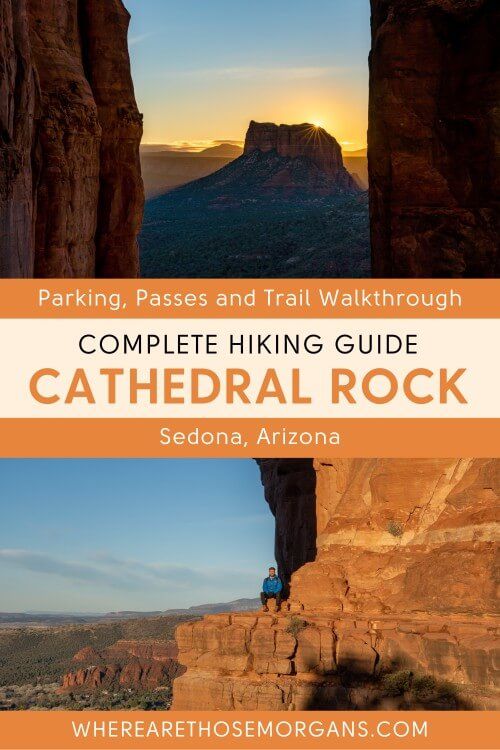
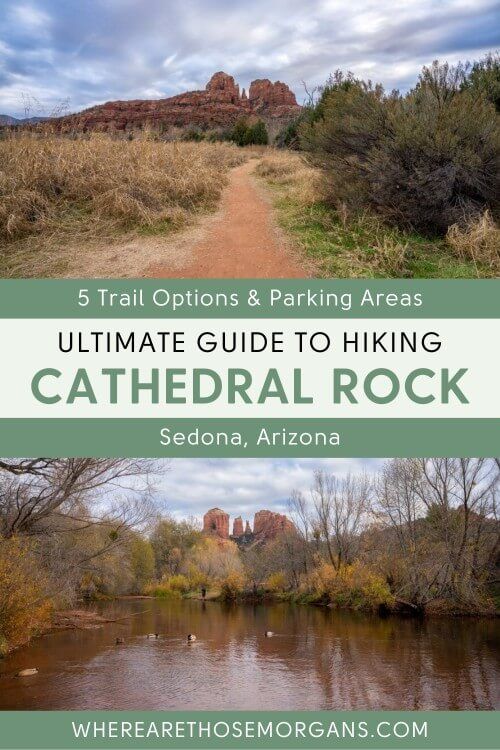
All Rights Reserved © Where Are Those Morgans, LLC. Republishing this article and/or any of its contents (text, photography, maps, graphics, etc.) in whole or in part is strictly prohibited.

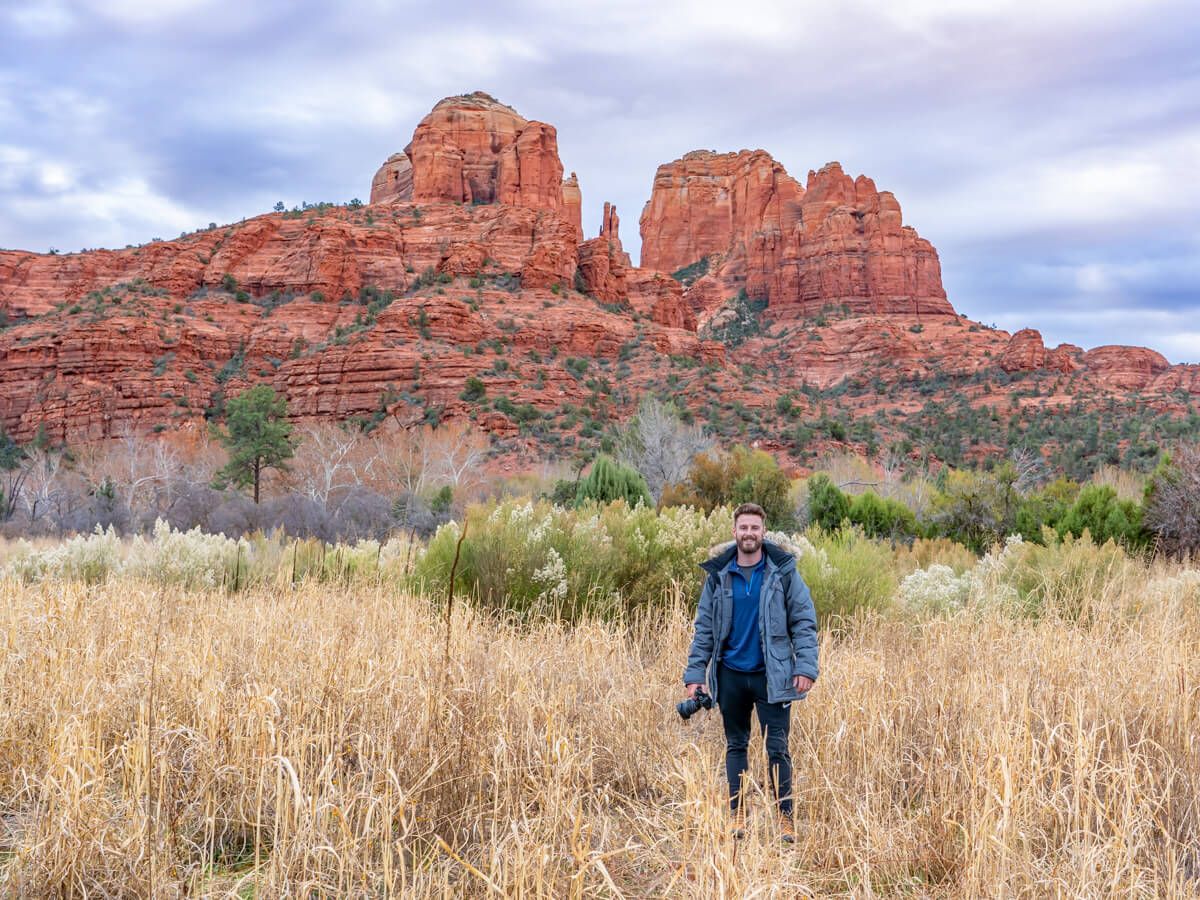
How do we get to the Crescent Moon Picnic Site and to the place along Oak Creek where you get the reflection of Cathedral Rock in the water? Also, what time of day is the best for pictures? Very interested in finding this spot, so any info you can provide would be much appreciated. Thanks!!
Hi Linda, you just need to head out west of Sedona on 89A, turn left onto Red Rock Loop Road, turn left onto Chavez Ranch Road, turn right onto Red Rock Crossing Road and enter Crescent Moon Picnic Site. There is an entry fee for the picnic area – keep your pass because you can use it to park for hiking West Fork Trail to the north of Sedona if you are interested. The photo spot is easy to find, stay close to the entrance and walk to the river. Sunrise would be great because it will be quieter and the sun will rise from behind Cathedral Rock, but sunset is better because Cathedral Rock will glow a beautiful orange and red color. Have a great trip!