Descend into a stunning sandstone amphitheater filled with intriguing hoodoos, spires and lung bursting switchbacks via Queen’s Garden and Navajo Loop Trail, the best hike at Bryce Canyon National Park.
Bryce Canyon is one of the most popular stops along the best Utah road trips but it is surprisingly small.
One full day or even a half day itinerary (if you’re quick!) will allow you to hit Bryce’s major highlights and hike the short but sweet Queen’s Garden and Navajo Loop trail.
This complete hiking guide explains what you can expect from the best hike at Bryce Canyon and one of the best hikes in the United States.
What is the Navajo Loop / Queens Garden Trail Hike at Bryce Canyon?
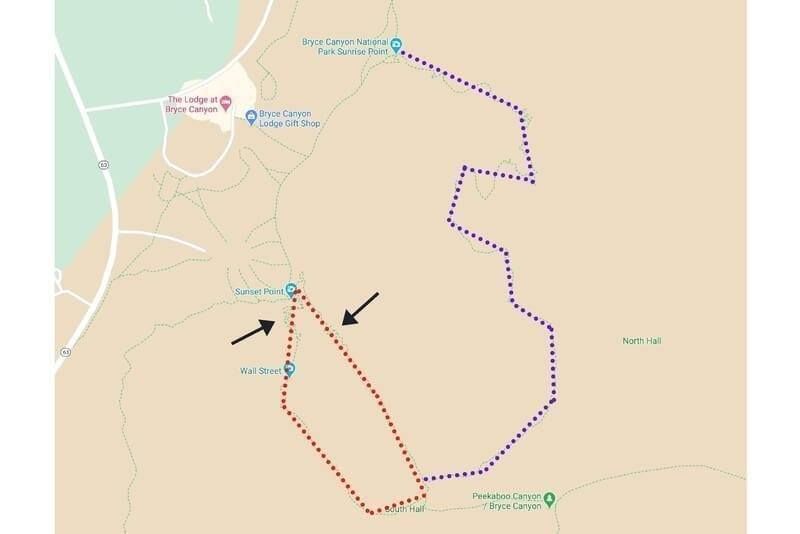
Key:
- Red dotted line = Navajo Loop Trail
- Purple dotted line = Queen’s Garden Trail
- Black arrows = Steep Switchbacks
Navajo Loop Trail
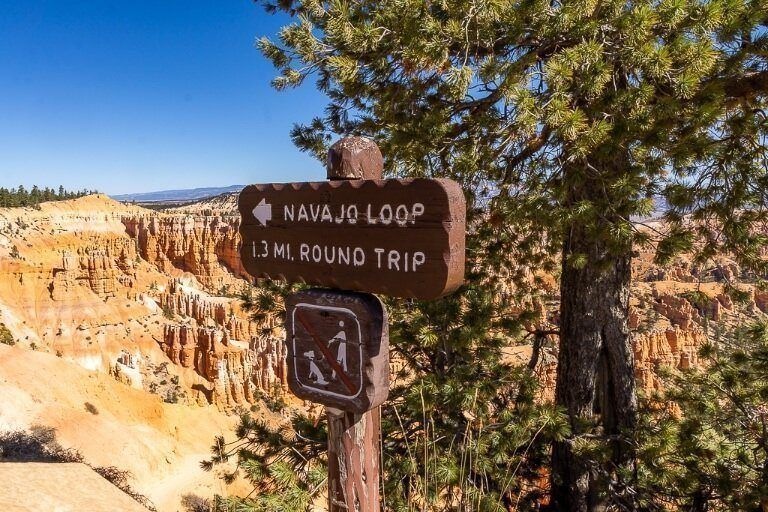
Navajo Loop trail is the most famous, interesting and fun hike at Bryce Canyon. The trailhead begins / ends at Sunset Point on the Rim and descends to the floor of Bryce amphitheater.
It can be hiked in a very short circle (either clockwise or anti clockwise as per the red dotted line above) without stepping foot on Queen’s Garden Trail.
However, including the hiking section of Queen’s Garden offers a welcome change of scenery.
The trail passes through Wall Street, Twin Bridges and Thor’s Hammer – three hoodoo formations favored among visitors to Bryce Canyon.
If you are short on time, it’s extremely warm or you’re not a big hiker – stick to the Navajo Loop only.
Much of it is in shade throughout the day thanks to towering sandstone walls and you will experience the most important parts of Bryce Canyon’s best hike.
- Hike Distance: 1.3 miles (2.1 km) full loop
- Time: 1-2 hours (depending on stops)
- Difficulty: Moderate (steep switchbacks)
- Trailhead: Sunset Point on Bryce Canyon Rim
- Best Time: Spring, Summer & Fall (best Apr, May, Sep, Oct)
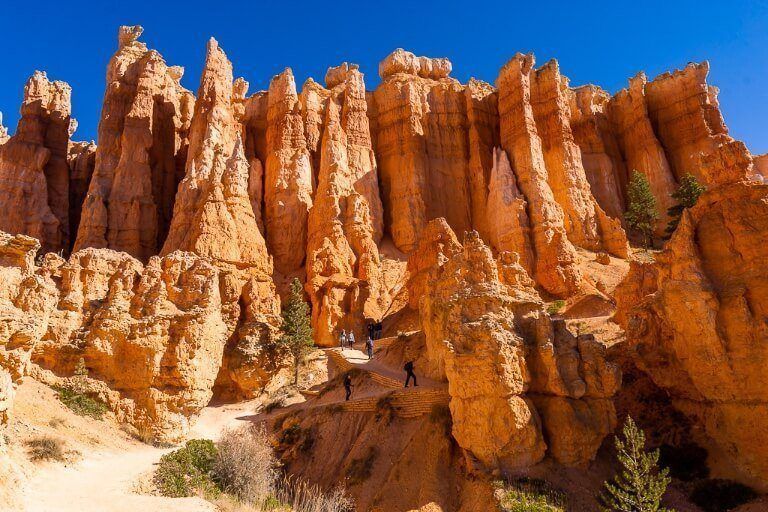
Queen’s Garden Trail
Queen’s Garden can be hiked as an out-and-back from Sunrise Point on Bryce Rim or combined with either branch of the Navajo Loop.
Descending more than 300 feet into Bryce Canyon amphitheater, Queen’s Garden cuts through a lightly forested area and passes rock formations named Gulliver’s Castle, Queen’s Castle and Queen Elizabeth.
Queen’s Garden is a picturesque trail perfect for families and those with a little more time on their Bryce Canyon itinerary. Take care in Summer with extreme heat as much of this trail is exposed.
- Hike Distance: 1.8 miles (2.8 km) out-and-back
- Time: 1-2 hours (depending on stops)
- Difficulty: Moderate
- Trailhead: Sunrise Point on Bryce Canyon Rim
- Best time: Spring, Summer & Fall (best Apr, May, Sep, Oct)
How Long is Navajo Loop / Queens Garden Trail Hike?
When we visited Bryce Canyon we combined the two trails beginning at Sunrise Point and ending at Sunset Point via the Western branch (Wall Street) of Navajo Loop Trail.
This is the most efficient route to see the best bits of the trail and you can always descend via the Eastern branch later in the day if you have more time to see Thor’s Hammer.
Whether you park your car and start the hike at Sunrise or Sunset point, you will have to walk 0.4 miles along the flat amphitheater Rim trail back to your car once you ascend out of the canyon.
- Hike Distance: 3 miles (4.8 km)
- Time: 2 hours
- Difficulty: Moderate (steep switchbacks)
- Trailhead: Sunrise Point on Bryce Canyon Rim
- Best time: Spring, Summer & Fall (best Apr, May, Sep, Oct)
Hiking the Best Trail at Bryce Canyon
Let’s walk through the entire trail beginning and ending at Sunrise Point.
Hiking Queens Garden Navajo Loop Trail is one of the most fun things to do in Utah and we highly recommend you try to fit this in during your visit to Bryce Canyon.
Remember, you can begin and end at Sunset Point instead if the park is busy or you are camping at sunset campground.
This is a family friendly hike with no hands on climbing. Don’t be afraid of the switchbacks! You can take them at your own pace with no worries about clogging up the trail.
If you’re interested in taking photographs here take a look through our Bryce Canyon photography tips and best locations guide.
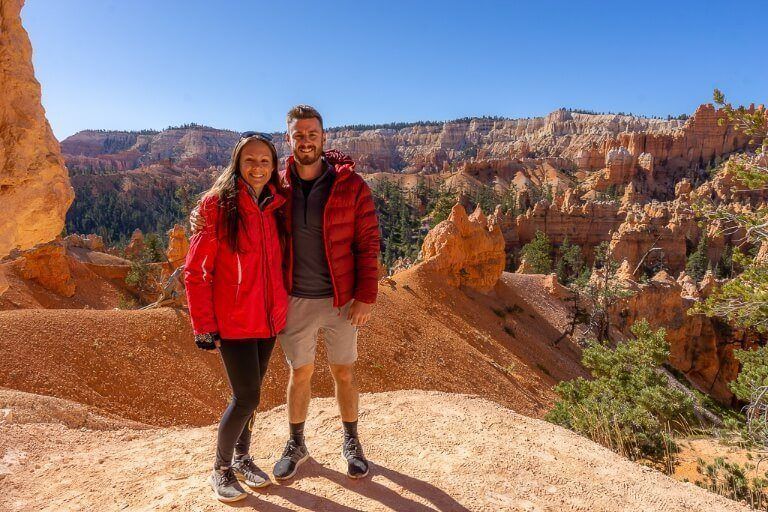
Descend into Bryce Canyon
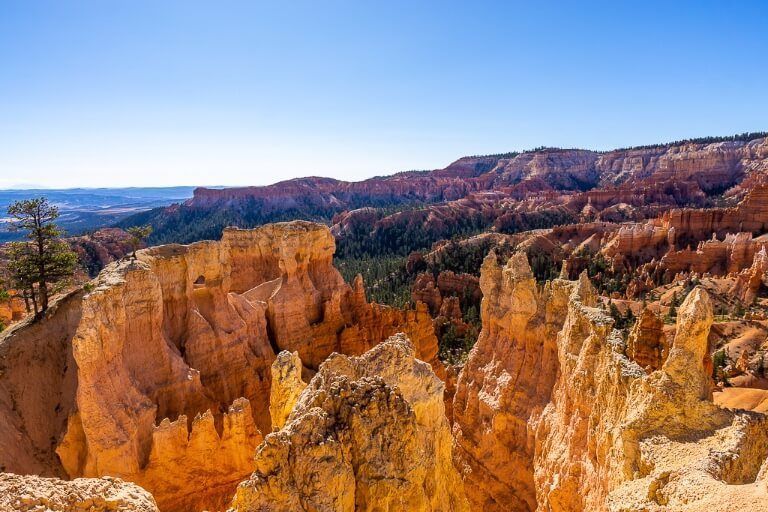
Park up at Sunrise Point and follow signs to Queen’s Garden Trail. Prepare to be blown away as you arrive at the Rim for the first time and see Bryce Canyon’s magnificent amphitheater.
On first glance it looks just like a bowl filled with sharp orange needles. From sunrise point you will descend into the bowl and be engulfed by the amazing natural sandstone spires.
The trail down is gradual, curving around weird and wonderful rock formations and within a matter of minutes you are looking back up in awe at the mesmerizing shapes.
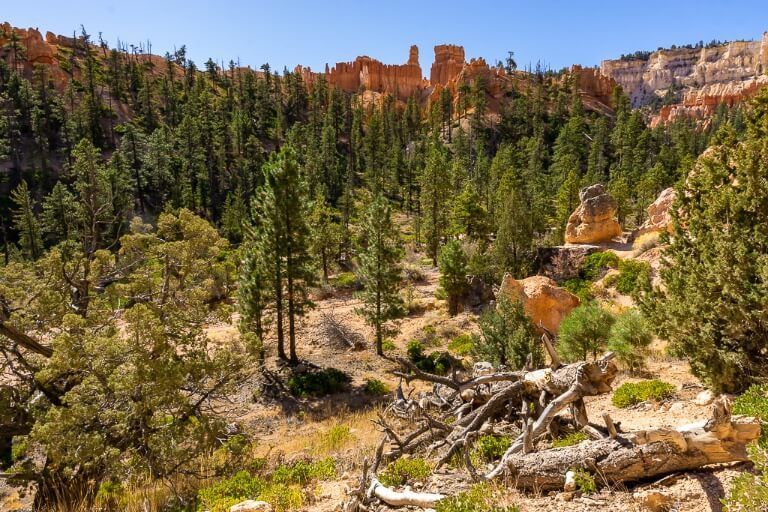
Hike Queen’s Garden
We really enjoyed the Queen’s Garden section of the trail before reaching Navajo Loop.
You will pass through arched doorways carved into huge sandstone walls, see incredibly diverse rock shapes towering high into the sky like sharp teeth and be drawn to green colored trees contrasting against the relentless orange Ocean!
Join Navajo Loop
When Queen’s Garden trail meets the awesome Navajo Loop, you have to decide between the West and East flanks.
To the left you will pass through Wall Street and up the more photogenic series of switchbacks, whereas to the right you will pass Twin Bridges before finding out if you are worthy of Thor’s Hammer.
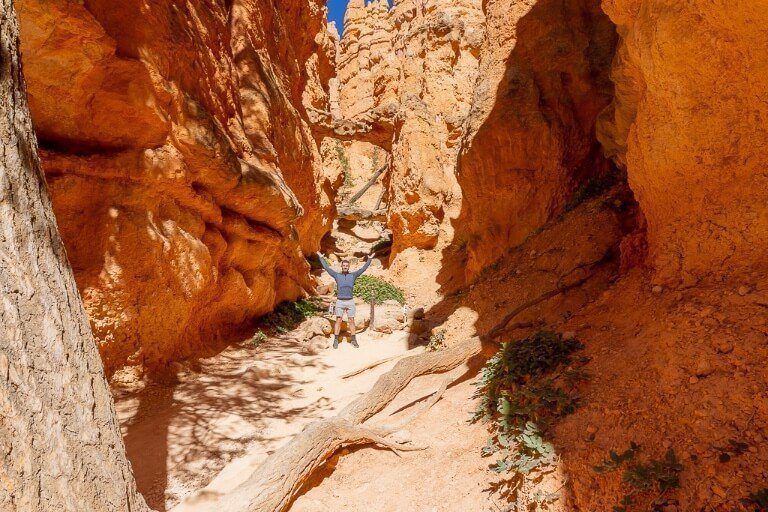
We would suggest taking the left turn to Wall Street for your ascent because this section has the only slot canyon in Bryce Canyon.
Top-tip: Walk as far as Twin Bridges on the right spur as soon as you join Navajo Loop before turning around and taking the left spur trail. That way you can avoid hiking down and back up the second set of switchbacks later.
Bryce Canyon’s Wall Street slot canyon is nothing like the incredible Narrows hike at Zion but it is still mightily impressive … and you won’t get wet!
For a very short distance along the narrow Wall Street sandy passage, you will be dwarfed by enormous orange walls just a few feet apart, like you’re in a sci-fi desert maze.
It is by this point you will understand why Queens Garden Navajo Loop Trail is widely regarded as one of the best hikes in Utah.
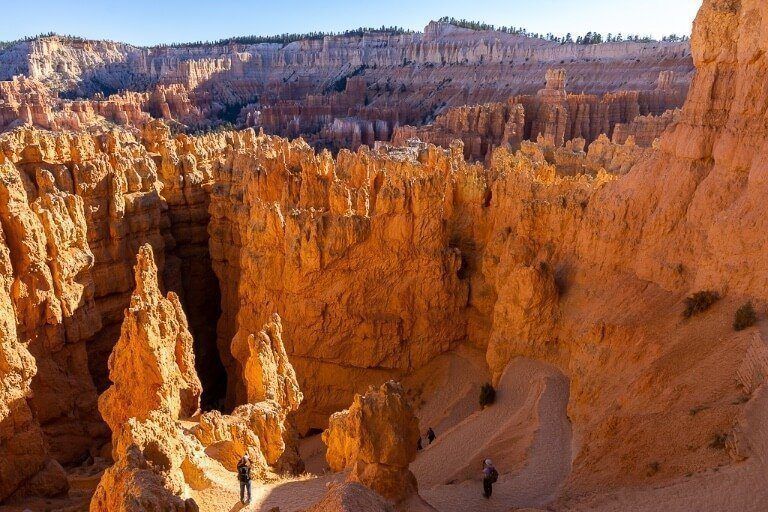
Deep Breaths – It’s Switchback Time!
No matter if you opt to hike the East or West branch back to Bryce Canyon Rim, you have to contend with some quad-burning switchbacks.
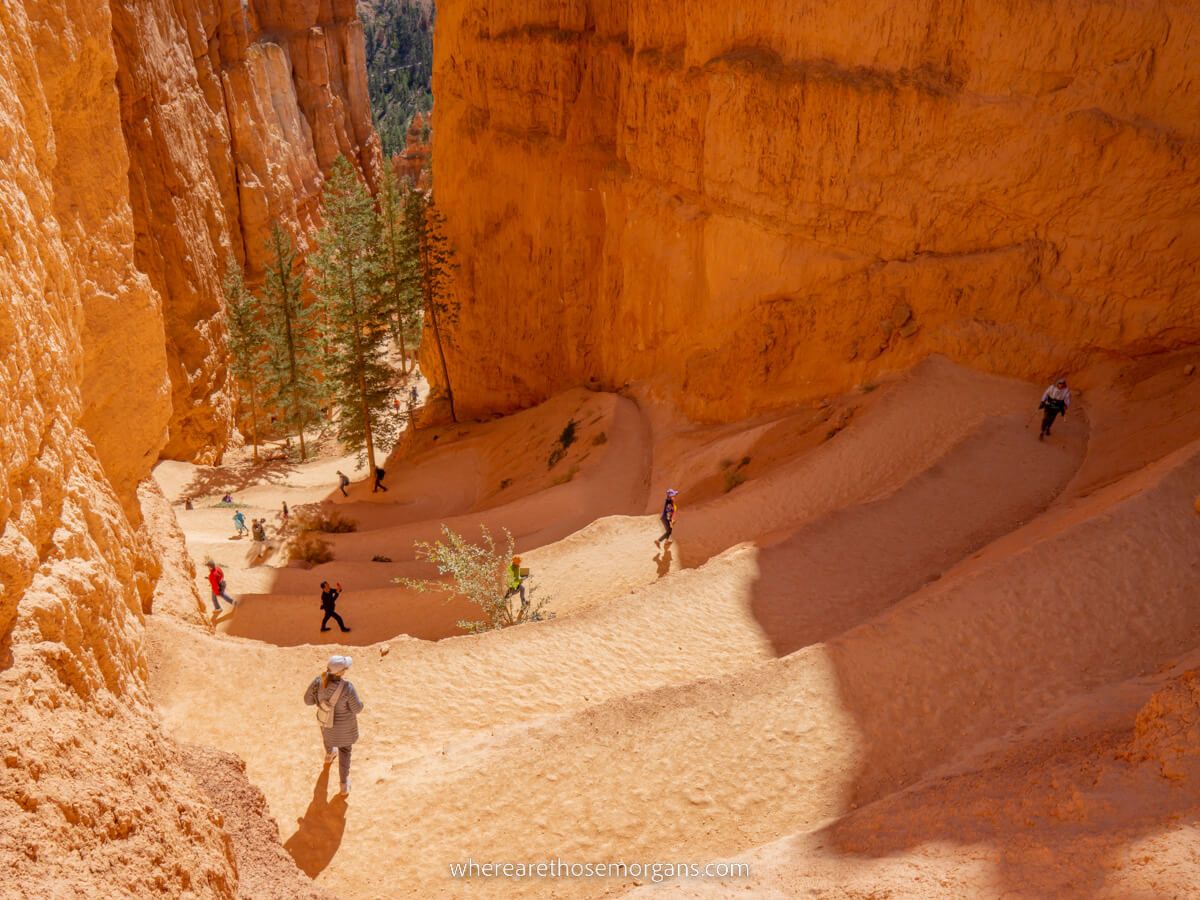
The good news is that these switchbacks are fun and extremely photogenic, especially the Western branch.
Don’t forget to stop regularly to look back at the zig-zagging sandy trail as you gain elevation. Photography can be your excuse for having a breather!
You will summit at Sunset Point and a 10 minute walk along the Rim will lead you back to the Sunrise Point parking lot to complete the hike.
On a side note – If you have time to revisit the canyon just before sunset, we recommend you walk to the top of the switchbacks on the West flank to get some awesome pictures of the trail covered in deep dark shadows.
Optional – Head Back into the Canyon via East Branch of Navajo Loop Trail
If you’re enjoying your hike and have the spare time, be sure to walk back down into the amphitheater via the other branch. In this case you would descend via the Eastern leg of Navajo loop.
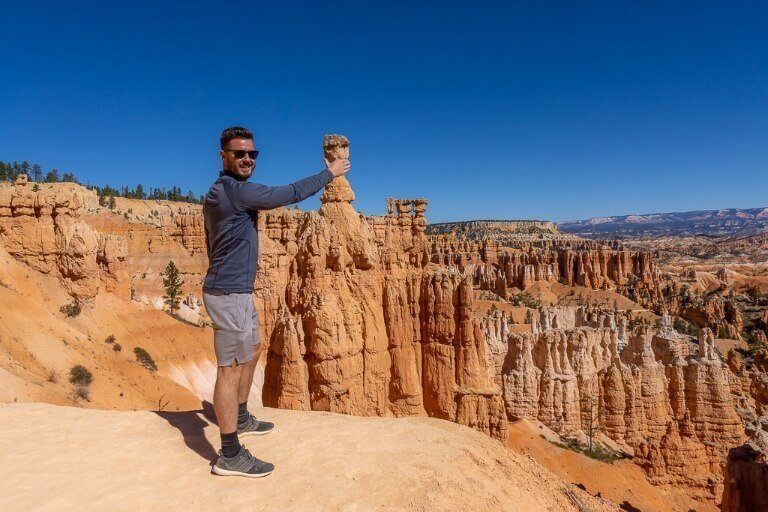
Just before you get to this set of switchbacks, look to your left and you will see Thor’s Hammer sat atop a single needle-like sandstone column.
When you joined Navajo Trail earlier, you should have seen Twin Bridges before taking the other leg to Wall Street.
That means there’s no need for you to go down (and more importantly back up!) these switchbacks because you’ve already seen each of the most popular hoodoo formations.
Side note: Marvel’s casting team obviously hadn’t seen Mark before selecting Chris Hemsworth … !!
What To Pack For Your Hike
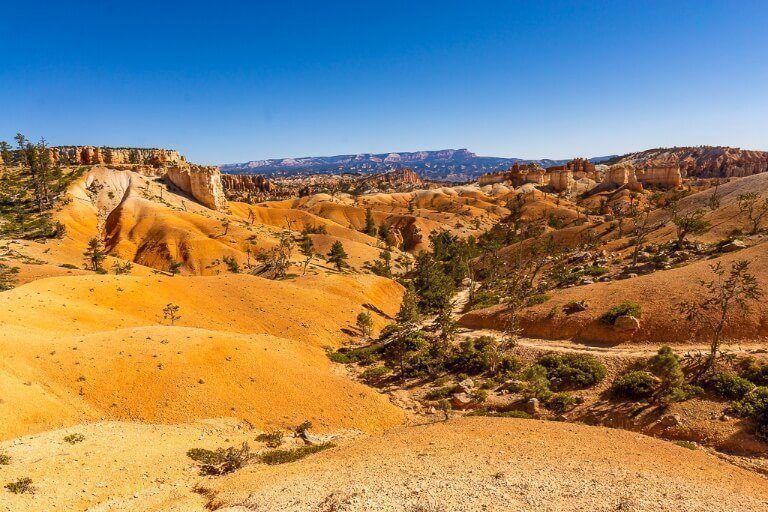
What to pack will depend on the season you visit. The hike isn’t difficult and you never go too far from the Rim so first aid / emergency gear isn’t required on this trail.
We hiked in October and needed our down jackets when we began in the morning. As the day warmed, we were fine in a light long sleeved upper layer.
Don’t forget to load up on sunscreen in Summer and remember the amphitheater will trap heat so hike early if possible.
Here are just some of the things you can pack for your hike:
- Food – Not a long hike so light snacks will be fine
- Drinks – Plenty of water, it’s hot and dusty in Bryce amphitheater
- Water Bottle – Nalgene Tritan
- Hiking shoes – Men: Salomon X Ultra and Women: Merrel Moab 2
- Camera and lens – Sony A7R IV with Sony FE 16-35 GM and 24-105 G lenses
- Action Camera – GoPro Hero9 Black
- Camera strap – Peak Design Slide
Best Time To Hike Queens Garden Navajo Loop Trail
Winter: Extremely cold at 8,000 ft altitude. We were freezing camping in October! Benefit of very few tourists outweighed by harsh conditions. Not recommended.
Spring: Wonderful time to hike at Bryce Canyon as the weather improves. Warmer days and comfortable hiking conditions mean the trails begin to fill up but nothing like Summer.
Summer: Can become extremely hot so take care hiking in the amphitheater. Much busier with tourists and more difficult to find accommodation nearby. But warmer mornings and evenings make for excellent sunrise, sunset and astro photography opportunities.
Fall: We always suggest visiting the Utah parks in Fall. Ideal weather conditions for hiking, fewer tourists and an element of Fall foliage can come in to play in certain areas. Bryce Canyon National Park is perfect in Fall. Recommended.
Read More About Bryce Canyon National Park …
- Zion & Bryce Canyon: Zion and Bryce Canyon – Epic 3 Day National Parks Road Trip Itinerary
- Photography: Bryce Canyon Photography – Tips for Sunrise, Sunset, Hiking and Viewpoints
- Where to stay: Best hotels and places to stay near Bryce Canyon National Park
Are you planning a trip to Utah? Our Ultimate Utah Road Trip Planner covers all of Utah’s Mighty 5 National Parks, plus crosses into Northern Arizona to complete the most amazing loop route.
More Amazing US Hikes …
- Arches: The 3 Unmissable Hikes at Arches – Windows, Devil’s Garden & Delicate Arch
- Zion: Complete Hiking Guide to Notorious Angels Landing in Zion National Park
- New York: Ultimate Hiking Guide to Mount Marcy in the Adirondack Mountains
- Yosemite: Hiking Guide to the Amazing Mist and John Muir Trail (Vernal / Nevada Falls)
We hope this helped you plan your hike at Bryce Canyon National Park!
Have you been to Utah? Which is your favorite National Park?
Please let us know if we missed anything from the Queen’s Garden Navajo Loop trails, if you have any questions or need any help planning your visit.
Happy Hiking,
Mark and Kristen
Was This Post Helpful? Pin It For Your Visit!
Note: This article contains affiliate links. When you make a purchase using one of these affiliate links, we may earn a small commission at no extra cost to you.
All Rights Reserved © Where Are Those Morgans, LLC. Republishing this article and/or any of its contents (text, photography, maps, graphics, etc.) in whole or in part is strictly prohibited.
Mark and Kristen Morgan are travel, hiking and photography experts. Over the last 6 years traveling full time, they have explored more than 40 countries and 30 US states.
Where Are Those Morgans has been featured in USA Today, Gestalten, Get Your Guide, CityPASS and Condé Nast Traveler along with various other publications. Read more about us.

This is very helpful information about Bryce, Arches and Canyonlands (Mesa Arch). We are going this spring for a lot of Photography, so I really appreciate your comments and info. Do you need a long Zoom like a 300 or 400 for any of these three Parks?
Hi Steve, glad to hear you are going on a photography trip to the Utah parks, you are going to have a really great time. Honestly, if you have a lens with 300 – 400 we would suggest taking it if you really want to take home the style of image you can get with a long lens. You would be able to capture unique images that most photographers won’t be able to get with just a wide angle and walk-around lens. But the truth is you probably won’t end up using it much and it will obviously add a lot of weight / take up space in your pack. There aren’t many distant arches or hoodoos that require a telephoto lens. Mesa Arch, Delicate Arch, Bryce amphitheater etc are all better as wide landscapes rather than close ups, so you definitely need a wide lens but you don’t NEED a long lens. We have significantly upgraded our gear and photography skills since visiting these parks, and because we do this for a living we would take our 100-400 next time so we could work on unique images in the parks. It’s really up to you and your photography style / preferences. Hope that helps and have a fantastic time in Utah!