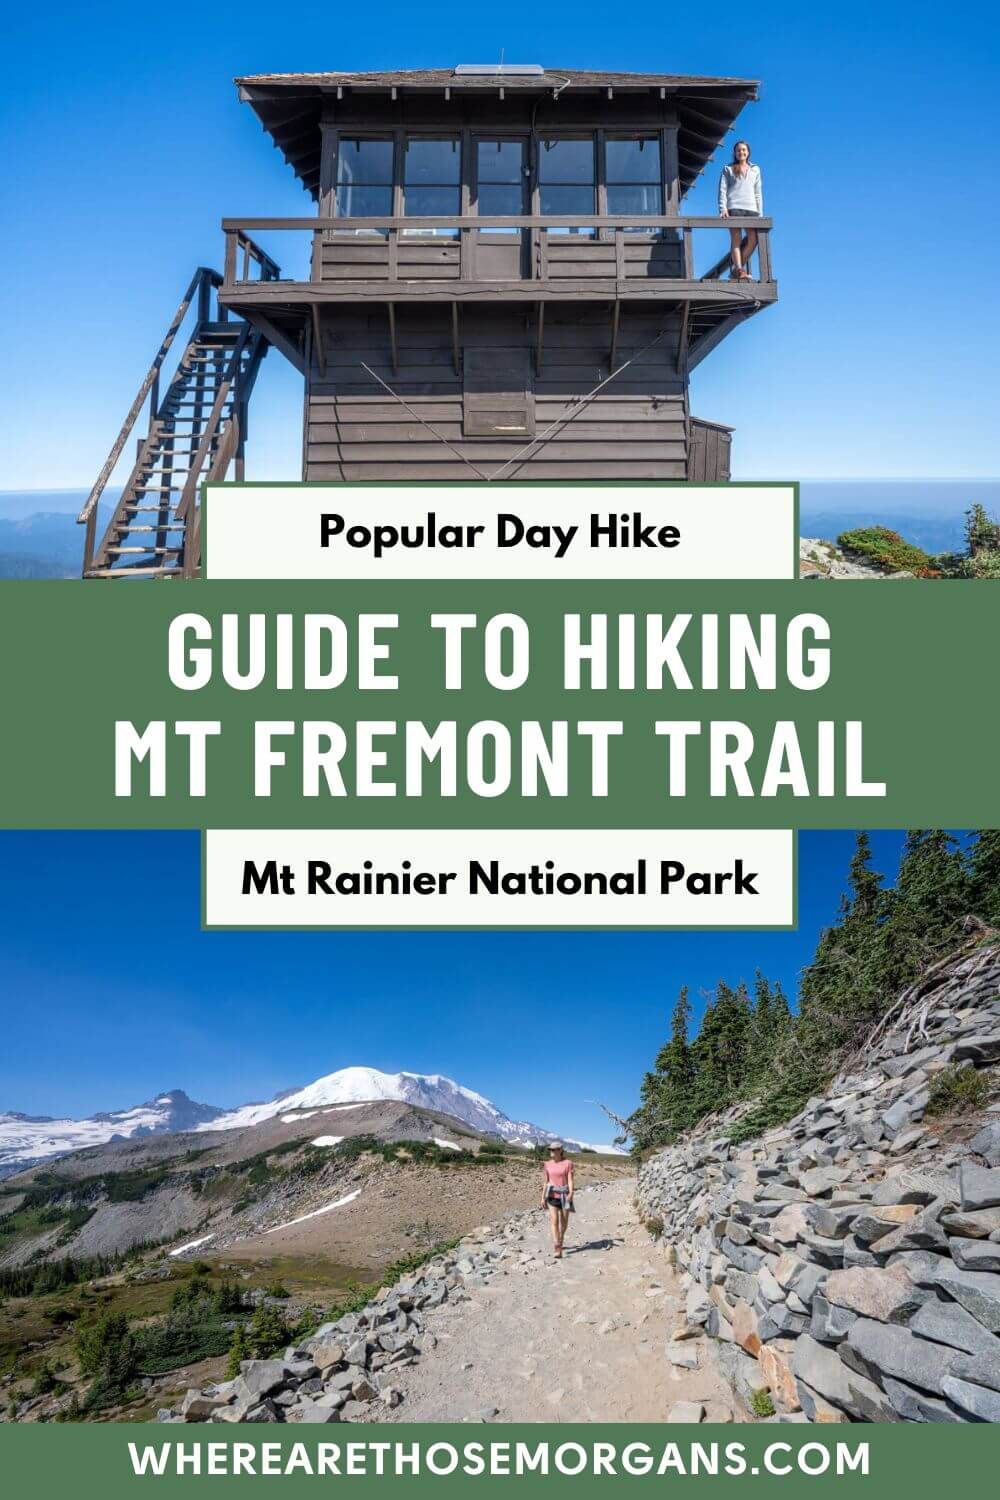
Mount Fremont Trail is one of the most popular day hikes in Mt Rainier because it leads to one of just four remaining fire lookout towers, and it has stunning elevated views over the snow capped volcano. We have to say the trail itself wasn’t as attractive as we’d expected, but the summit vista more than made up for it.
In this guide we explain everything you need to know about hiking to Mt Fremont fire lookout in Mount Rainier National Park, based on our experiences. Read more about us.
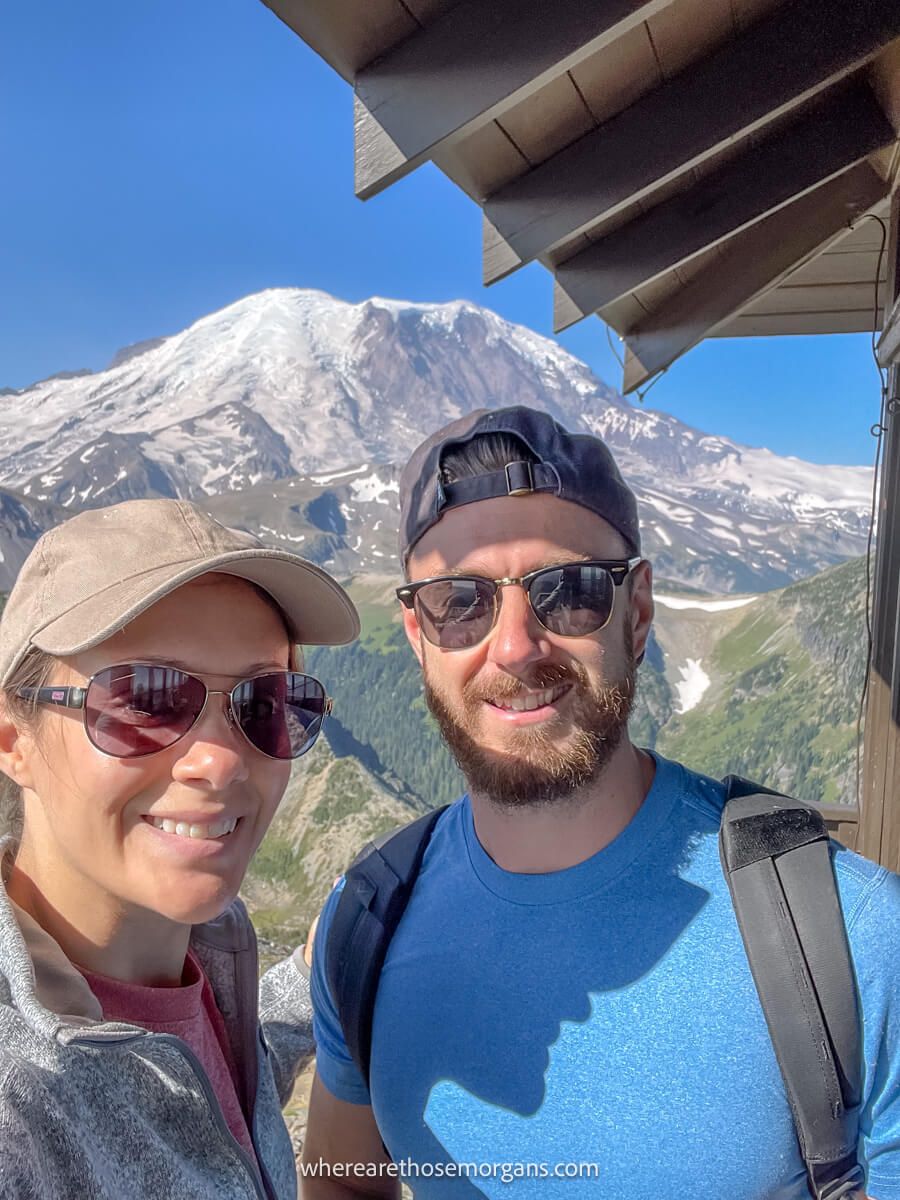
We hiked more trails than could count when we lived near Seattle for 6 months in 2021, and Mt Rainier was a place we just kept going back again and again. Along with the famous Skyline Loop Trail, we had Mt Fremont near the top of our bucket list. So we drove up to the park’s Sunrise region during one of our first visits and hiked up to the old fire lookout tower.
The trail was varied and fun, but it wasn’t as photogenic as other hikes in the park. At least not until we climbed up to its rocky summit ridge line, which was when the trail really burst into life. If we’re being totally honest, we preferred Tolmie Peak fire lookout because the trail was more picturesque and way less crowded, but we still think Mt Fremont is definitely worth hiking. Okay, let’s begin!
Note: Our content is reader supported and contains affiliate links. If you make a purchase through one of these links, we may earn a small commission at no extra cost to you and it helps us keep this site running.
What You Need To Know
Okay, let’s dive right in. Here are the most important things you need to know about hiking Mount Fremont Trail:
- It’s a moderately difficult hike with mostly gradual elevation gain.
- The popular route is via Sourdough Ridge Trail.
- The trail is snow free mid-July through mid-October.
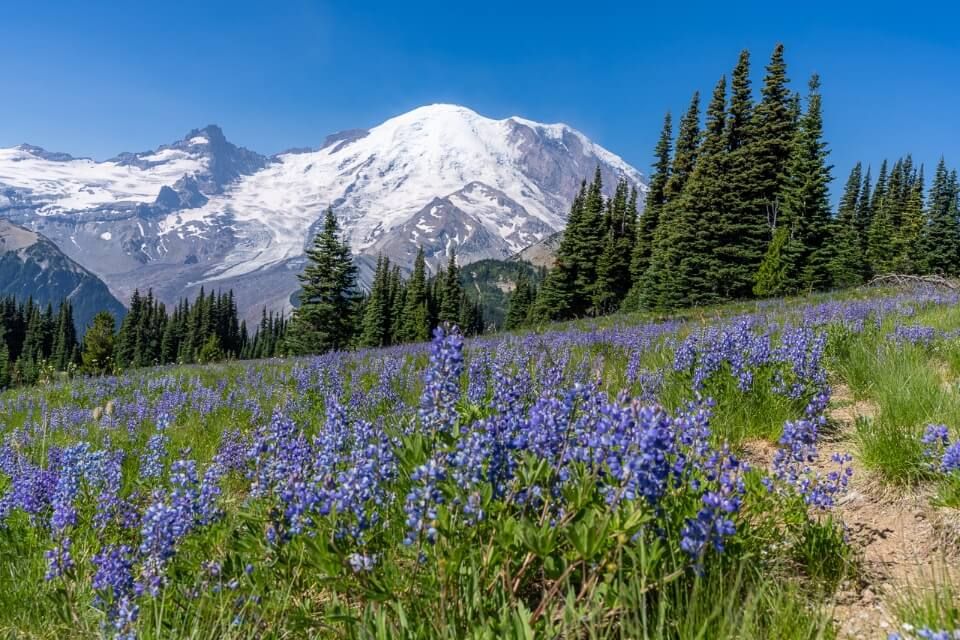
- Wildflowers are best here late-July through mid-August.
- Parking is at the end of Sunrise Park Road.
- Include Burroughs Mountain Trail for a longer hike.
- You don’t need specialist hiking gear.
- But wearing robust trail shoes is a good idea.
- The entire hike is totally exposed.
- You can’t stay in the fire lookout tower.
- Use restrooms at the visitor center before starting.
- Mt Fremont Trail is not dog friendly.
Trail Statistics
- Distance: 5.7 miles roundtrip
- Type: Out and back
- Elevation Gain: 1,100 ft
- Difficulty: Moderate
- Time: 3-4 hours
- Trailhead: Sunrise Visitor Center
If you’re a regular hiker you’ll find the hike to Mount Fremont fire lookout is actually pretty easy. The trail is mostly gradual with one major climbing section not far from the end of the hike, so overall it’s a nice distance and elevation profile to feel like a good workout but without being too much.
Mount Fremont Trailhead Parking
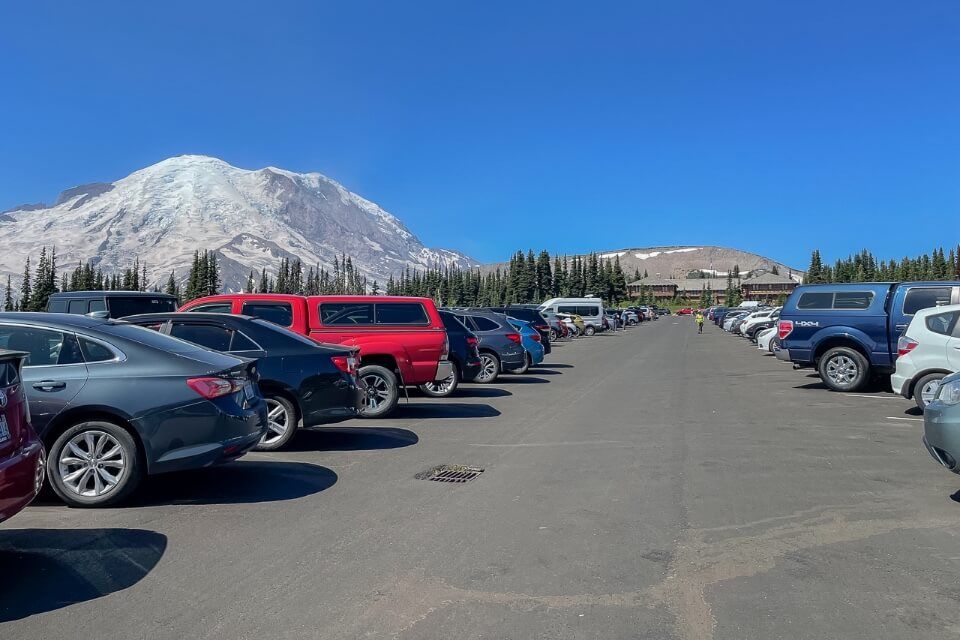
Mount Fremont Trailhead is also known as Sourdough Ridge Trailhead, which you can find located at the very end of Sunrise Park Road near the visitor center in the Sunrise region of Mount Rainier National Park.
White River entrance is the only way in or out of the park’s Sunrise region, and the turn off WA-410 to reach the entrance is near Crystal Peak Trailhead in the northeast of the park.
It costs $30/vehicle for 7 days to enter through the pay stations and you must display a pass on your car dashboard. All payments in person at the kiosks are cashless. Alternatively, you can use your America the Beautiful Pass in Mt Rainier.
Distances and average driving times from nearby cities:
- Seattle – 96 miles (2 hours 5 minutes)
- Bellevue – 90 miles (2 hours 10 minutes)
- Renton – 80 miles (2 hours 00 minutes)
- Everett – 116 miles (2 hours 30 minutes)
- Tacoma – 80 miles (2 hours 00 minutes)
- Portland – 184 miles (3 hours 30 minutes)
The parking area at Sunrise is large but it’s a hugely popular part of the park, so it does fill regularly. If it’s full and you don’t want to wait for a space to open up, you can at Sunrise Point instead and walk a longer portion of Sourdough Ridge Trail to reach Mt Fremont.
We were anxious about getting a parking spot so we made sure to arrive early. On Saturday July 24th, one of the busiest days of the year, we parked at 7:15am and the lot was maybe a third full. But by the time we finished at 11:00am, the lot was completely full and cars were circling like sharks.
Then when we left Sunrise at at 11:50am through White River entrance, there were around 100 cars in line to get through the pay kiosks. That’s no joke and you’d lose a lot of your day waiting to get in. We recommend going very early or much later in the afternoon on a weekday rather than a weekend or holiday to avoid long lines.
Trail Map
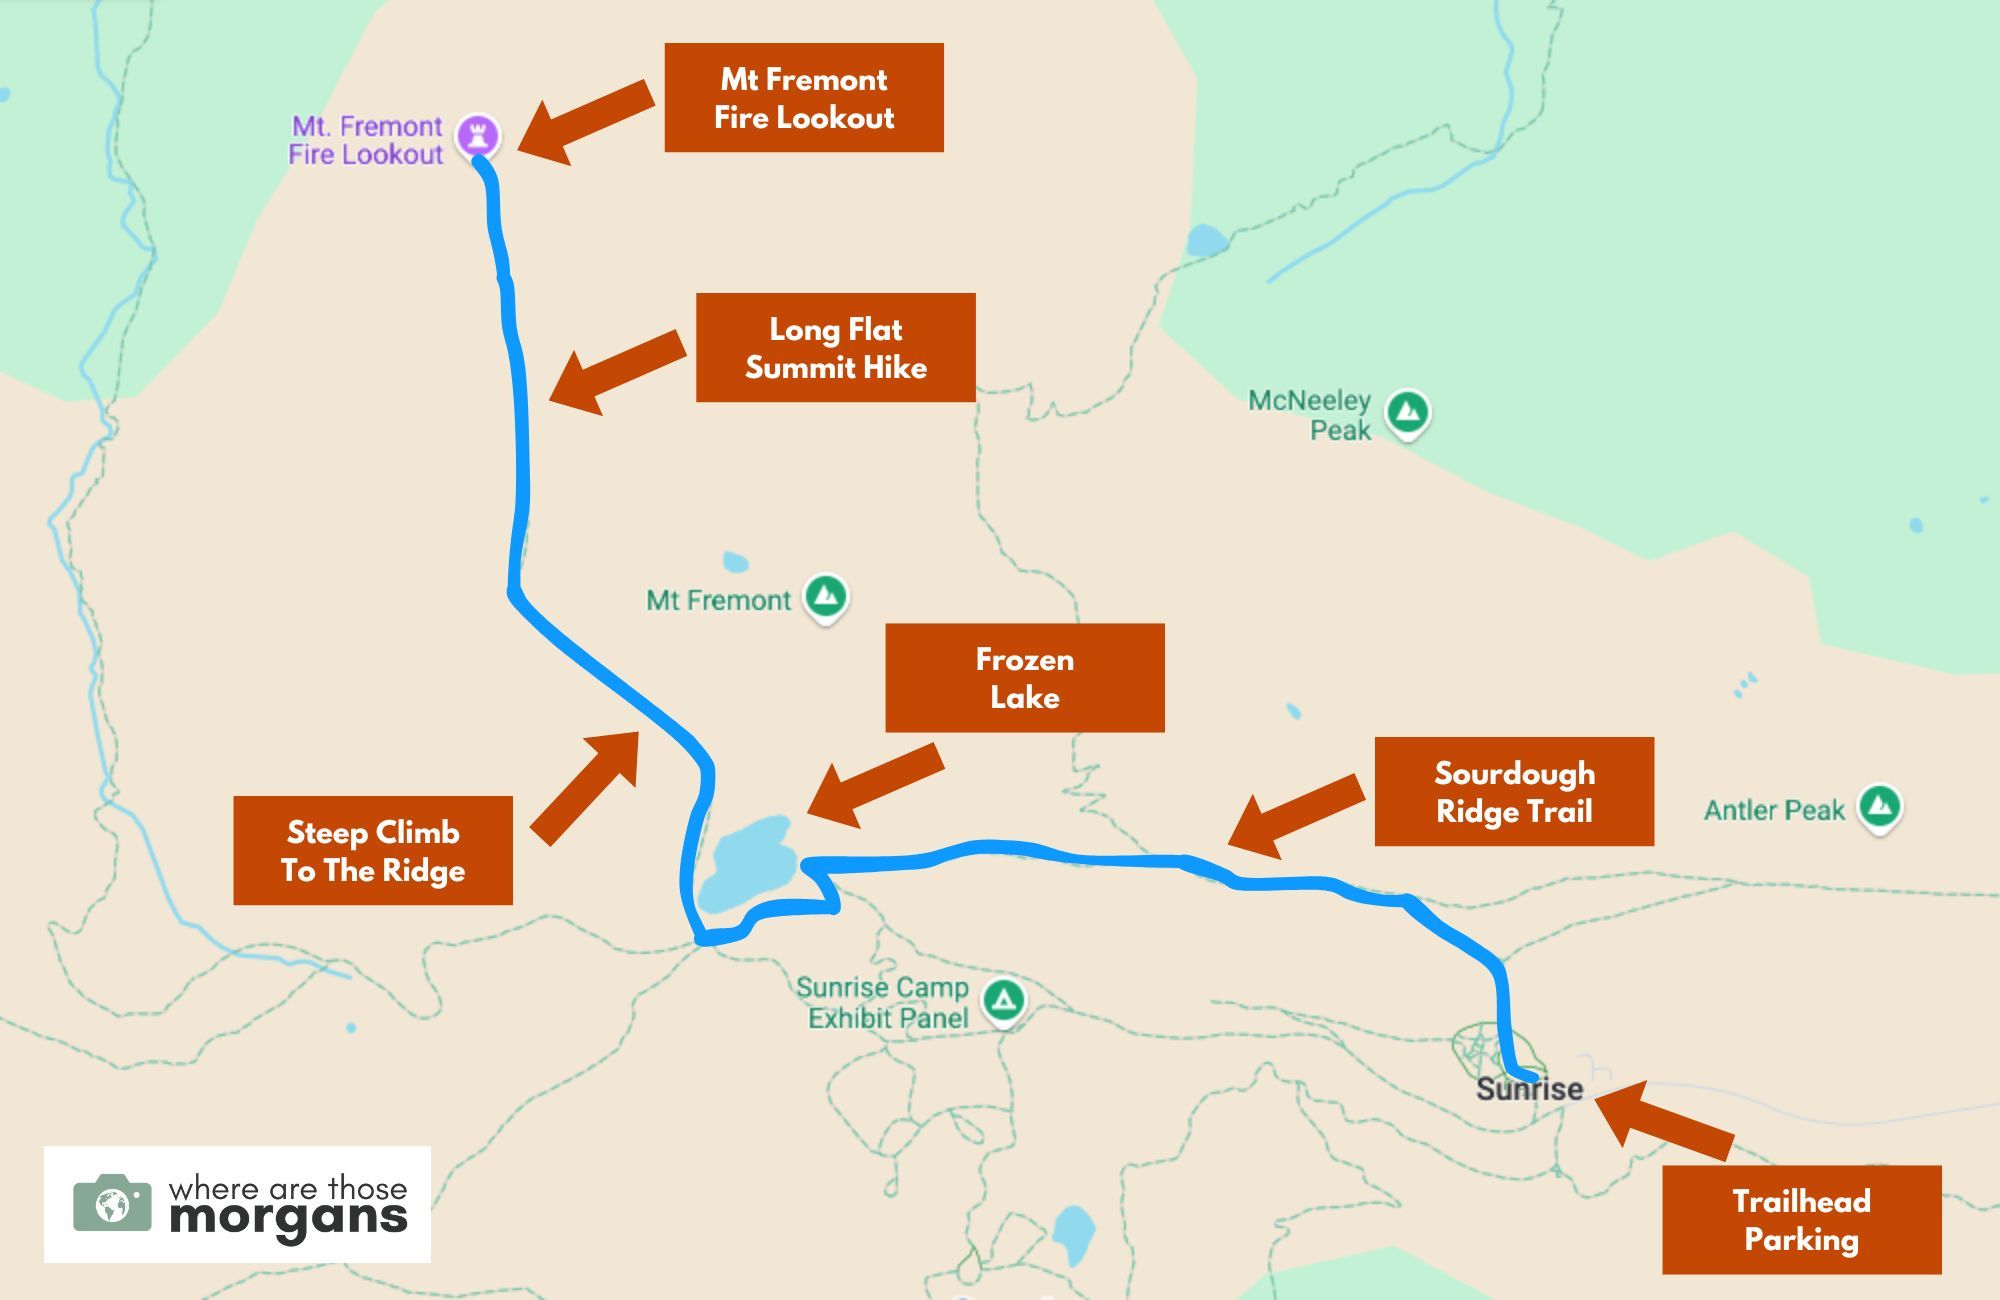
As you can see in the map we created above, after parking at Sunrise visitor center you’ll get on Sourdough Ridge Trail and follow it to Frozen Lake. Then you’ll take a right onto Mt Fremont Trail, climb a steep hill and walk along a flat ridge to the fire lookout.
Although it looks confusing with the all the connecting trails, it’s actually a really simple hike that’s well signposted and very heavily trafficked, so don’t worry about going the wrong way.
Trail Walkthrough
Next, let’s walk through the trail exactly as we hiked it so you know what to expect.
1. Begin The Hike
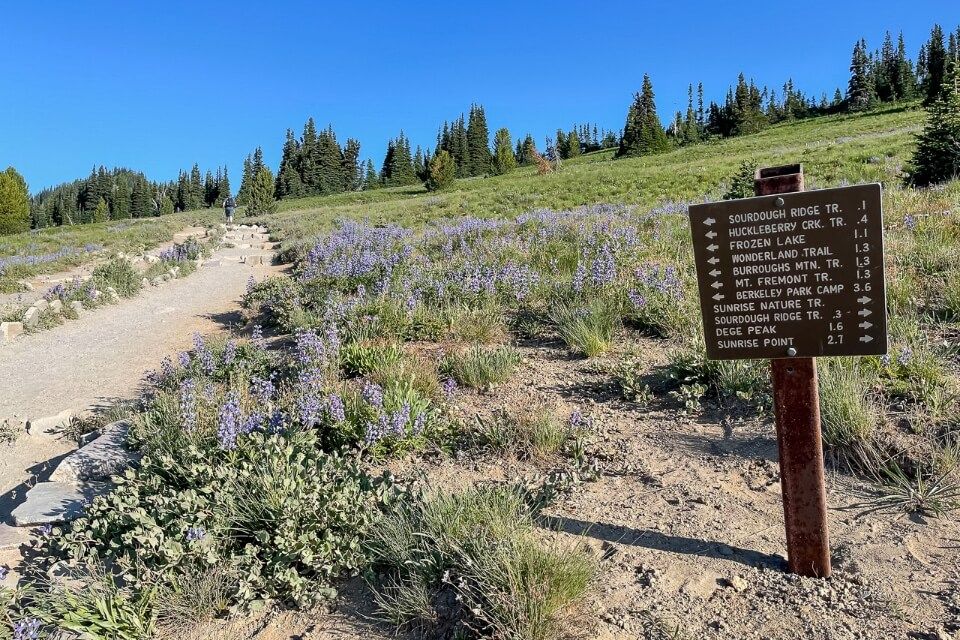
After parking, we grabbed our gear, used the restrooms and walked to the trailhead. There was a maze of different paths running in all directions, so we found a sign and followed Sourdough Ridge towards Mt Fremont. We cut through a gorgeous meadow on a flat and dusty gravel trail until reaching a fork in the path and turning left.
2. Join Sourdough Trail
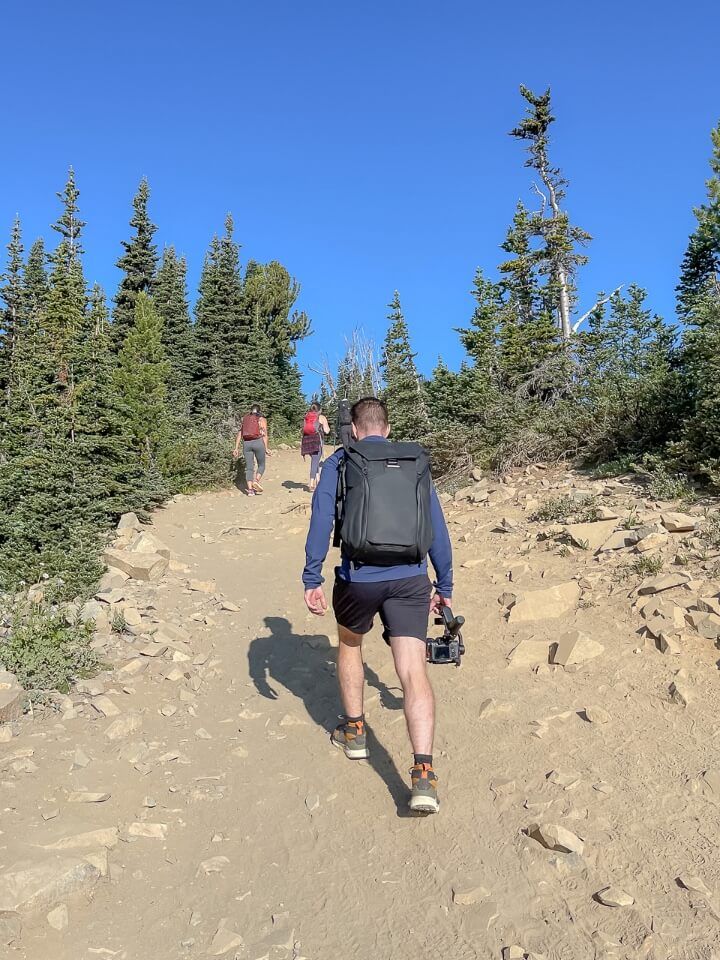
Very early on in the hike we had stunning views of sloping meadows with emerald green trees and blue-purple wildflowers backed by the gigantic Mt Rainier, but not long later we joined a dusty path leading into a forested area. Parts of this sandy trail were steep and rocky so we were glad to have proper trail shoes on.
3. Gradual Climb To Frozen Lake
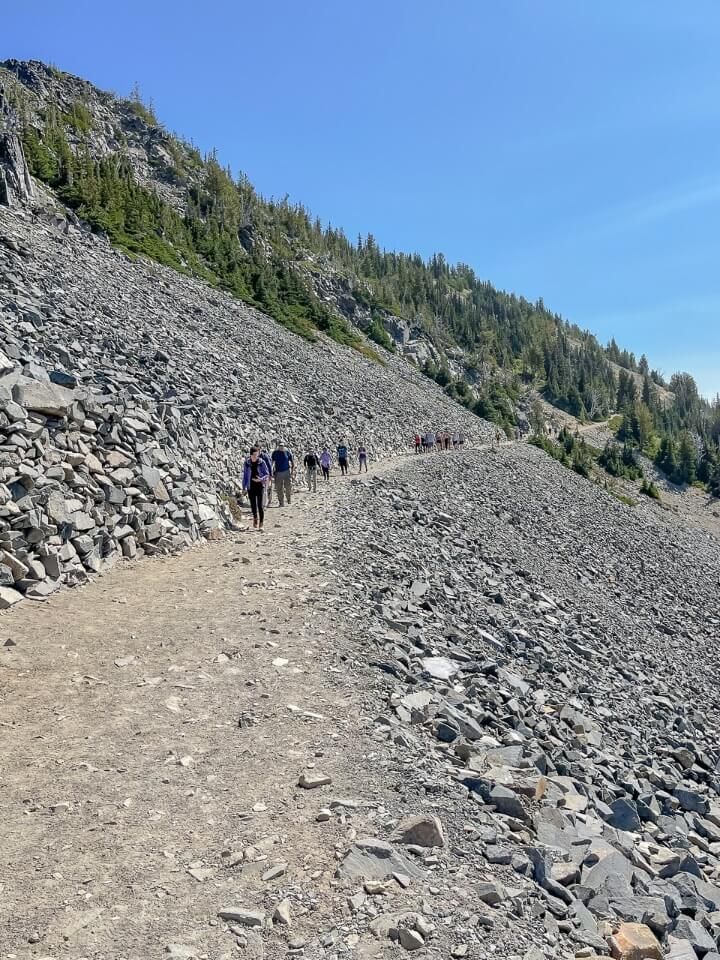
Around 1 mile after leaving the visitor center, the trail transitioned from dusty dirt into hard grey stones cutting through a talus slope. This section of the hike was far less beautiful but it was easy to pick up the pace and cover ground quickly. We very gradually gained elevation for the next half mile until reaching Frozen Lake, which serves as junction of multiple trails.
4. Frozen Lake Junction
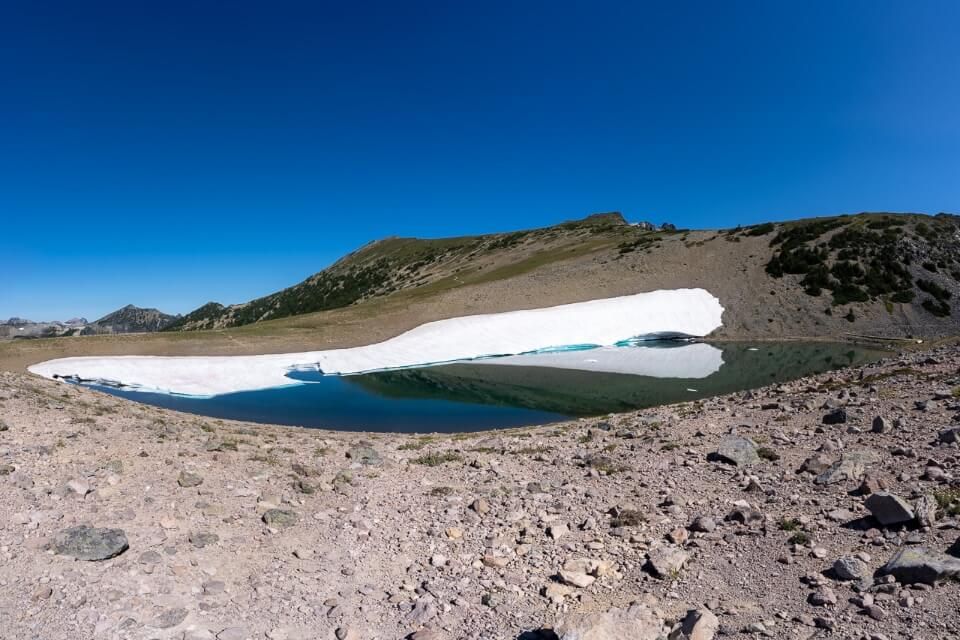
Sourdough Ridge Trail ended at Frozen Lake as one arm of a starfish-shaped confluence of trails. The famous Wonderland Trail passes through this same point, plus it’s where North Burroughs Mountain Trail begins and Mount Fremont Trail also begins. We circled around the lake and took the first turn to the right side ready for a ridge climb.
5. Climb To The Ridge
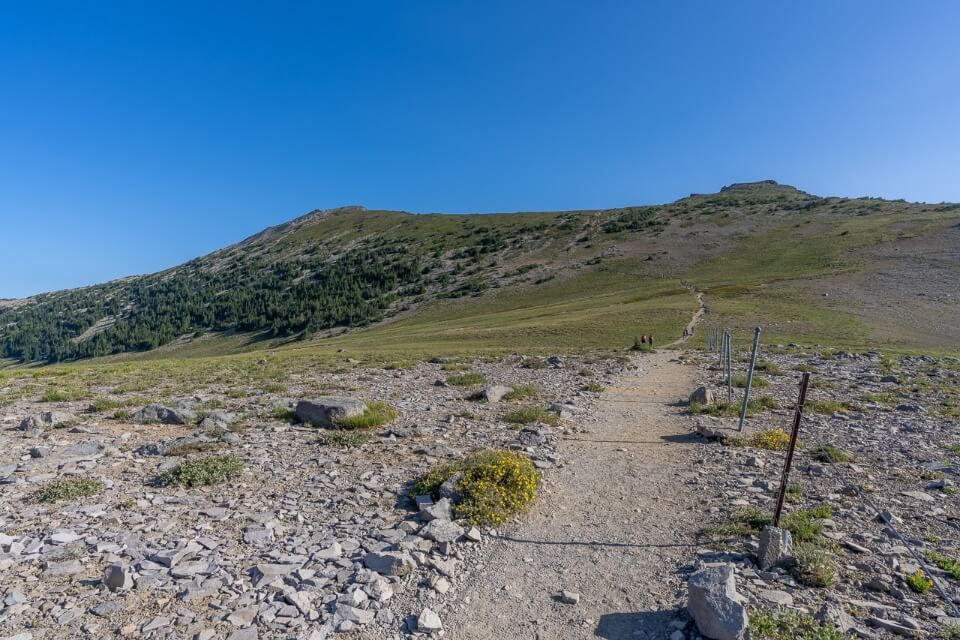
Immediately to the side of Frozen Lake the narrow path led directly north towards a steep hill. This was the beginning of the climb up to a rocky ridge which flattens and goes all the way to the summit fire tower. The climb was fairly straightforward, we just followed the path as it gained 450 ft elevation and curved to the left. The first part was the steepest but it gradually began to ease up.
6. Follow The Ridge
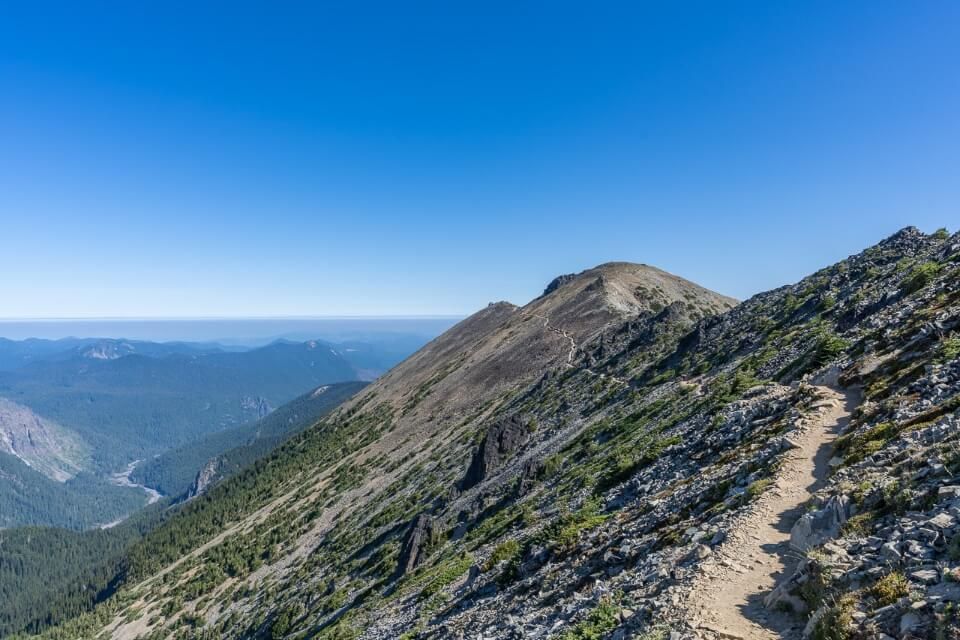
Our favorite point on the trail itself was as we reached the top of the climb and saw a view of the ridge trail. From here onwards, we really enjoyed this hike. It was still a little over half a mile to the fire tower, so we got cracking on the narrow path. There were a few rocky sections which we had to take extra care with and it also got pretty congested at times.
7. Mt Fremont Fire Tower
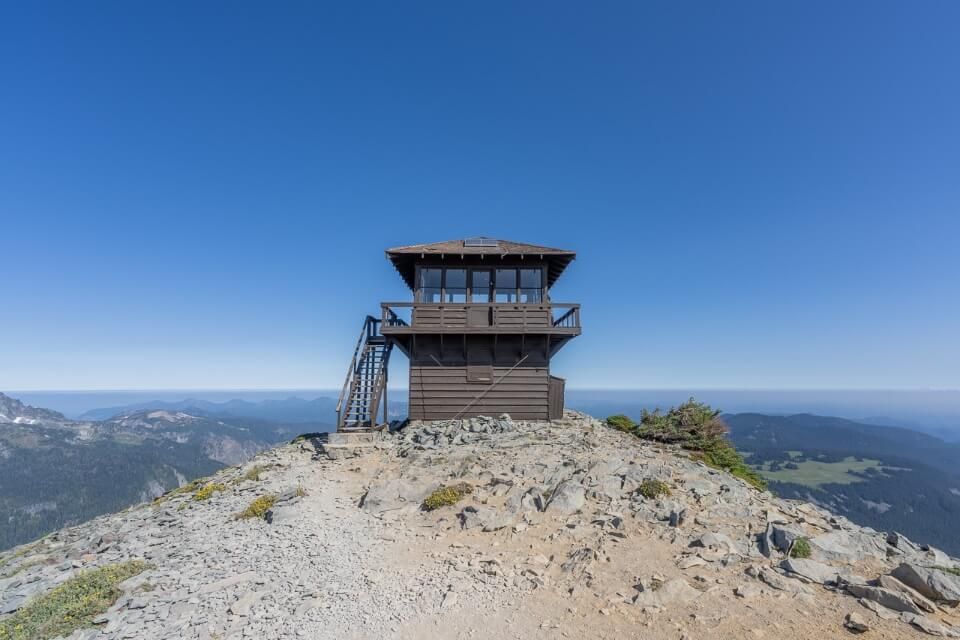
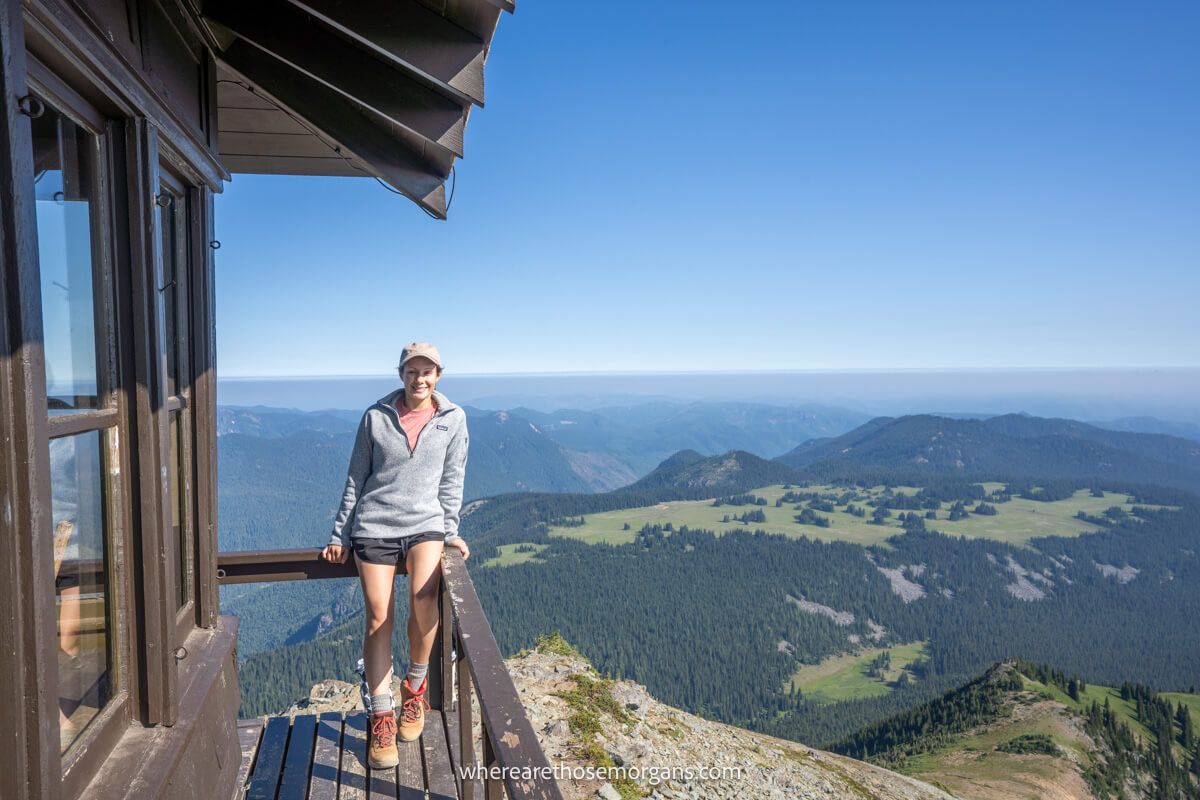
Around 100 ft before arriving at the fire tower, the slope to our right side disappeared and was replaced by truly special views as far as the eye could see. We arrived at a rocky cliff-like overlook before the fire tower, which was be busy with hikers enjoying views of the fire tower and Mt Rainier.
8. Explore The Tower
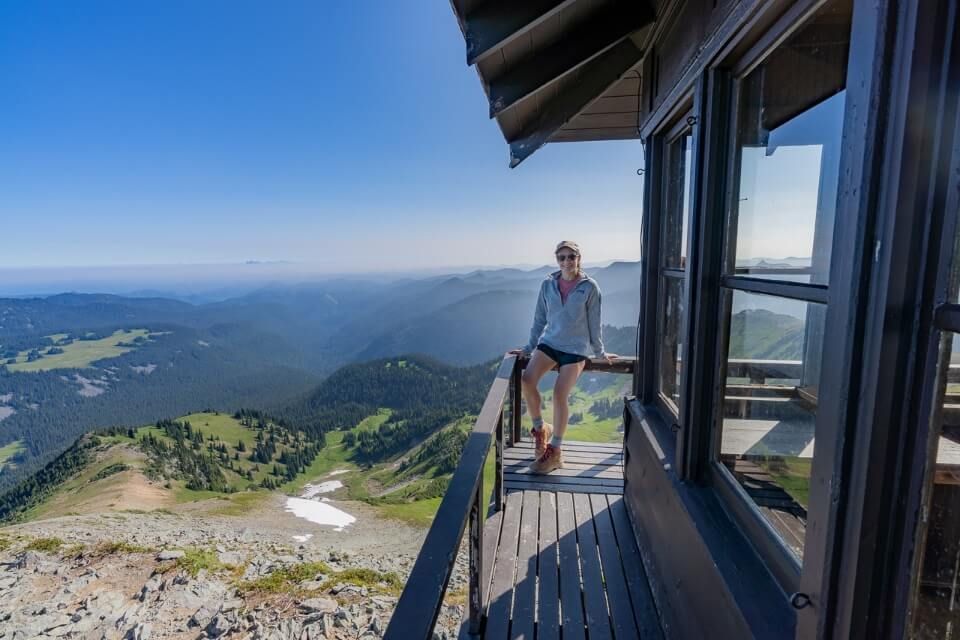
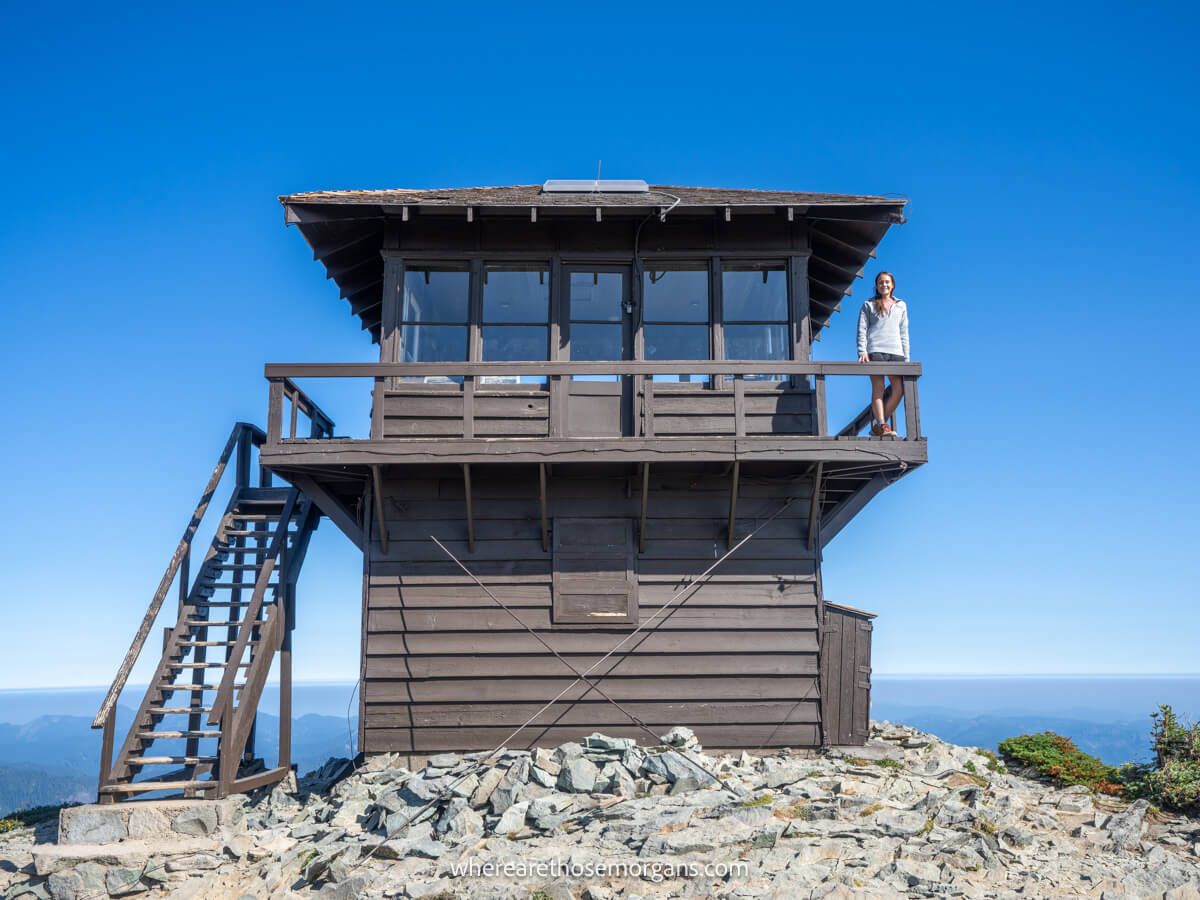
Mount Fremont fire tower was built in 1934 and remains as one of only four left in Mt Rainier. Of those four, it’s the most popular and easiest to access. The tower once served as the northeast watchtower for protecting the forests of Mt Rainier from wildfires. We couldn’t miss the chance to climb those wooden steps and take a quick look around the old fire lookout.
9. Mt Rainier Views
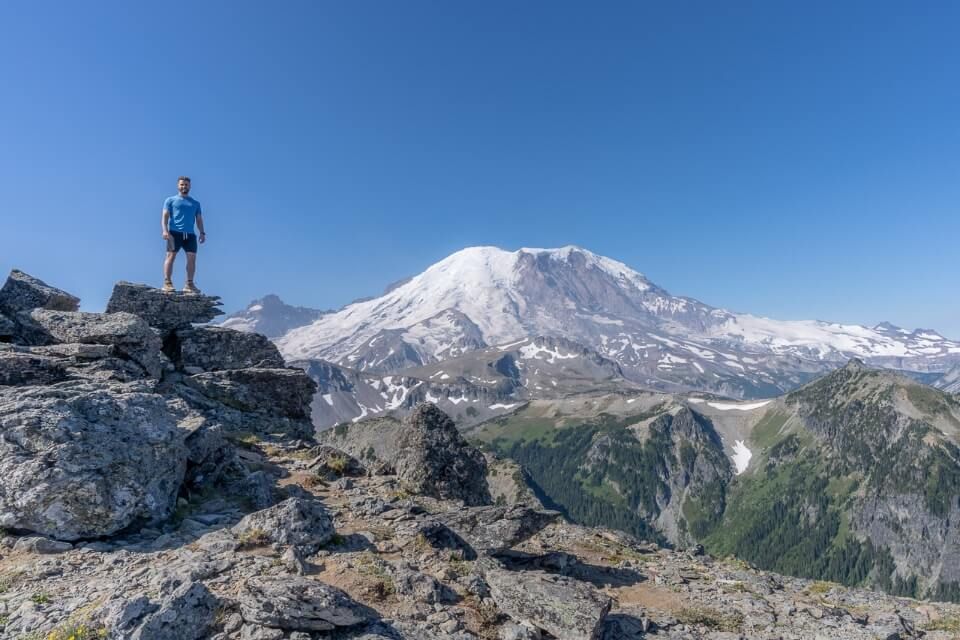
Seeing the Mount Fremont lookout tower was awesome, but the best part of this hike was the close up and unobstructed view we had over Mt Rainier. There was a thin and wispy blanket of cloud like a light mist looking in the other direction towards Mt Baker, but the view over Mt Rainier was totally clear. We stopped here for a food break and enjoyed the stunning 360-degree panorama.
10. The Return Journey
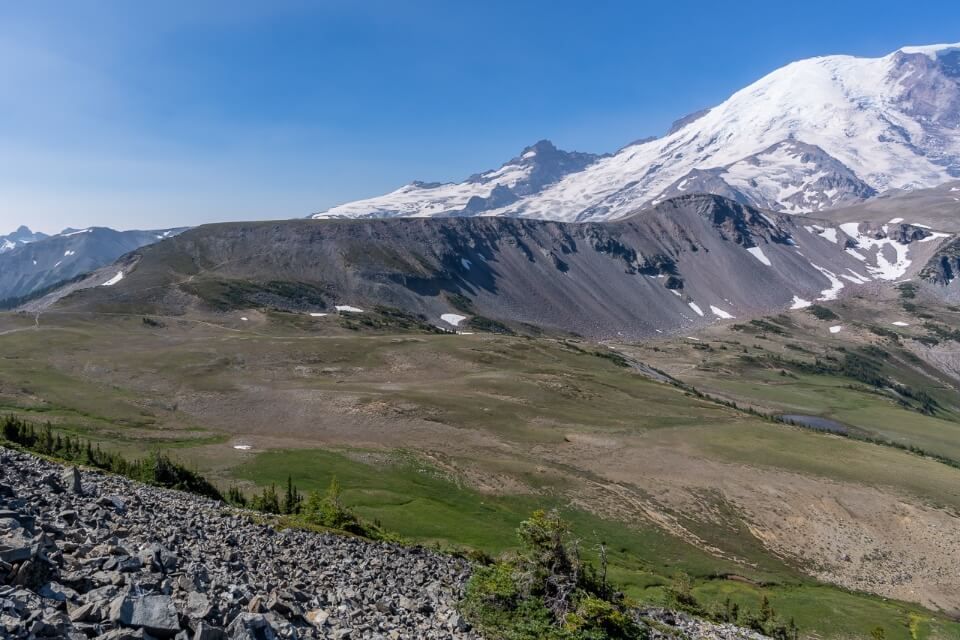
We wanted to hike Naches Peak Loop Trail in the afternoon so we didn’t hang around too long before heading back down. The walk back was very easy because it was almost exclusively downhill. We considered tagging on Burroughs Mountain but it’s a beast of a hike in its own right and we didn’t have time. But it makes sense to do it at the same time as Mt Fremont if you want to hike both when you visit the park.
The Morgan Conclusion
What we like: It’s an easier day hike than many others in the park. We loved the fire tower and spectacular views from the summit. It’s perfect for adding on Burroughs Mountain for a longer and harder hike. And the wildflowers are very pretty in peak bloom.
What we don’t like: It’s a very popular and therefore busy trail, so parking can be a problem in peak times. The hike is very open and exposed throughout and it’s only open for a short period when it’s clear of snow. Finally, the trail itself wasn’t as attractive as many others in the park.
Is Mt Fremont Trail worth it? Yes! Mount Fremont Trail is worth hiking to see staggering views over Mt Rainier from one of just four remaining fire lookout towers in the park. The trail is a nice comfortable distance with an achievable amount of elevation gain, so we highly recommend adding it to your itinerary.
We hope our guide to hiking Mt Fremont Trail helps with planning your visit to Mount Rainier!
Please let us know if you have any questions in the comments below.
Happy Travels,
Mark and Kristen
Enjoy this guide? Pin it for later!
All Rights Reserved © Where Are Those Morgans, LLC. Republishing this article and/or any of its contents (text, photography, maps, graphics, etc.) in whole or in part is strictly prohibited.


Good article on Fremont Fire Lookout. It’s a fun hike with awesome views. My father manned this lookout back in the mid 1930’s. That was the beginning of his very long career with the NPS.
Thanks for getting in touch John and it’s great to hear your father manned the lookout in the 1930’s, it must have been so secluded and peaceful back then.
If you are lucky, you may see some of these guys in the Mt. Fremont area (we saw these on Burroughs Mountain #1)…
https://photos.app.goo.gl/KsLur2A5wXcL2VMb7
We weren’t as lucky as you, Michael! Thanks for sharing your photo.