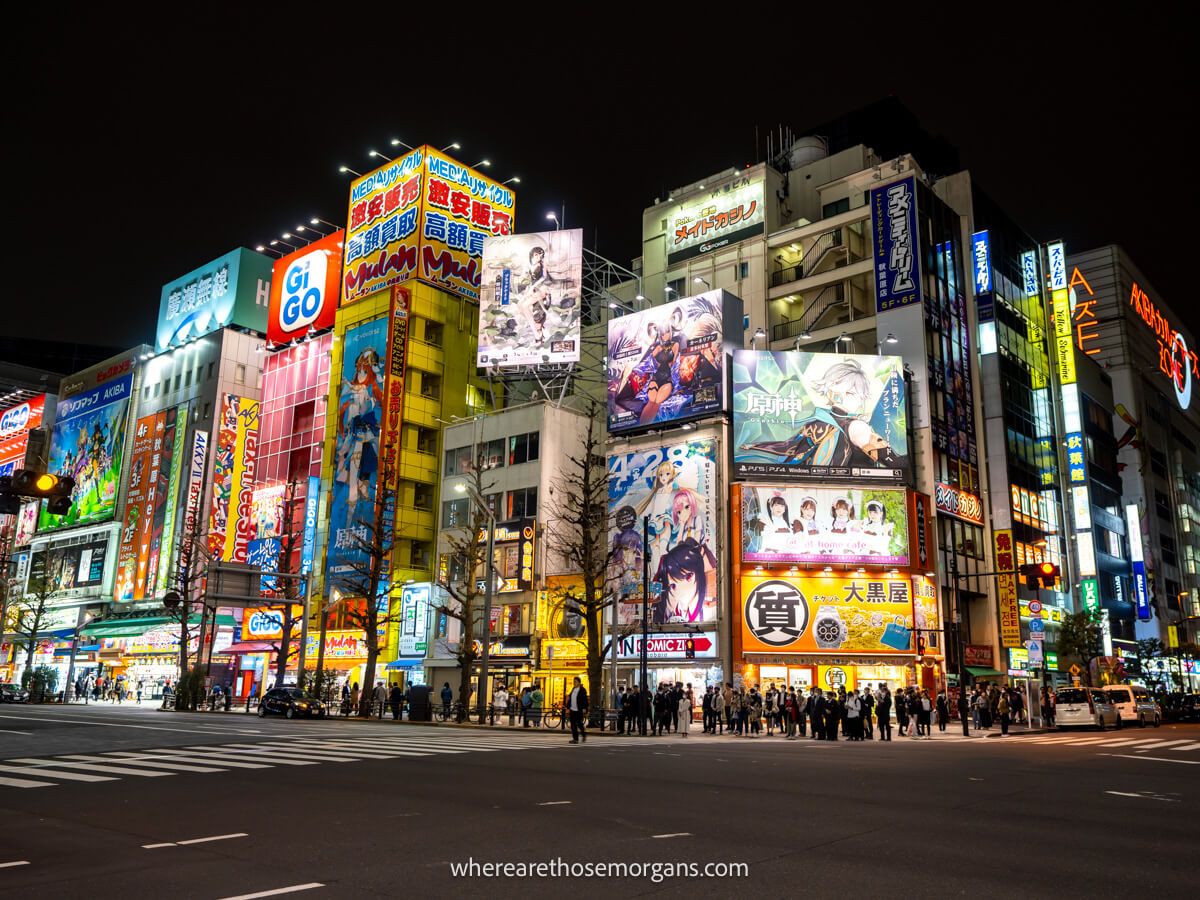
Buying your first ever camera is kind of a big deal. There’s a fear of the unknown element, and you’re inevitably going to drop a sizable amount of money. We took the plunge in 2018 and bought our first camera in the world’s most populous metropolis – Tokyo, Japan.
Japan is known for its camera innovation and it continues to produce some of the most popular models on the market. This guide explains the journey we went through from realizing we needed to buy a camera to biting the bullet in Tokyo.
Note: Our content is reader supported and contains affiliate links. If you make a purchase through one of these links, we may earn a small commission at no extra cost to you and it helps us keep this site running.

We need to give you a little background information before we jump right into the details. If you are new to our site, we’re professional travel writers and photographers. But this wasn’t always the case.
You can read our story here, but in a nut shell, we were originally scientists who dreamed about traveling the world. We took an 18 month honeymoon and the biggest regret we have is not buying a camera right away.
Hindsight is a wonderful thing because the months leading up to our trip was an extremely stressful time. We had to go through two immigration processes, one to get married in England and then one for Mark to immigrate to the United States.
On top of all this, Kristen was mysteriously ill from a recent trip to Bali and no one could figure out was wrong, we quit our long term science jobs and had to plan for our wedding from two different countries all while trying to save money.
So as you can imagine, the last thing on our mind was buying a camera. But by the time we arrived in Tokyo, we have been traveling for 4 months and made an executive decision that we needed a camera.
What we want you to take away from this story is that no matter where you are on our photography journey, it’s never to late to learn. Cameras can be expensive, but you can start with a beginner level model and upgrade as your skills advance.
Here are the steps we took to buying a camera in Tokyo, Japan:
1. Realization
Our trip around the world was meant to be temporary because we planned to return to the lab when our trip was over. But after a few months, the concept of this travel blog began to materialize.
As many travel bloggers do, we thought our blog would be a diary we could share with friends and family. And prior to this trip, neither of us had been exposed to photography, but we were hooked.
In 2018, we were using an iPhone 8 which was the newest version at the time. One of the biggest differences between using an iPhone over a camera is the limitations from the small sensor which lead to poor image quality.
This might not be noticeable on your phone, but if you want to shoot at night or use large prints, this is where you will need a camera. However, iPhones have come a long way and they can take decent shots during the day, but they can’t replace a camera and we knew what we had to do.
Photography Tip: Even today, we still use our iPhones for certain photos. This way we save space on our hard drives so only the best stuff is shot with our cameras.
European Adventure Setting The Scene
The first three months of our trip we spent interrailling around Europe with our iPhones. Yes, we certainly wish we had better photos from this original trip, but not all was lost. It was this on this trip we learned about leading lines and how to effectively compose a photo.
Photography is a process. It’s easy to look back now and understand where we went wrong. Everyone has a starting point so don’t feel bad if you find yourself in the exact same boat. As long as you learn something, an experience is never wasted.
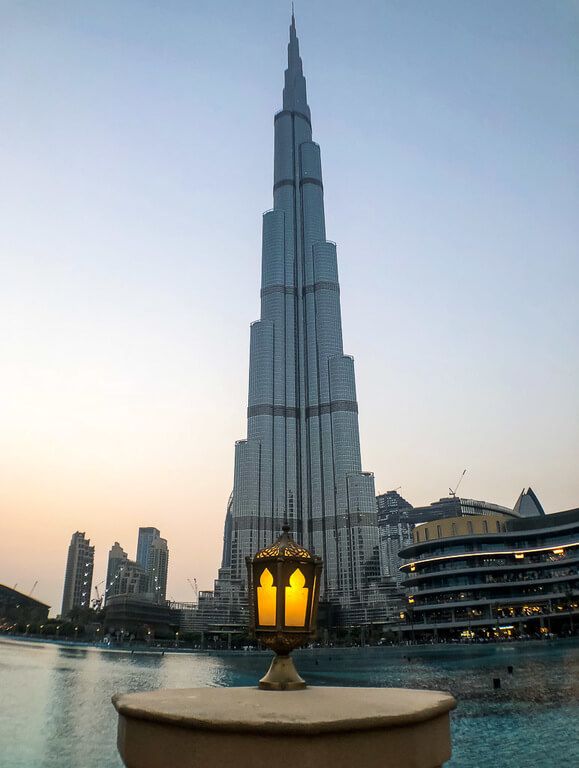
The ah moment came once we got to Dubai. If you look at the photo above, we couldn’t fit the Burj Khalifa into a single shot unless we were miles away.
We tried a vertical panorama with the iPhone but the Burj looked like it was tipping over. And we always compared it to the scene from Inception where the buildings go upside down.
So we began to learn by realizing we wanted a wide angle lens. Or at least a camera with a wider field of view than the iPhone because we began to enjoy capturing images of architecture and landscapes.
However, we weren’t about to go out and drop big bucks because of the Burj Khalifa. Our next stop was Hong Kong.
The moment we walked onto the sky deck at the top of Victoria Peak and saw that unbelievable view of skyscrapers jutting up into the sky like sparkling matchsticks was another game changer.
The Defining Moment
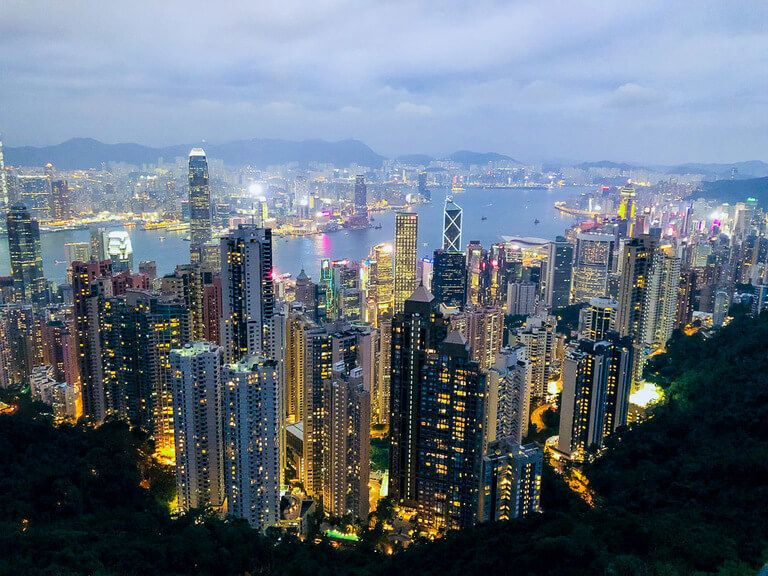
We instantly began to question ourselves for the second time in a matter of days. Our iPhone photos weren’t terrible, but equally, they weren’t amazing and that’s what we needed.
The discussion of whether we should buy a camera was the flavor of the month by now. The most frustrating thing was that it had taken us so long to come to this conclusion. If we were to buy one now, out of principle, we’d be annoyed at ourselves for missing the whole of Europe with a camera.
We’d been brain storming about the travel blog without really being able to spend any time on it. But we made the decision to step away from the personal diary travel blog.
Our goal was to create an informative travel blog so we could help others travel, just as we were reading travel blogs about the places we were heading to next. We knew a camera would help us take better photographs for the future blog aspirations we had.
Jump forward a week to Kyoto’s Golden Temple, bamboo forest and bright orange Inari Shrines. And we’re still using our iPhones.
The final straw was the Tateyama Kurobe Alpine Route in fall with some of the most beautifully colorful foliage we’ve ever seen. The burnt oranges, rusty reds and illuminating yellows were absolutely breathtaking.
The time had come to bite the bullet. That spare money we didn’t have was about to be spent. It was there on the top of Mt. Tateyama at 3000m, we decided together to begin the pre-purchase research process.
We’re in Japan after all, what better place to buy our first camera than the tech city of Tokyo?
2. Research And Analysis
Realization was the easy part. Next we had to decide which camera we wanted to buy. That may sound simple, but it’s not. Especially for us because we are scientists.
We both come from a very analytical and logical thinking background. Naturally, our brains work over time whenever there are options.
We deliberate, analyze, evaluate, make pro and con lists, deliberate some more and then even when we’ve decided, sometimes we’ll go back to the drawing board. All in the name of making sure we get the best possible quality to price ratio. We like to think of it as both a blessing and a curse.
Our research began with choosing the type of camera we preferred. We immediately discounted the point and shoot as it wouldn’t produce a massive improvement in quality and shooting options compared to the iPhone.
DSLR Versus Mirrorless
That left us with a decision to make between a DSLR or a mirrorless camera. We discovered that mirrorless technology had dramatically advanced in the years leading up to our visit to Japan.
Mirrorless camera quality was becoming similar to that of a DSLR. Many pros were making the transition to mirrorless models. We had recently run into a photographer using a mirrorless and fell in love with everything about it.
Buying a camera was new territory for both of us. Neither of us expected to be forking out a lump sum for a camera that would heavily cut into our travel fund.
We knew that we couldn’t afford to jump in at the deep end. So advanced models were out of the equation. Mirrorless and DSLR had similar price brackets for beginner or mid-range camera models. But there was no clear winner right off the bat.
What tipped us towards mirrorless was the convenience factor. The size and weight to be specific. As long term travelers with a finite amount of space and weight available, it was a no brainer for us to opt for mirrorless.
3. Choosing A Model
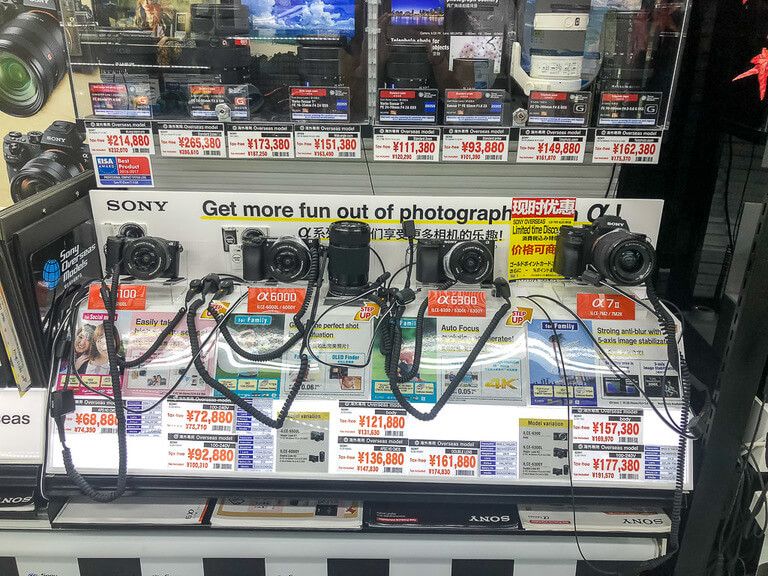
The next decision we had to make was regarding the model. From the word go, we’d both been drawn to the Sony Alpha series, simply because of how sleek they looked.
They felt like the Ferrari of the sports car world.
Before making the final decision, we looked at Canon, Nikon, Panasonic, Fujifilm, Pentax and Olympus. But everything always brought us back to Sony.
We are very observant people by nature. We had noticed that a high proportion of photographers we’d seen on the trip so far had a Sony Alpha neck strap on. They seemed to be the vogue camera at the time.
It made us a bit nervous that the mirrorless technology was still new to the photography world. But sometimes you need to take a chance. Just like we quit our long term jobs to build a business.
Sony just felt so right and that feeling only comes a few times in your life.
Which Model To Choose?
Ideally, we would have picked up the Sony a7RIII as the RIV wasn’t out at the time. But that was far too expensive. If we wanted to travel as we had planned, we’d have to be very careful about how much we spent.
Fujifilm, Olympus and Nikon were alternatives to Sony and we would need to do our homework.
We were looking for the best quality to price ratio we could find. This was somewhere in between the cheapest models and best mid range models.
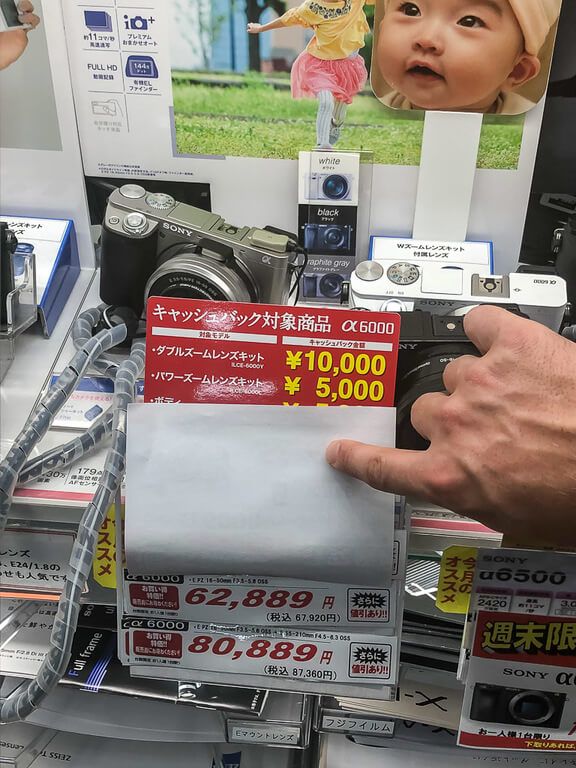
In order for us to get hold of that coveted Sony Alpha, we could only stretch our budget to an a6000 which is no longer in production. That was our limit.
The a6300 was too expensive. So, we drew up a list of competitors similar to that quality and price.
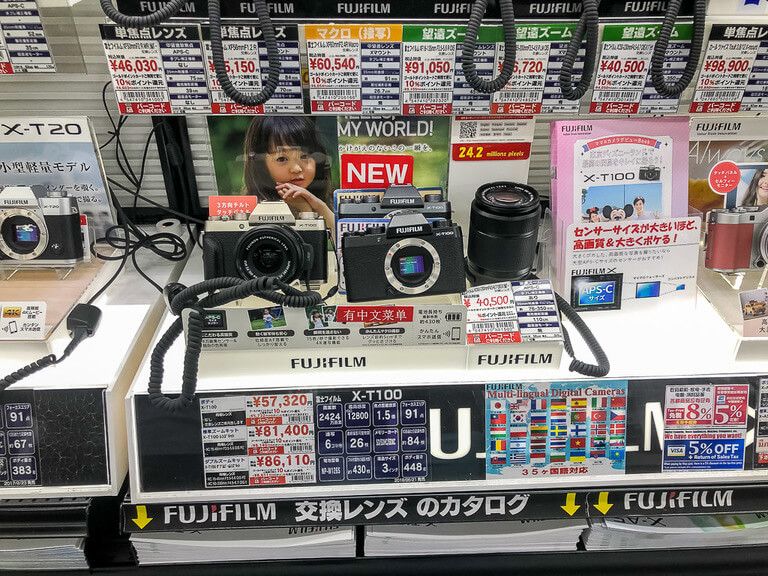
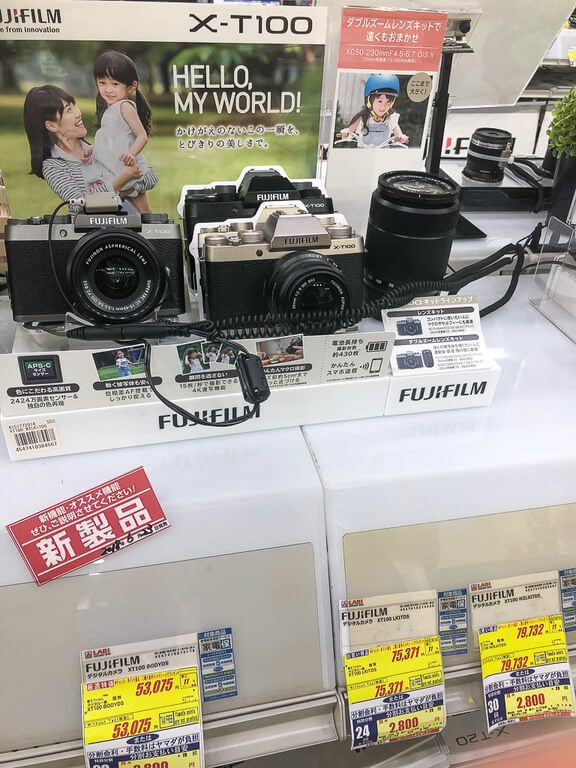
In direct comparison to its similar price range competitors, the Fuji X-T100 and Olympus OM-D E-M10 II were ranked as better cameras when all technical specs were compared to the a6000.
But we still wanted the Sony.
4. Dashing Around Tokyo
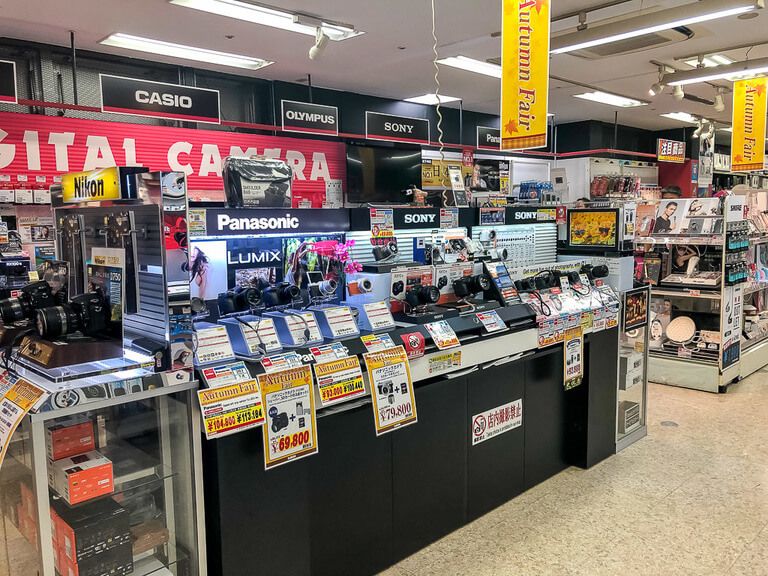
Finally, we began our search in person. And by search we mean running around Tokyo on an important quest. If you have never been to Tokyo, it’s a seriously massive city overflowing with people and camera shops.
It’s a haven for photographers. There are entire floors dedicated to cameras in Japan. We knew we were in for very long day.
Our Tokyo hotel was located in Kanda about a 15 minute walk from Akihabara. This is the big technology district in the city. Excellent, that’s where we would begin our camera hunt.
But as soon as we started, we were immediately overwhelmed by the number of camera shops. But the good news is we had a lot of options.
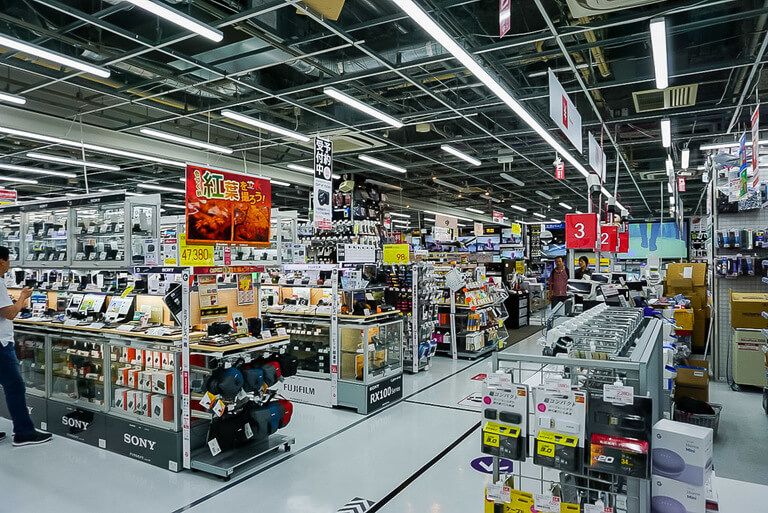
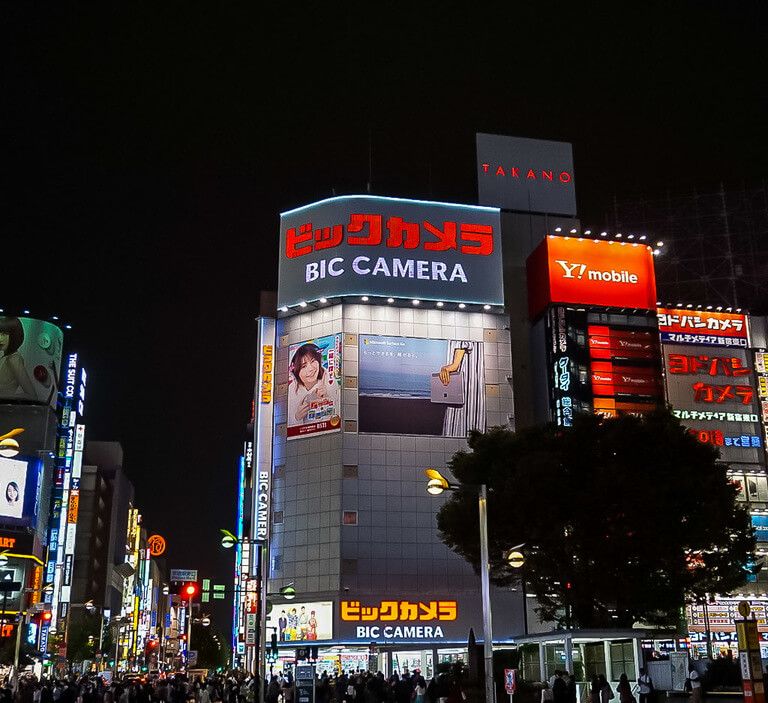
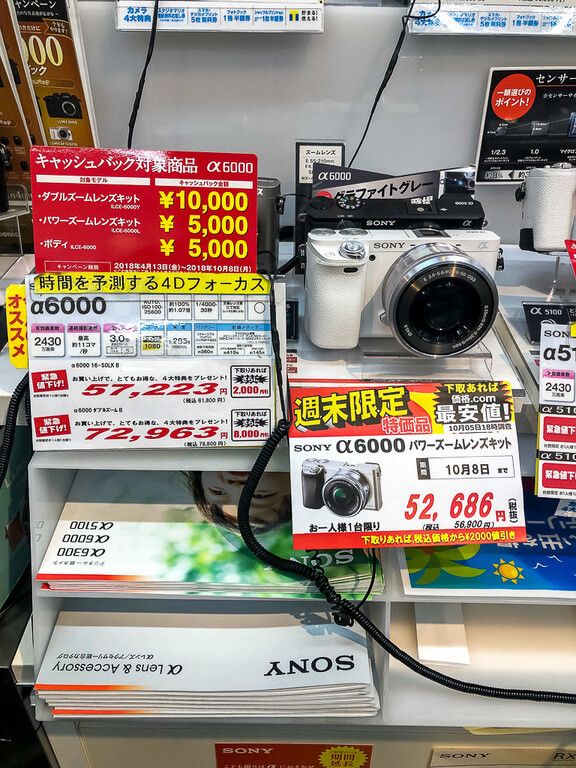
We whipped through a few places including the flagship Bic Camera and Yodobashi. Instantly, we began formulating prices and getting a feel for the different models available.
At each shop, we took photos so we could compare prices before purchasing. It became quite clear to us both that we preferred the look and feel of the Sony a6000.
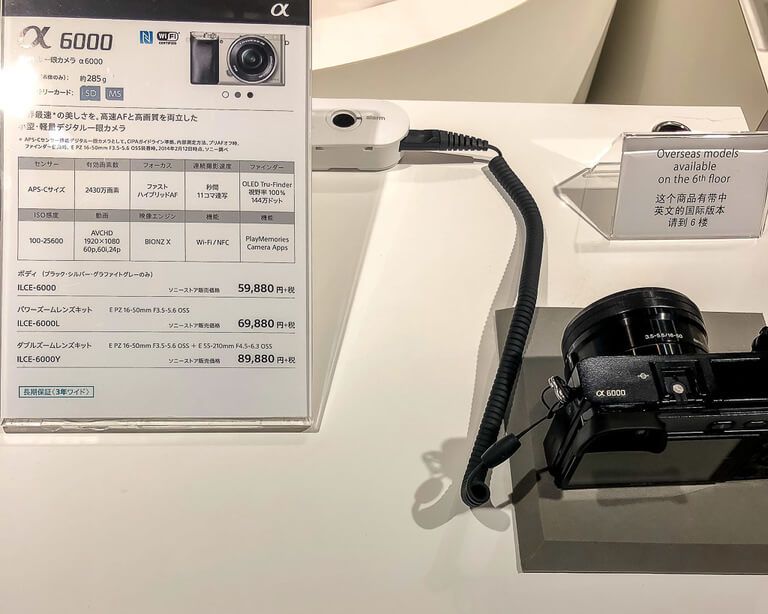
But despite the Sony lagging behind in certain specifications, like the lack of a touch screen, against its competitors, the price of the Sony seemed a little higher than we expected.
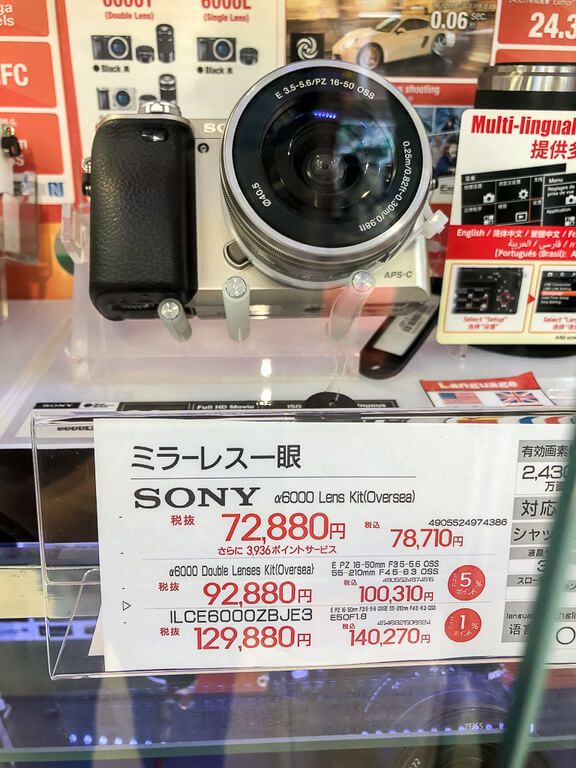
We couldn’t understand why the price was so high for the Sony in Tokyo as we were finding much cheaper prices on US Amazon.
But finally, we deciphered the code at the last place we tried in Akihabara. Sony sell cameras to local Japanese residents at a certain price and to foreigners at an inflated price.
This is an attempt to stop foreigners from buying models in Japan and selling them for profit at a higher price at home.
Tax Free Special
Admittedly, we were a little disheartened. But the game wasn’t over yet.
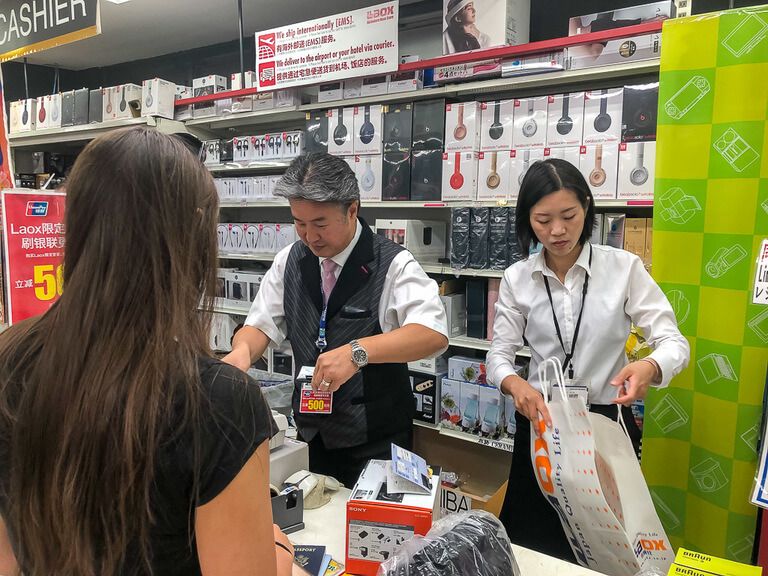
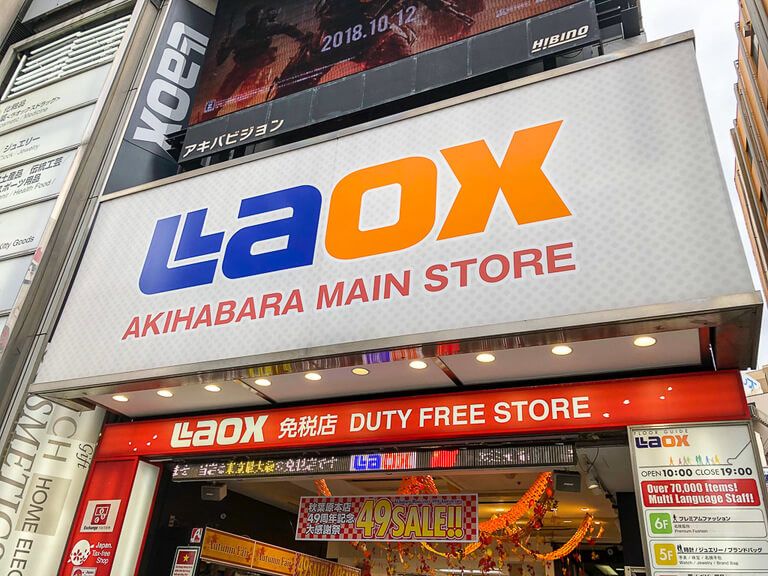
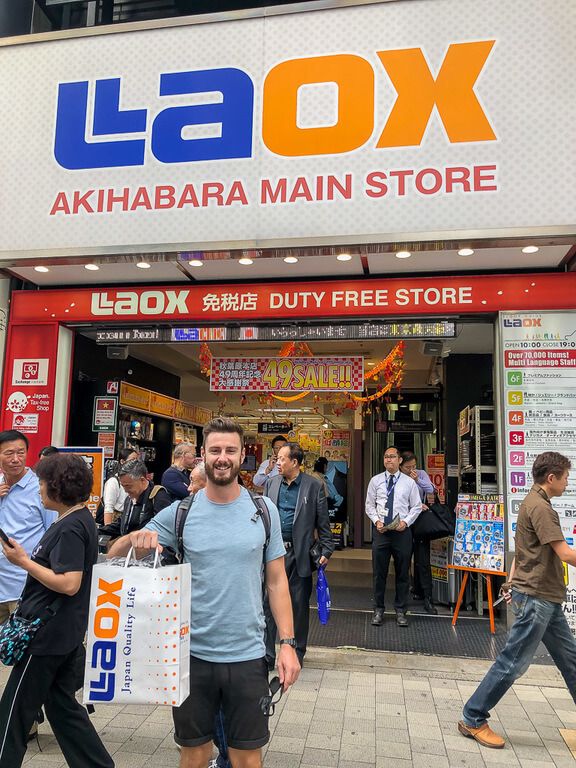
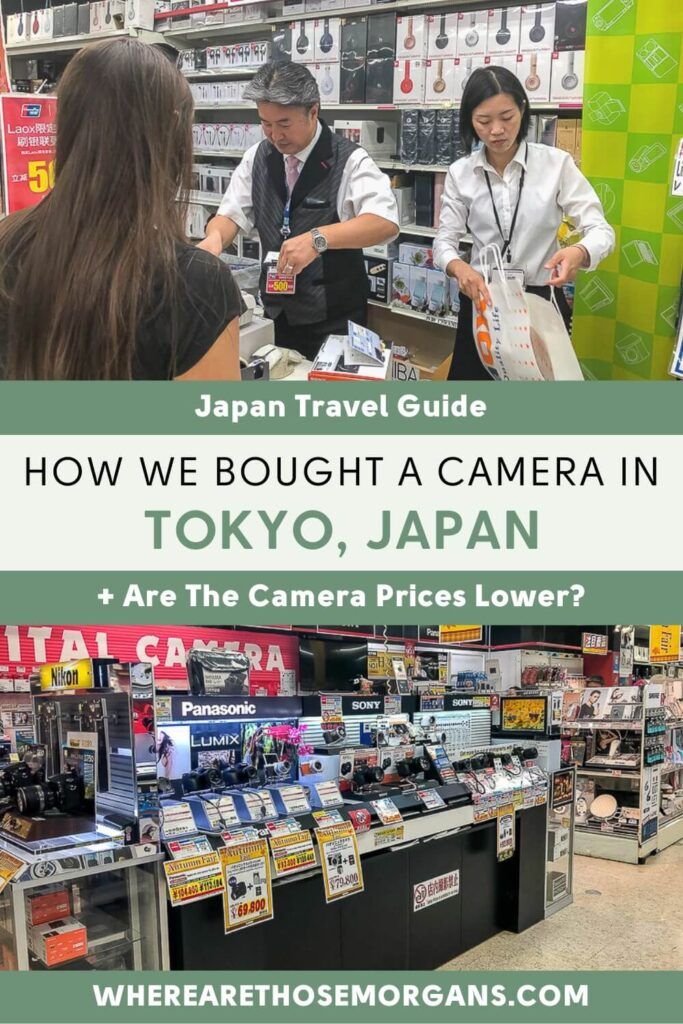
LAOX was the very last store we tried in Akihabara. Call it fate because there was a very special offer running which eliminated the foreign tax entirely on Sony models.
The LAOX sales manager was an amazing guy and talked to us for awhile about our options, giving what felt like genuine advice. He said the Sony was the best seller by a distance.
But the cherry on top for us was the no foreign tax deal because it was currently cheaper than the cameras in the US at the time.
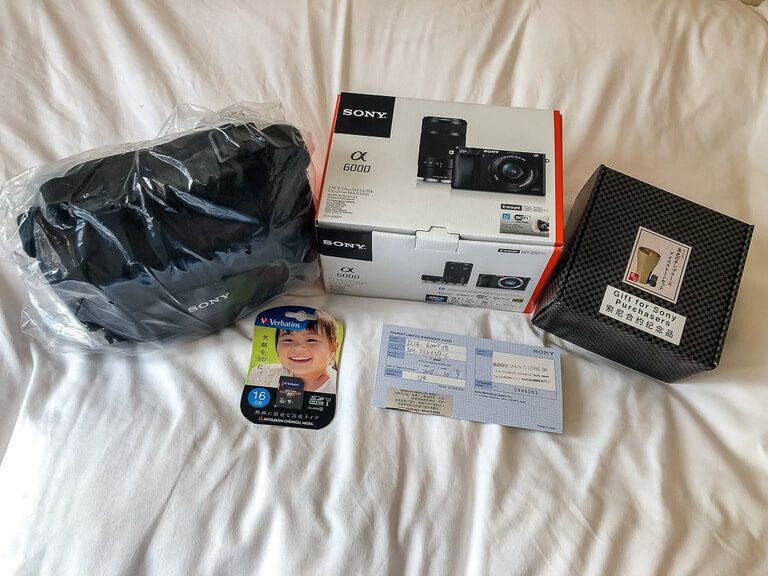
The manager offered to throw in a Sony camera bag, SD card and 1 year warranty along with the Sony a6000 body plus kit pancake lens and telephoto lens. There was also a weird gold cup made of tin that came as a present for Sony purchasers.
But now since we found an a6000 with the foreign tax excluded this was the price to beat. We thanked the manager for his help and said we’d keep looking but maybe see him later.
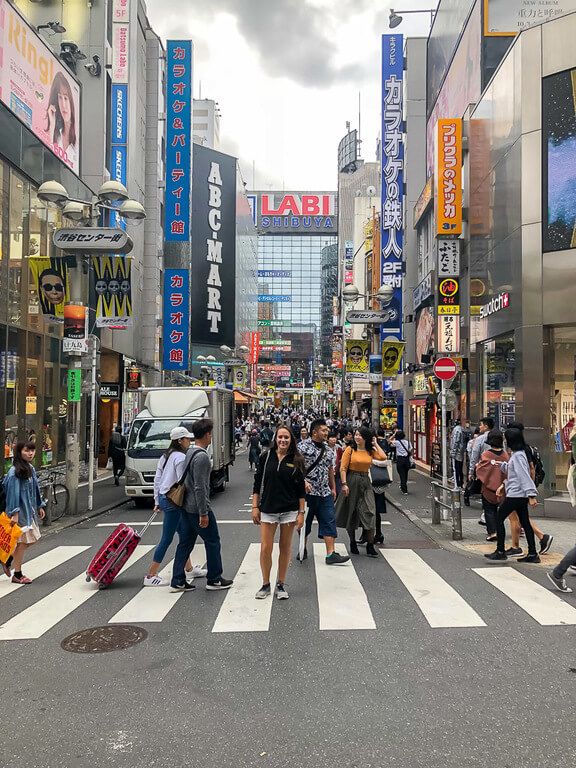
With Akihabara down, we moved our attention to Shinjuku and Shibuya.
We knew we’d been offered a great deal as it was cheaper than even US Amazon, especially with all the extras bundled in. But we couldn’t help ourselves and had to look around at all other options.
So we spent the entire day checking out every single camera store we could find on our google maps app.
Some stores were enormous with hundreds of cameras on sale, while others were tiny second hand stores down dodgy alleyways with strange tiny elevators to the camera sections on the 5th floor.
We took note of prices for all cameras, asked the sales teams in each place if the foreign tax could be removed and then move on to the next store.
It was exhilarating for a while. Then it became tedious and tiring.
Why were we still searching every camera store in Tokyo? We’d already been given a great price and we knew it was already better than US Amazon because both kit lenses were included.
This is the curse of our over analytical brains because we ran ourselves ragged.
5. Purchase Made
Eventually, we had exhausted our vast amount of options in the city.
If you’re wondering whether we managed to find another place offering the a6000 foreign tax free option? No, we did not.
The price we were offered in LAOX was also cheaper with both kit lenses than it was for just the body anywhere else. We were wrecked by the end of the day. So, instead of going to buy the camera that night, we decided to do some final research to make sure we were happy with going for the a6000.
Feeling fresh the following morning, we made the decision to finally bite the bullet and buy a brand new Sony a6000 in black at the Akihabara store we had been at almost 24 hours earlier.
We could have saved an entire day of running around, but this was a big moment and we wanted to make the right decision. If you’re a photographer, we bet you can remember buying your first camera.
The manager in LAOX was delighted to see us and we were equally as happy to see him.
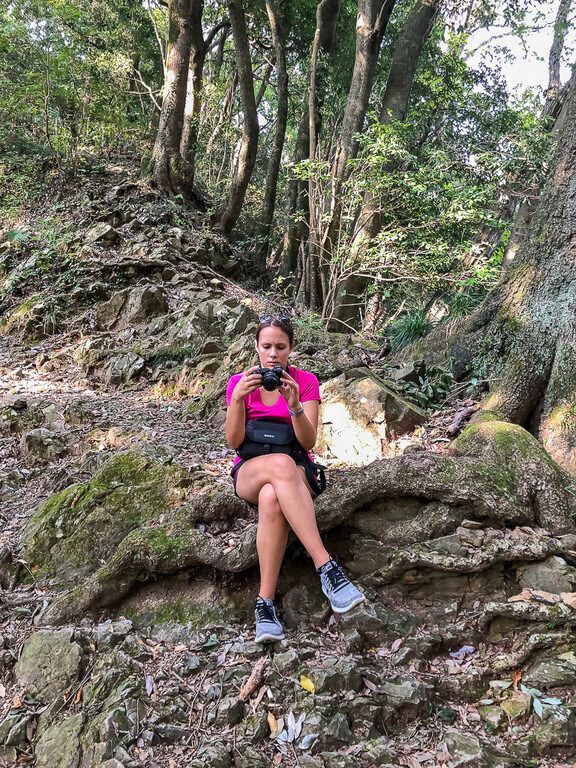
The a6000 turned out to be the perfect beginners mirrorless digital camera. We absolutely 100% stand by our decision. We loved this beginner camera and wouldn’t have changed it for the world.
Yes, the a6000 has its flaws and limitations but after months of practicing and making mistakes, we learned how to compose photographs.
We read books and guides and put ourselves in the right places at the right times. That’s all you can do, until it’s time to take things to the next level.
We have since seriously upgraded our camera gear since this trip, but Tokyo was the best possible place to search for our first camera. There was something magical in the air that day.
And we built our blog with that a6000. So to end, we’ll leave you with a famous Mark Twain Quote.
“It’s not the size of the dog in the fight, it’s the size of the fight in the dog.”
We think this is exactly how you should look at photography. It’s not about the equipment you have, but what you do with that equipment.
More Japan Guides
- How to take a day trip to Nara
- What to expect in a Japanese onsen
- How to visit the Nara deer park
- 8 best hotels in Shibuya Tokyo
- 8 best hotels in Shinjuku Tokyo
- Where to stay in Tokyo Japan
Want more Japan content? Head over to our Japan Travel Guides to explore Tokyo, Kyoto, Osaka and beyond.
We hope our guide inspires you to buy your first camera or upgrade to the next model!
Please let us know if have any questions in the comments below.
Happy Snapping,
Mark and Kristen
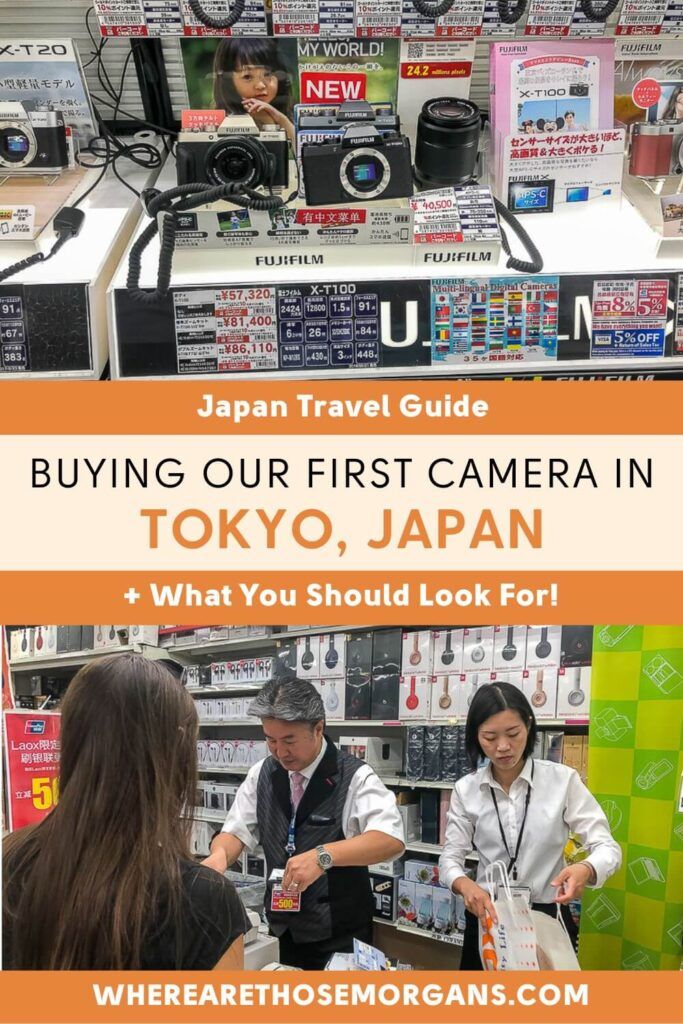
Enjoy this guide? Pin it for later!
All Rights Reserved © Where Are Those Morgans, LLC. Republishing this article and/or any of its contents (text, photography, maps, graphics, etc.) in whole or in part is strictly prohibited.
Mark and Kristen spent 6 years traveling the world, visiting over 40 countries across 4 continents and more than 30 US states. They created Where Are Those Morgans in 2018 to help others plan the best possible vacations by writing authentic travel and hiking guides based on their real experiences.
Since the arrival of baby Maya in late 2024, Mark and Kristen’s extensive travels have slowed down but they still take plenty of trips. Where Are Those Morgans now helps millions of travelers each year to visit new places and hike new trails through information-packed blog posts and expert travel guidebooks. Read more about Mark and Kristen.